Hello and welcome!
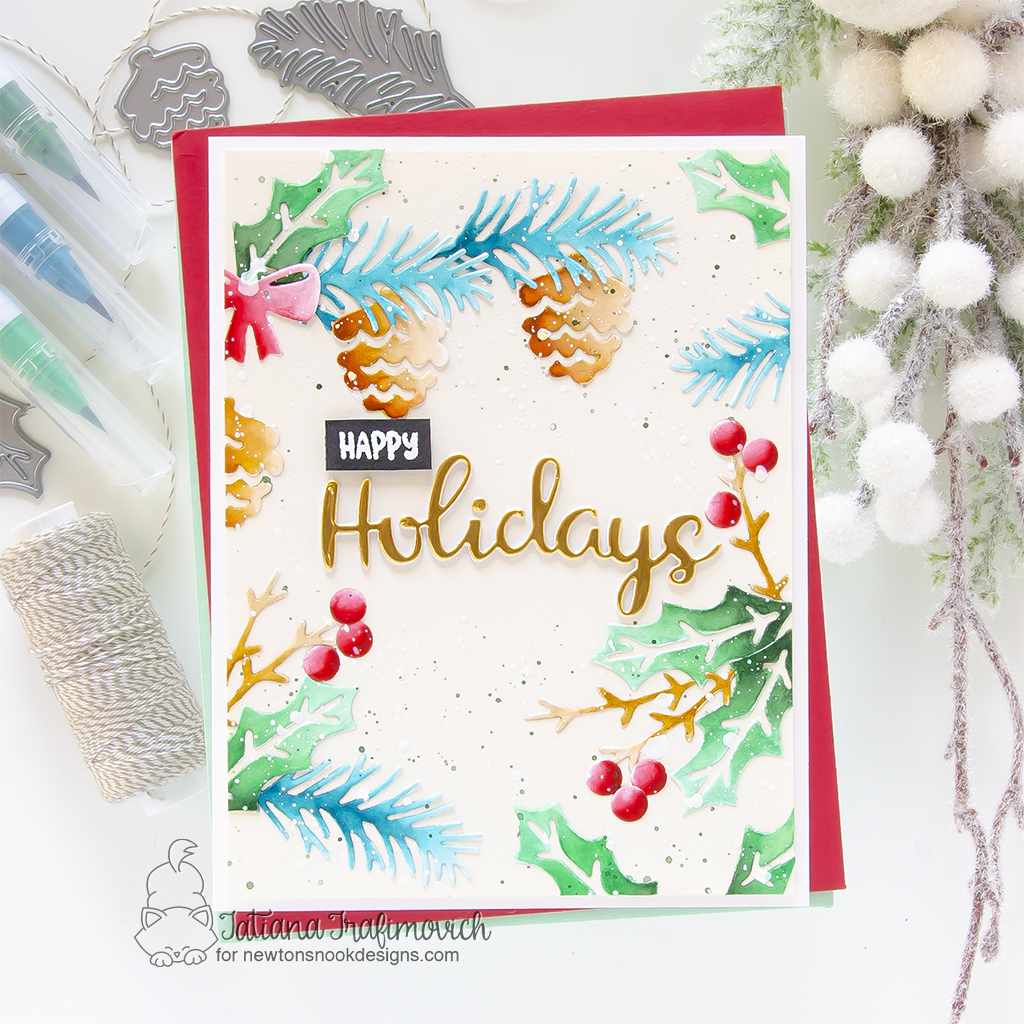
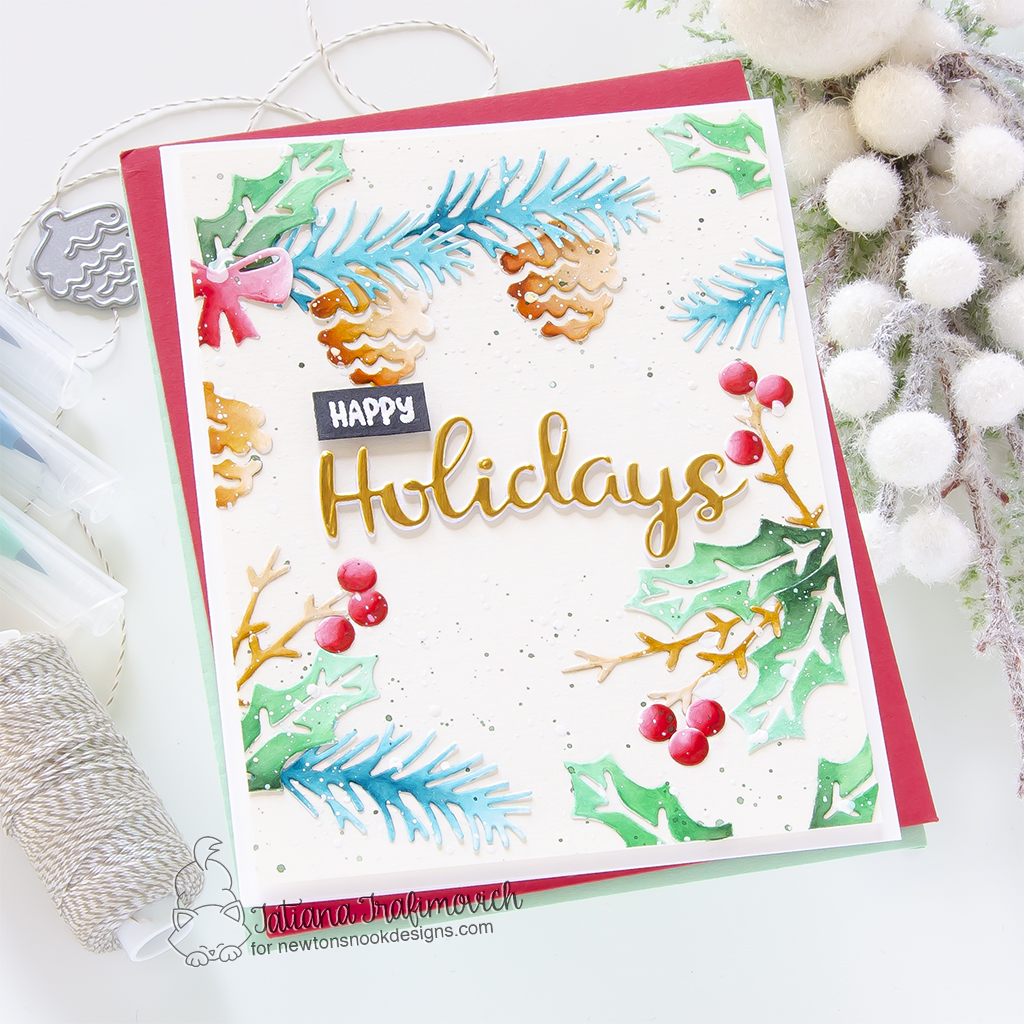
I’m so glad you’ve joined me today and even more excited to be on the Newton’s Nook Designs blog, sharing a lovely die cut card with a full card front patterned background!

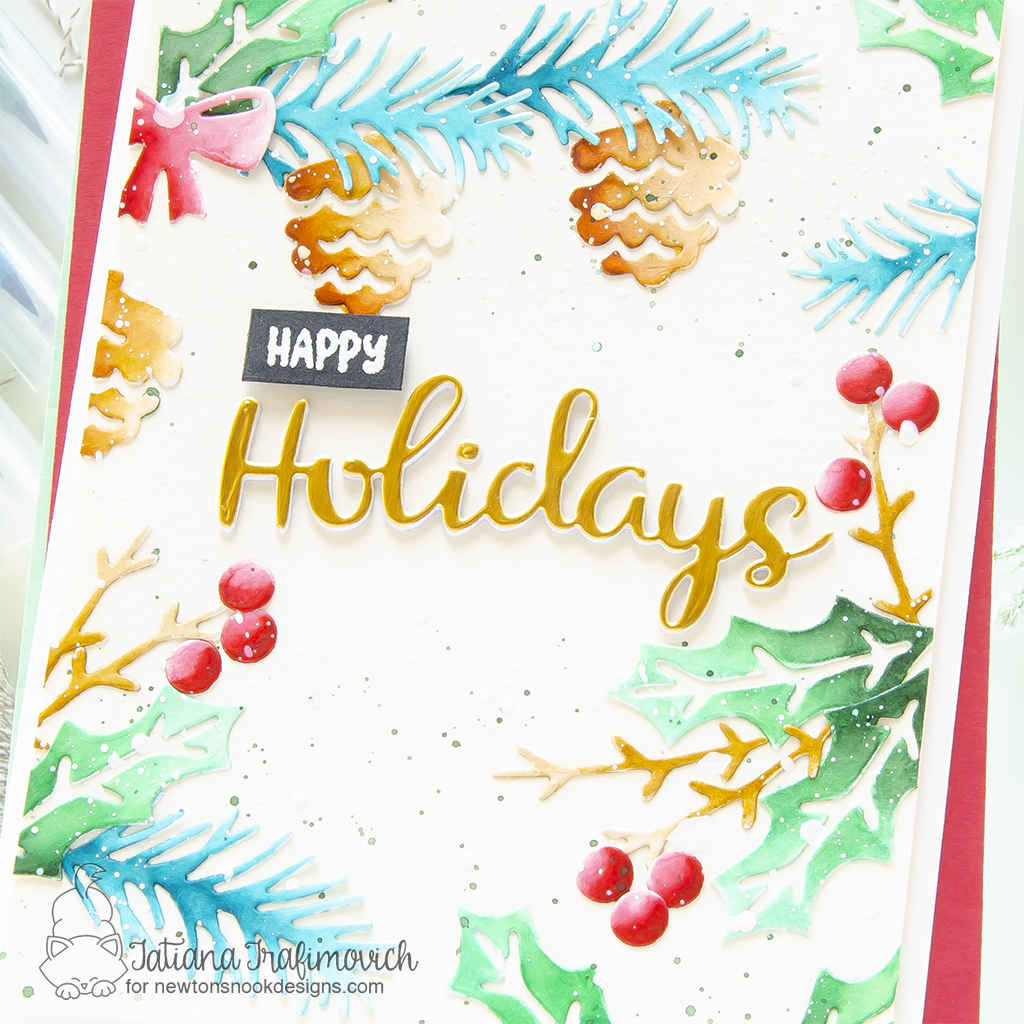
I keep all my papers in transparent plastic files and save all the scrap pieces there. Sometimes I end up with lots of tiny elements that don’t fit stamps any more, but still come useful for a die cut project like the one I’m sharing today. You can recreate it with colorful cardstock or by adding colors with any other medium you have in your stash. However, I reached for my leftover cuts of Strathmore Bristol paper and then color all the elements with ZIG CLEAN COLOUR REAL BRUSH MARKERS, creating a little ombré effect.

Key Ingredients:
Step By Step Instructions:
- Die cut from Strathmore Bristol paper a bunch of elements, using the coordinating Pine & Holly Die Set and Sizzix Big Shot Die Cutting machine. Save the negative parts of the dies.
- Color them with water based markers. On this card I used ZIG CLEAN COLOUR REAL BRUSH MARKERS:
- 029 Geranium Red
- 033 Persian Green
- 044 Deep Green
- 048 Emerald Green
- 060 Brown
- 064 Oatmeal
- 072 Beige
- Die cut the word “Holidays” from a gold foiled cardstock and then twice from a scarp cardstock, using Holiday Greetings Die Set.
- Glue together all three layers with a liquid adhesive that dries clear and matte like Distress Collage Medium Matte.
- Heat emboss in white onto black the “happy” sentiment from Cycling Friends Stamp Set with VersaMark Clear Embossing Ink. Don’t forget to prep the paper with a Powder Tool Applicator to prevent the embossing powder to stick where you don’t want it!
- Trim a 5 1/4″ x 4″ rectangle from a cream cardstock. I used Lawn Fawn Vanilla Malt.
- Arrange and glue in place all the elements on the card front by popping some of them on a foam tape for a bit of dimension.
- Mask the sentiment to protect it and splatter some tiny colorful and white drops all cross.
- Trim and score an extended A2 size card base (5 1/2″ x 4 1/4″) from Neenah Solar White paper.
- Adhere the card patterned card front to the card base with a foam tape.

That’s all for today! Hope you like this lovely holiday card! Thanks so much for stopping by and have a fabulous day!
Hugs,
Tatiana
