Hello and welcome!
Today, January 6th, is the last day of the Italian Holiday season! We call it Epiphany! According to Italian folklore, this day an old woman who looks like witch brings stockings to children. Those who were good receive sweets and the bad ones – coal! Nowadays no one puts a real coal in the stockings! Parents usually buy a faux coal made from sugar and put it together with the sweets just as a warning for their little ones to be good next year!
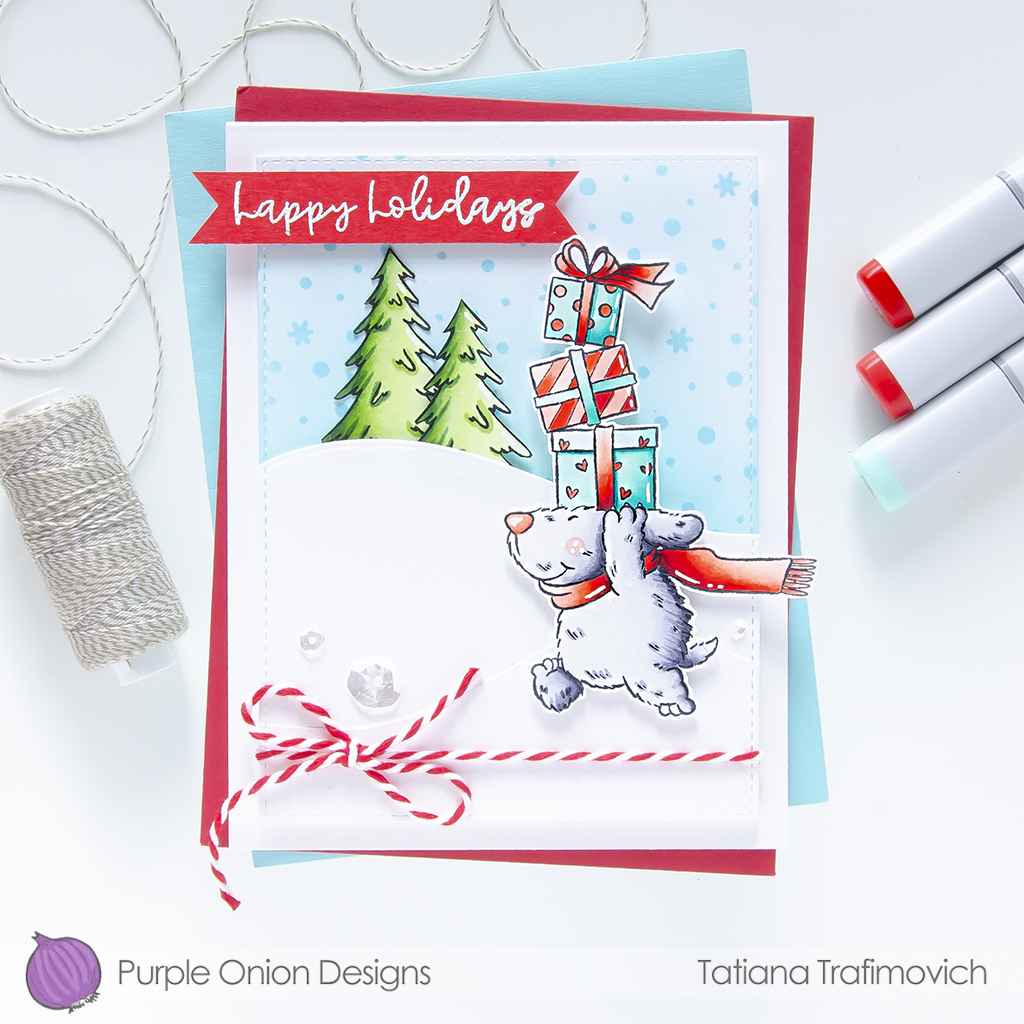
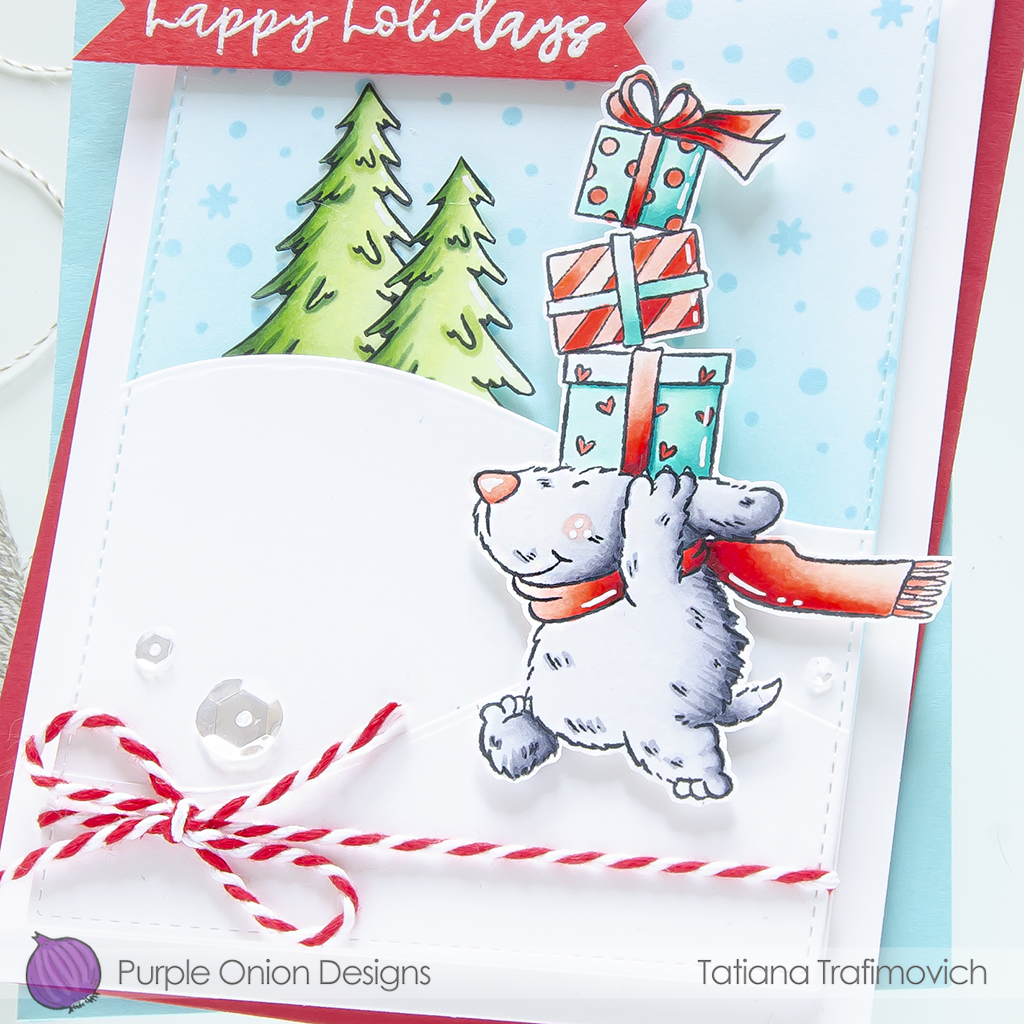
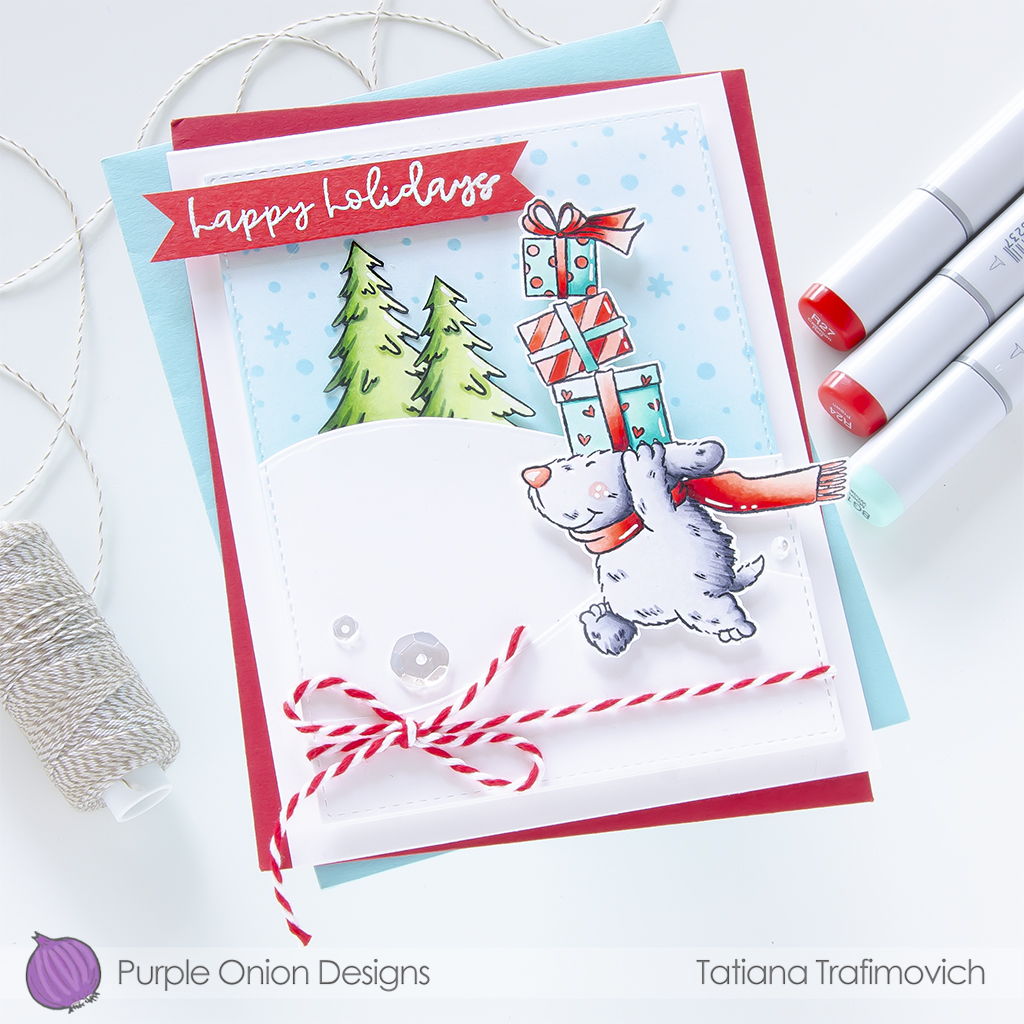
And since this day also reminds us also about the coming of the Magi (the three wise men) with their gifts, I decided to finish the holiday season with a cute doggy carrying lots of gift boxes that features some fabulous stamps from the Purple Onion Designs!

Recently I find myself to reach a “back to basics” simple card style with the focus on coloring and simple background layouts! I believe that I used copic markers mostly during the last year and not so much the watercolor media! This card is another example of a clean and simple style mixed with my favorite “old” cardmaking techniques like heat embossing, ink blending and die cutting!

Key Ingredients:
Step By Step Instructions:
- Stamp on Neenah Solar White paper Flappy’s Christmas Delivery Stamp and Winter Trees Background Stamp with Memento Tuxedo Black ink.
Designer’s Tip:
Since rubber stamps from Purple Onion Designs come unmounted, you will need a temporary mounting solution to work with. A Clear Mounting Stamp is one of the options. You can apply this clear stamp on an acrylic block or acrylic stamping platform to hold your unmounted stamps in place while stamping. Remove and store it when finished until next time. The clear stamp can be cleaned with water and a little liquid soap.
- Fussy cut the dog carrying the gift boxes and two trees with the sharp small scissors, leaving a little white edge around.
- Color all the elements with COPIC MARKERS. I used:
- gray C00-C1-C3-C5-C7
- red R0000-R20-R21-R24-R39
- teal BG 0000-BG10-BG11-BG13-BG49
- green G20-G43-G46
- Trim and score an extended A2 size card base (5 1/2″ x 4 1/4″) from Neenah Solar White paper. I used Tim Holtz Maxi Guillotine Trimmer and Mini Score Board on my card.
- Die cut a slightly smaller panel from the same Neenah Solar White paper, using Imperial Stitched Rectangles Dies from Heffy Doodle and Spellbinders Platinum 6 Die Cutting Machine or Sizzix Big Shot Die Cutting Machine.
- Ink the sky background with Simon Says Stamp Pawsitively Saturated inks in Sea Foam and Marine colors. Use the blending brushes to achieve a soft and smooth transition.
- Secure Newton’s Nook Designs Petite Snow Stencil with a low tack tape on the inked panel and add the pattern through the stencil with the same blue inks that you used before, keeping your hand a bit heavier this time.
- Die cut two snow slopes from Neenah Solar White paper, using Simon Says Stamp Stitched Sloped & Hills Die Set and Imperial Stitched Rectangles Dies.
- Heat emboss in white onto red the sentiment from Classic Holiday Trio Sentiment Set using VersaMark clear sticky ink and Hero Arts White Embossing Powder. Don’t forget to prep the paper with a Powder Tool Applicator to prevent the embossing powder to stick where you don’t want it!
- Arrange and glue in place all the elements on the card front, by popping some of them on a foam tape for a fun dimensional look.
- Don’t forget to wrap a red twine around the snow hills before adhering them to the card base!
- Finish with a few highlights added with a white gel pen and some clear sparkling sequins.

That’s all for today! Hope you like this cute and sweet card! Thanks so much for stopping by and have a fabulous day!
Hugs,
Tatiana
