
Hello and welcome! Thank so much for joining me today! Throughout this week the Newton’s Nook Designs Design Team and I are featuring some brand new holiday products! Please, join the Blog Hop & Giveaway by clicking HERE for a chance to win a $25 store credit for Newton’s Nook Designs online shop and keep reading this post for more holiday inspiration!
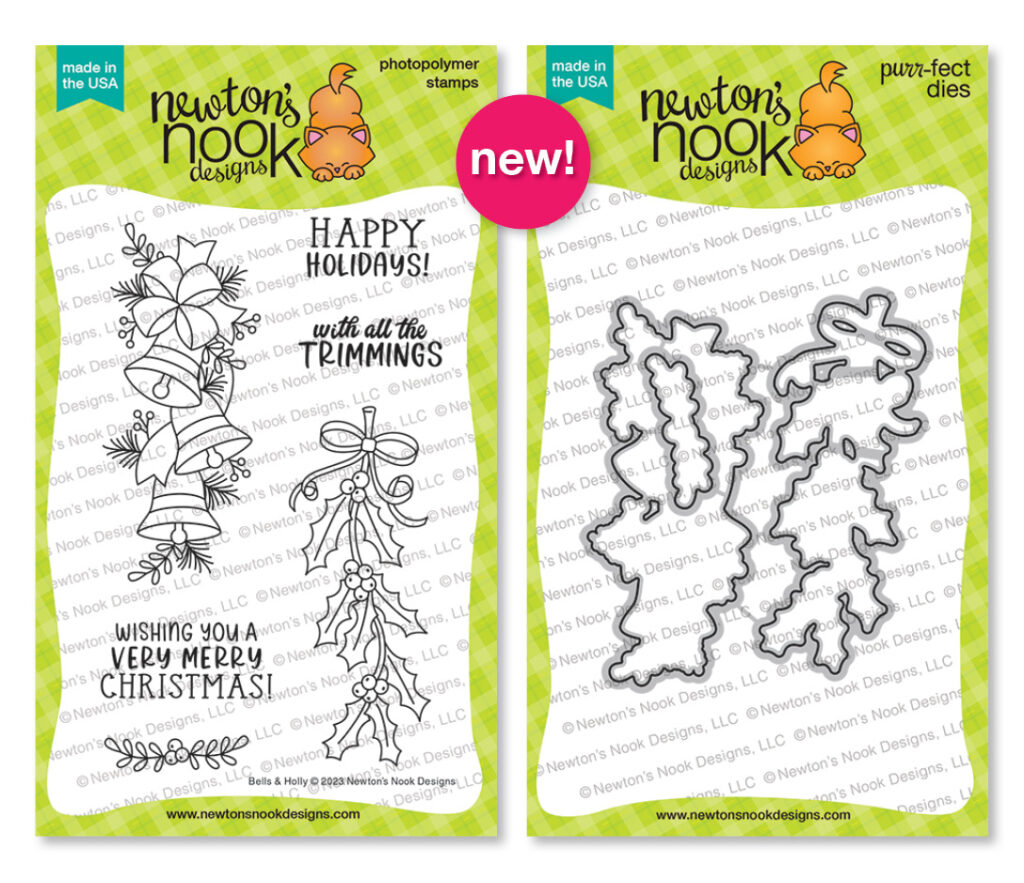
Even if I’am a huge fan of cute critters, I’m totally in LOVE with stunning new Bells & Holly Stamps Set! In fact, that was the first stamp that I used working on the holiday release! As always, in case you’re interested, NND came with the coordinating Bells & Holly Die Set!
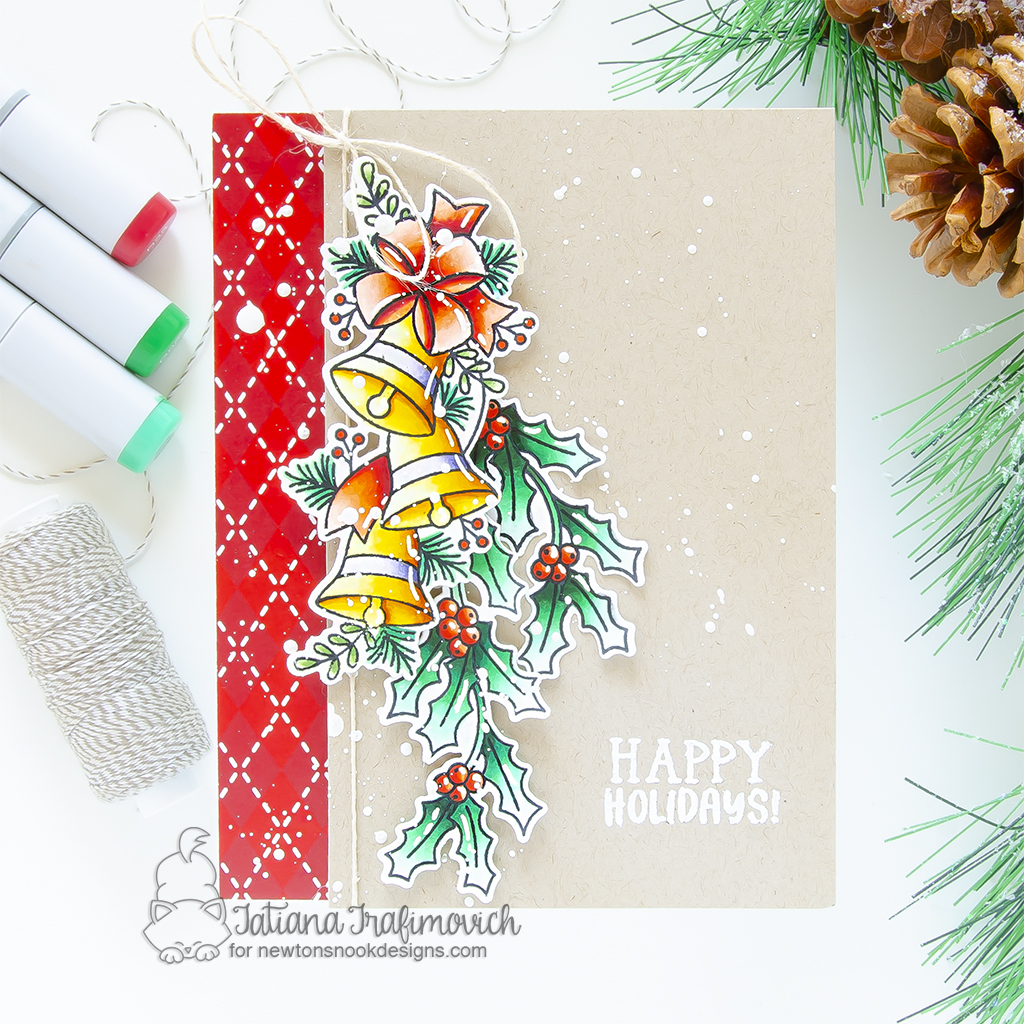
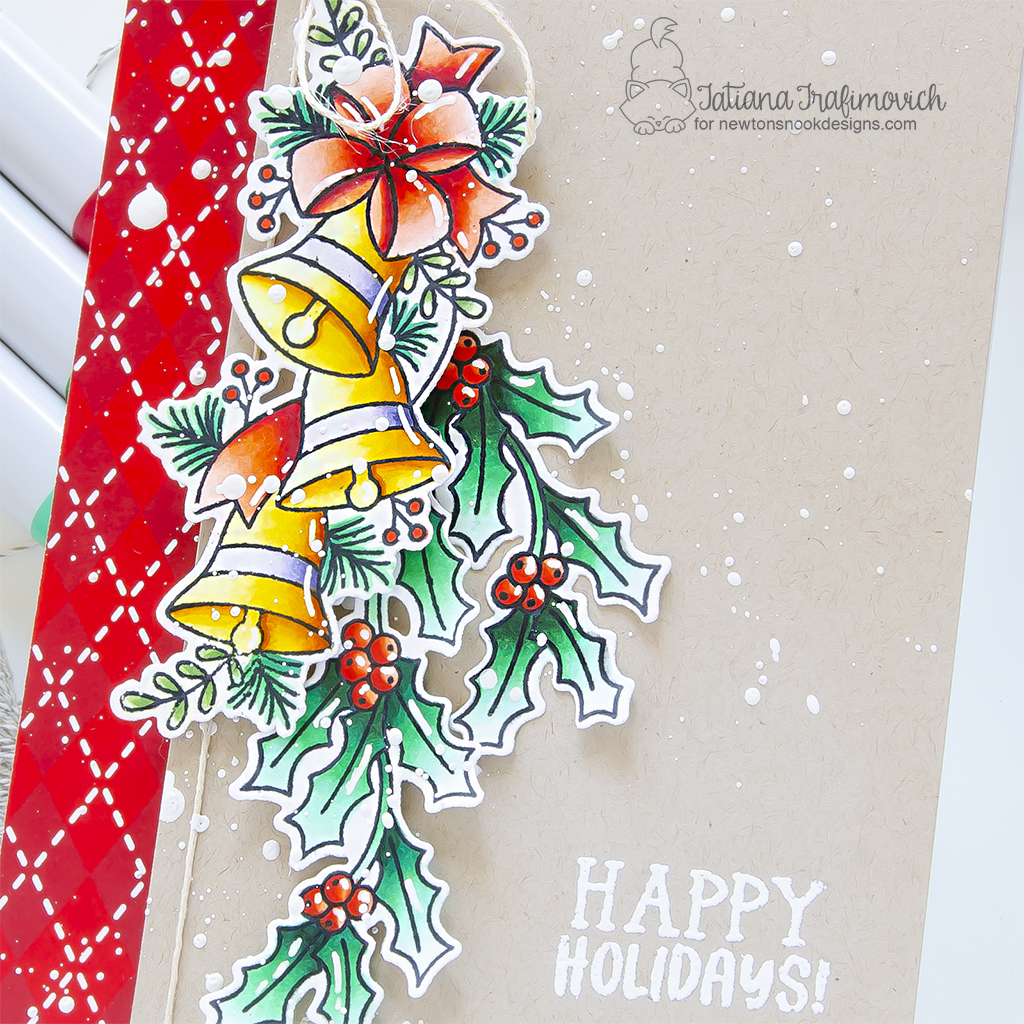
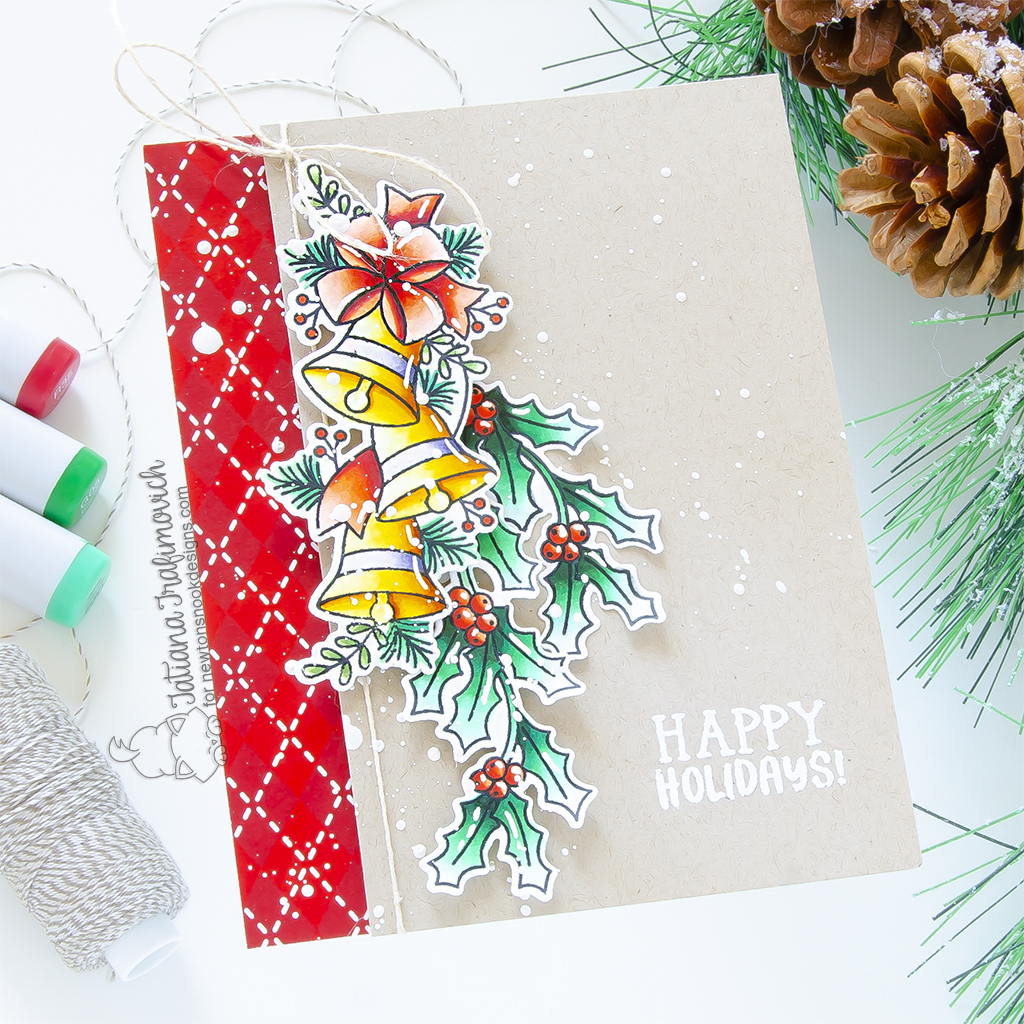
I decided to start this project with copic coloring! I made a simple blending, but tried to keep the dark areas as dark as I could and the light areas – very light to create a bit of contrast. I kept my background clean and simple, picking my favorite kraft paper! Then I added a pop of red on one side to match the colored illustrations to tie all the elements together!
Key Ingredients:
Step By Step Instructions:
- Die cut from Neenah Solar White paper all the elements you need, using Bells & Holly Die Set and Spellbinders Platinum 6 Die Cutting Machine or Sizzix Big Shot Die Cutting Machine. Save the negative parts of the dies.
- Stamp the outline illustrations from Bells & Holly Stamps Set with Memento Tuxedo Black ink, using the negative parts of the dies as a guide for a perfect alignment inside the stamping positioning tool.
- Color the stamps with COPIC MARKERS. I used on this card:
- red R0000-R01-R02-R05-R08-R46-R86
- green #1 G0000-G00-G02-G05-G16-G28
- green #2 G20-G24
- yellow Y0000-Y11-Y13-Y15-Y38-YR24
- violet BV0000-BV02-BV17
- Trim and score an extended A2 size card base (5 1/2″ x 4 1/4″) from Neenah Solar White paper. I used Tim Holtz Maxi Guillotine Trimmer and Mini Score Board.
- Trim a stripe of red pattern paper from Canine Christmas Paper Pad.
- Trim a kraft rectangle from Neenah Desert Storm paper.
- Heat emboss in white the sentiment from Bells & Holly Stamps Set with VersaMark clear sticky ink and Hero Arts White Embossing Powder. Don’t forget to prep the paper with a Powder Tool Applicator to prevent the embossing powder to stick where you don’t want it!
- Wrap a matching kraft twine around the kraft rectangle and tie a bow.
- Arrange and glue in place all the elements on the card front by popping some of them on a foam tape for a bit of dimension.
- Flick some tiny droplets of white gouache as a finish touch.
That’s all for today! Hope you like today’s lovely holiday card! Thanks so much for stopping by and have a fabulous day!
Hugs,
Tatiana