Hello and welcome!
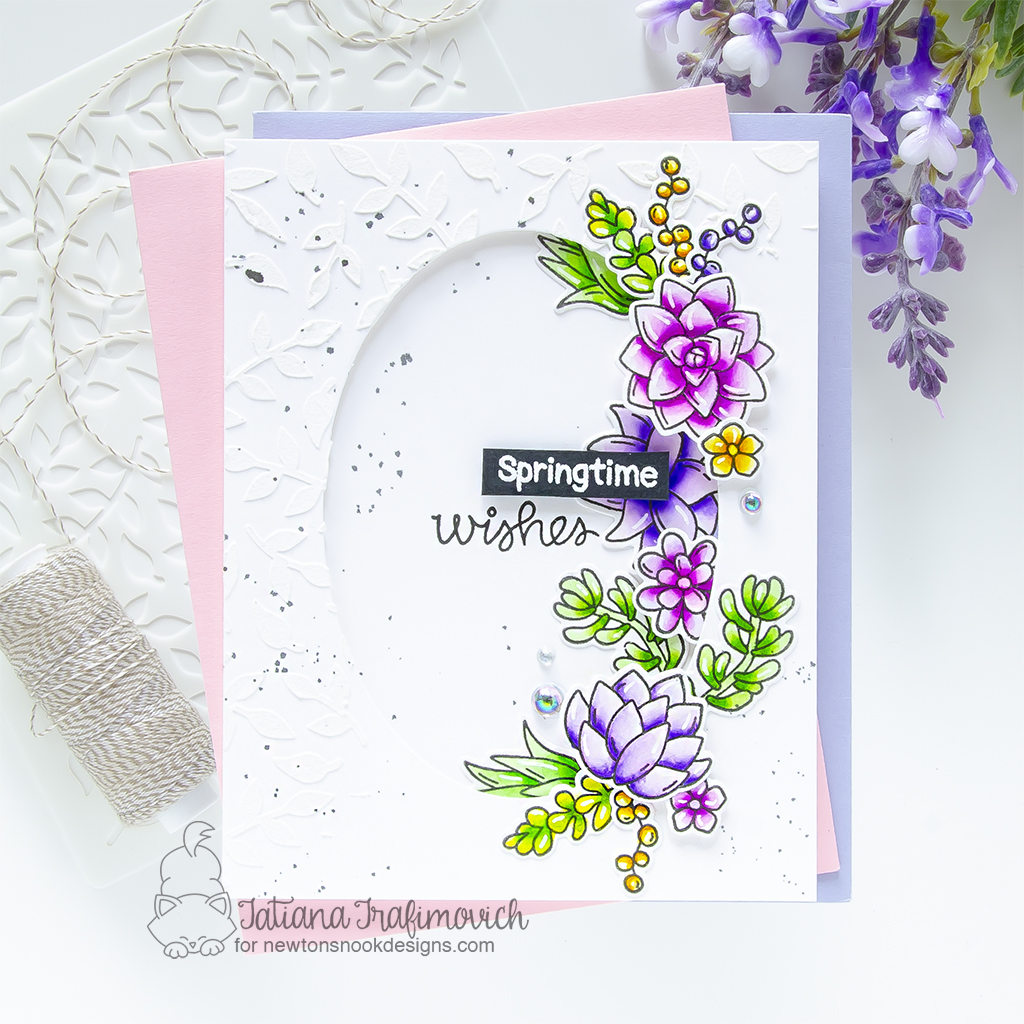
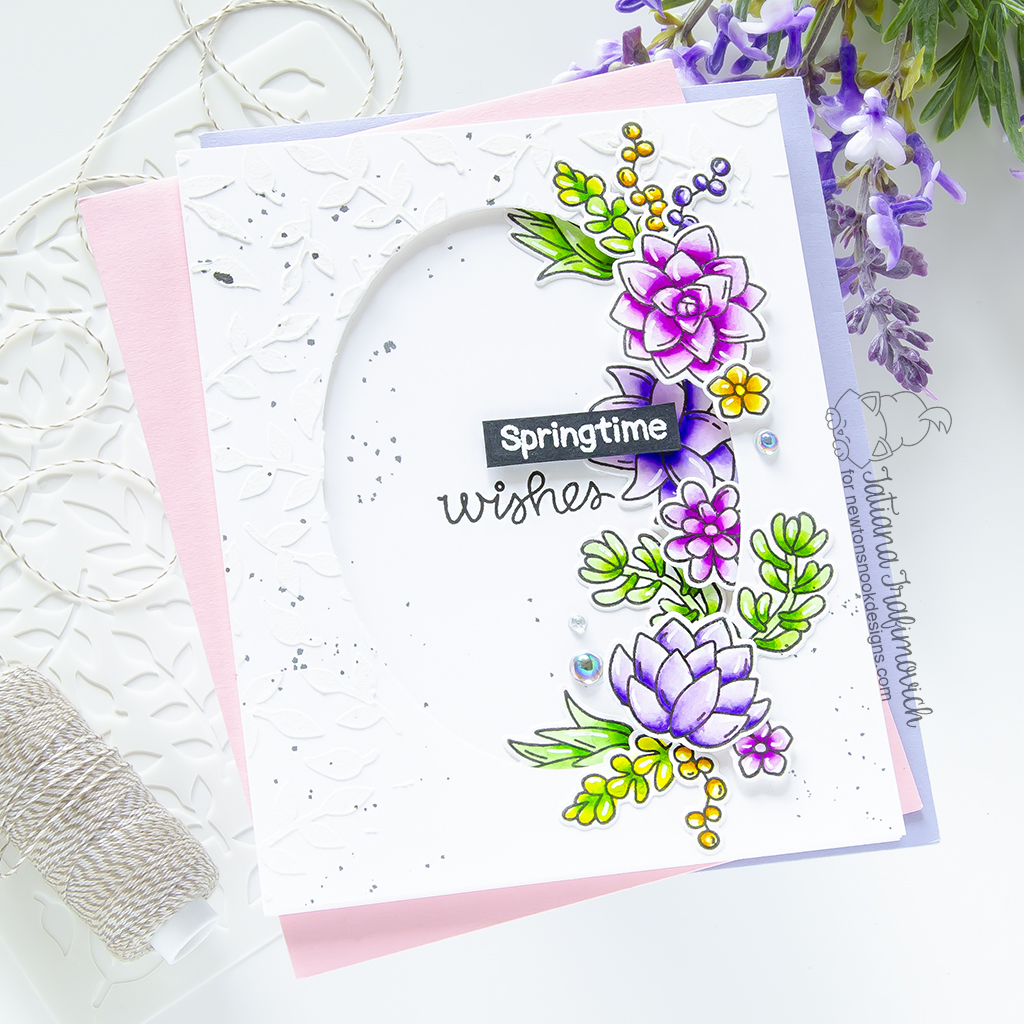
I’m so glad you’ve joined me today and even more excited to be on the Newton’s Nook Designs blog, sharing a sweet floral card! I’m so excited to share this project on International Women’s Day and to send a spring hello to all of you, lovely ladies!

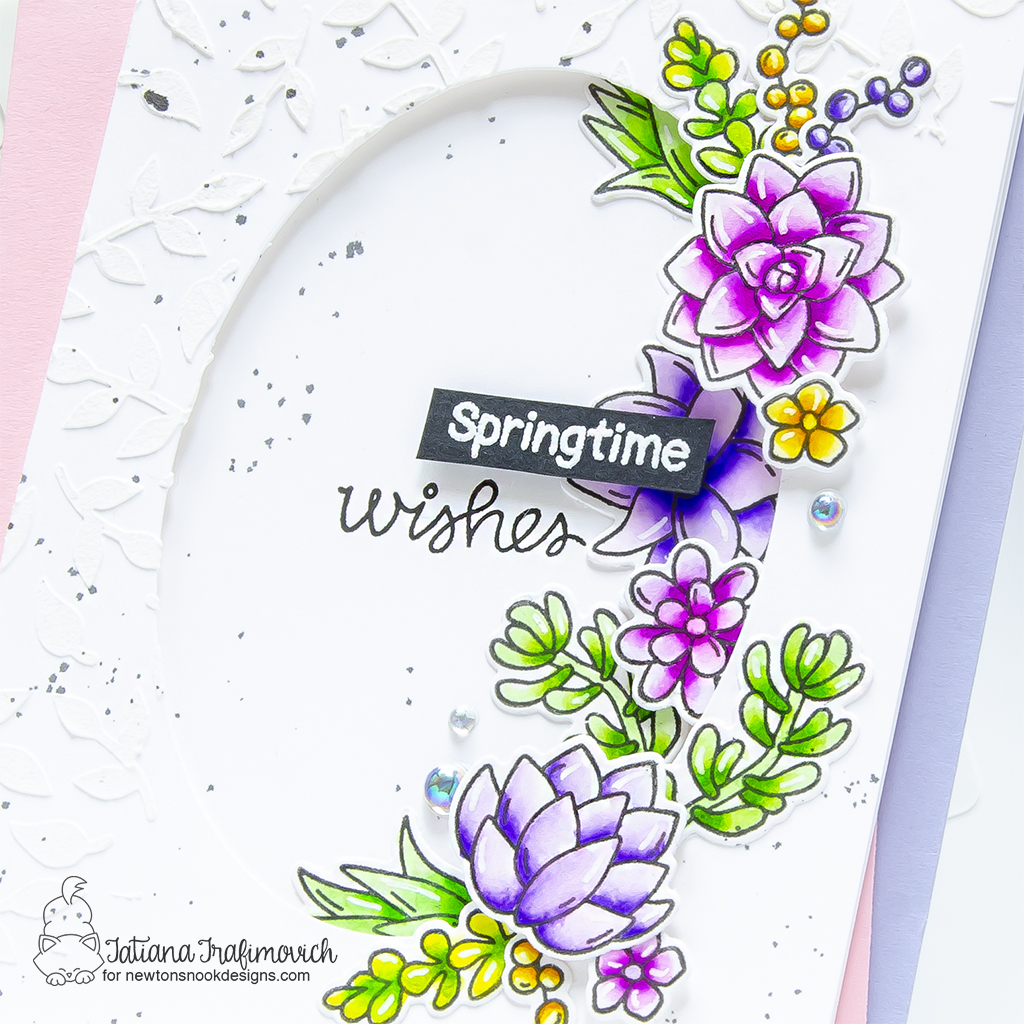
Creating this project, I decided to switch my copic markers to water based ones for a watercolor look. I’ve tried different water based markers throughout the years of my paper crafting journey. For this card I picked my currently favorite Zig Clean Color Real Brush markers. These markers have a very fine tip that allows to reach the tiniest parts of the illustrations. They are very easy to blend and you can build up the shadows using a single marker. Just add more water to get the light coverage or keep adding a couple of layers for a more intense and bright look.

Key Ingredients:
- Succulent Garden Stamp Set
- Succulent Garden Die Set
- Tulips Stamp Set
- Oval Frames Die Set
- Trailing Leaves Stencil
Step By Step Instructions:
- Die cut from Strathmore Bristol paper all the elements you need, using the coordinating Succulent Garden Die Set and Spellbinders Platinum 6 Die Cutting Machine or Sizzix Big Shot Die Cutting Machine. Save the negative part of the die.
- Stamp the outline illustration from Succulent Garden Stamp Set with VersaFine Onyx Black pigment ink, using the negative part of the die as a guide for a perfect alignment inside the stamping positioning tool.
- Color the stamps with water based markers. On this card I used ZIG CLEAN COLOUR REAL BRUSH MARKERS:
- 041 Light Green
- 046 Mid Green
- 047 May Green
- 053 Yellow Green
- 080 Violet
- 081 Light Violet
- 082 Purple
- 083 Lilac
- 084 Deep Violet
- 803 English Lavender
- 051 Lemon Yellow
- 050 Bright Yellow
- 061 Light Brown
- Trim and score an extended A2 size card base (5 1/2″ x 4 1/4″) from Neenah Solar White paper. I used Tim Holtz Maxi Guillotine Trimmer and Mini Score Board.
- Trim another 5 1/2″ x 4 1/4″ panel from the same Neenah Solar White paper for the background.
- Die cut an oval in the center of the background piece, using Oval Frames Die Set. Keep the negative part of the die.
- Secure Trailing Leaves Stencil on the background panel with a lock tack tape to prevent any movements and spread a white embossing paste from the top left corner, covering half of the background.
- Lift up the stencil and let the white embossing paste air dry well.
- Arrange and glue in place all the elements on the card front by popping some of them on a foam tape for a bit of dimension.
- Carefully split in two the “SPRINGTIME WISHES” sentiment from Tulips Stamp Set with the sharp small scissors.
- Stamp the word “WISHES” directly on card base with VersaFine Onyx Black pigment ink.
- Heat emboss in white on black the word “SPRINGTIME” with VersaMark clear sticky ink and Hero Arts White Embossing Powder. Don’t forget to prep the paper with a Powder Tool Applicator to prevent the embossing powder to stick where you don’t want it!
- Pop the heat embossed sentiment of a foam tape.
- Splatter the card front with some tiny droplets of a black ink, using a regular watercolor blush. I used Black Soot Distress ink diluted with a tiny amount of water. If necessary, quickly mask the sentiment and the succulents with a piece of scratch paper.
- Finish with a few highlights added with a white gel pen and some clear iridescent droplets adhered with Bearly Art – Precision Craft Glue.

That’s all for today! Hope you like todays’ spring card ! Thanks so much for stopping by and have a fabulous day!
Hugs,
Tatiana
