Hello and welcome!
Do you know that today is International Coffee Day? And I’m so excited to join the celebration with Coffee Loving Cardmakers and be featured on their blog along with some super talented crafters!!! So be sure to check their post to join the blog hop and comment on your way for a chance to win awesome prizes!!!
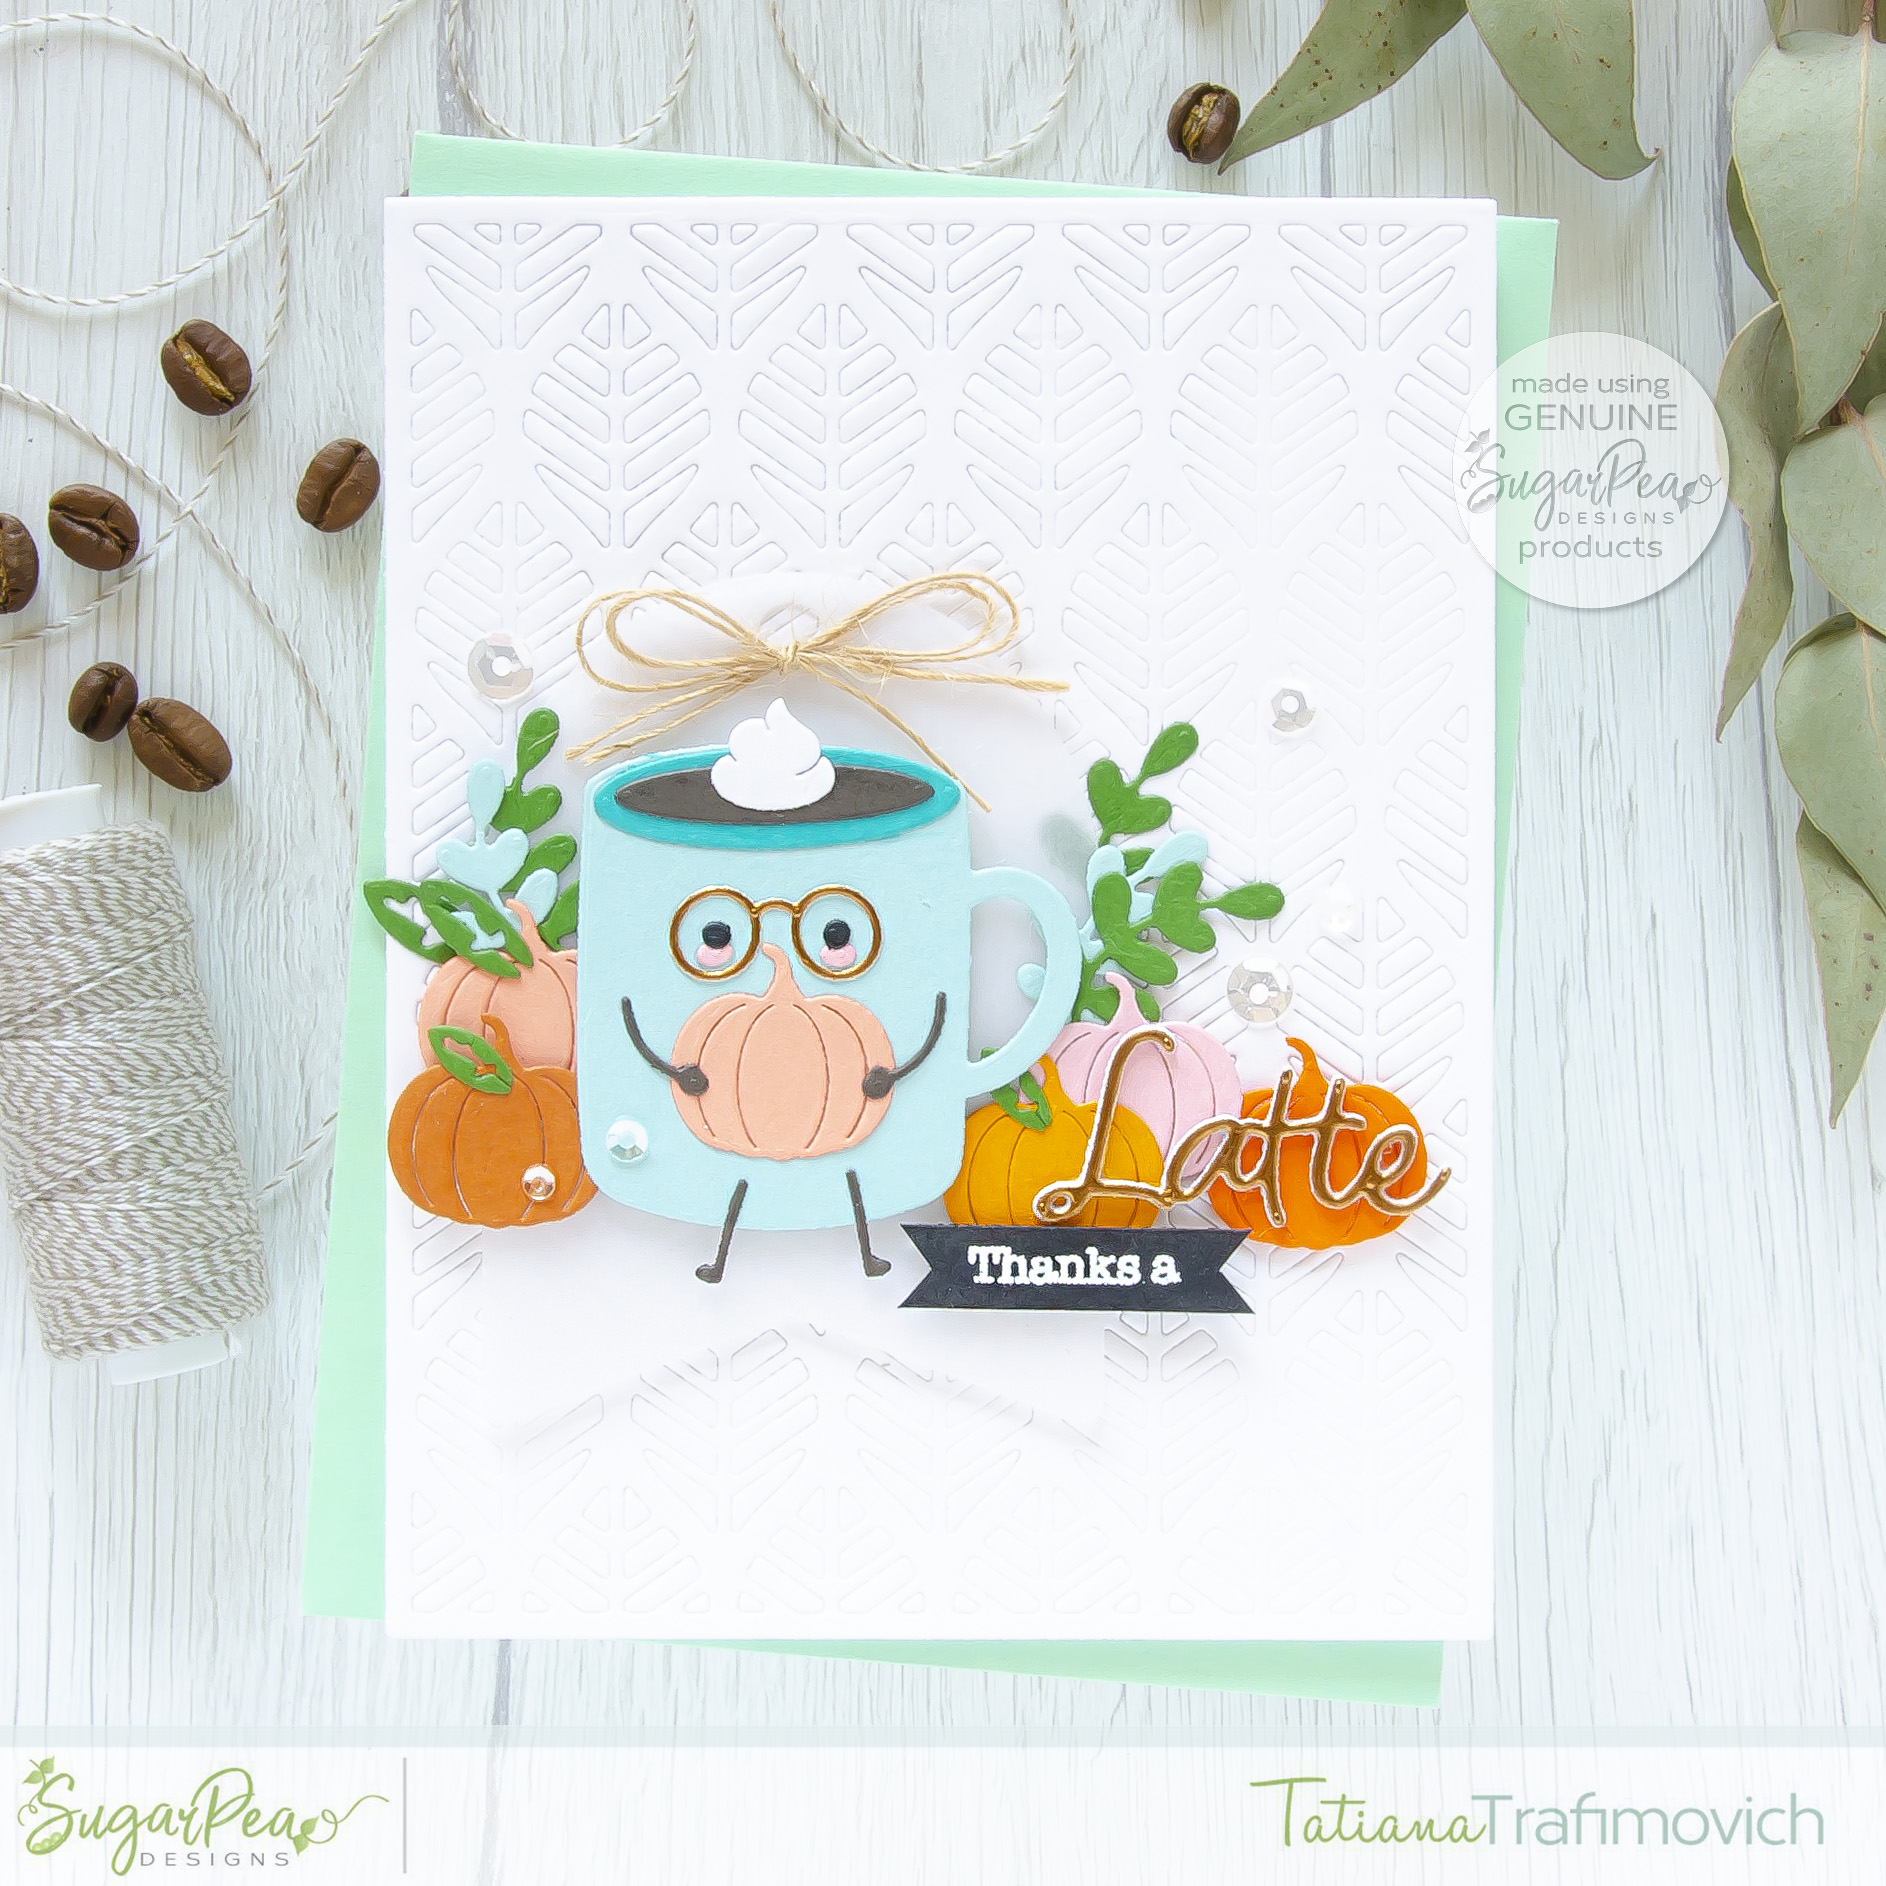
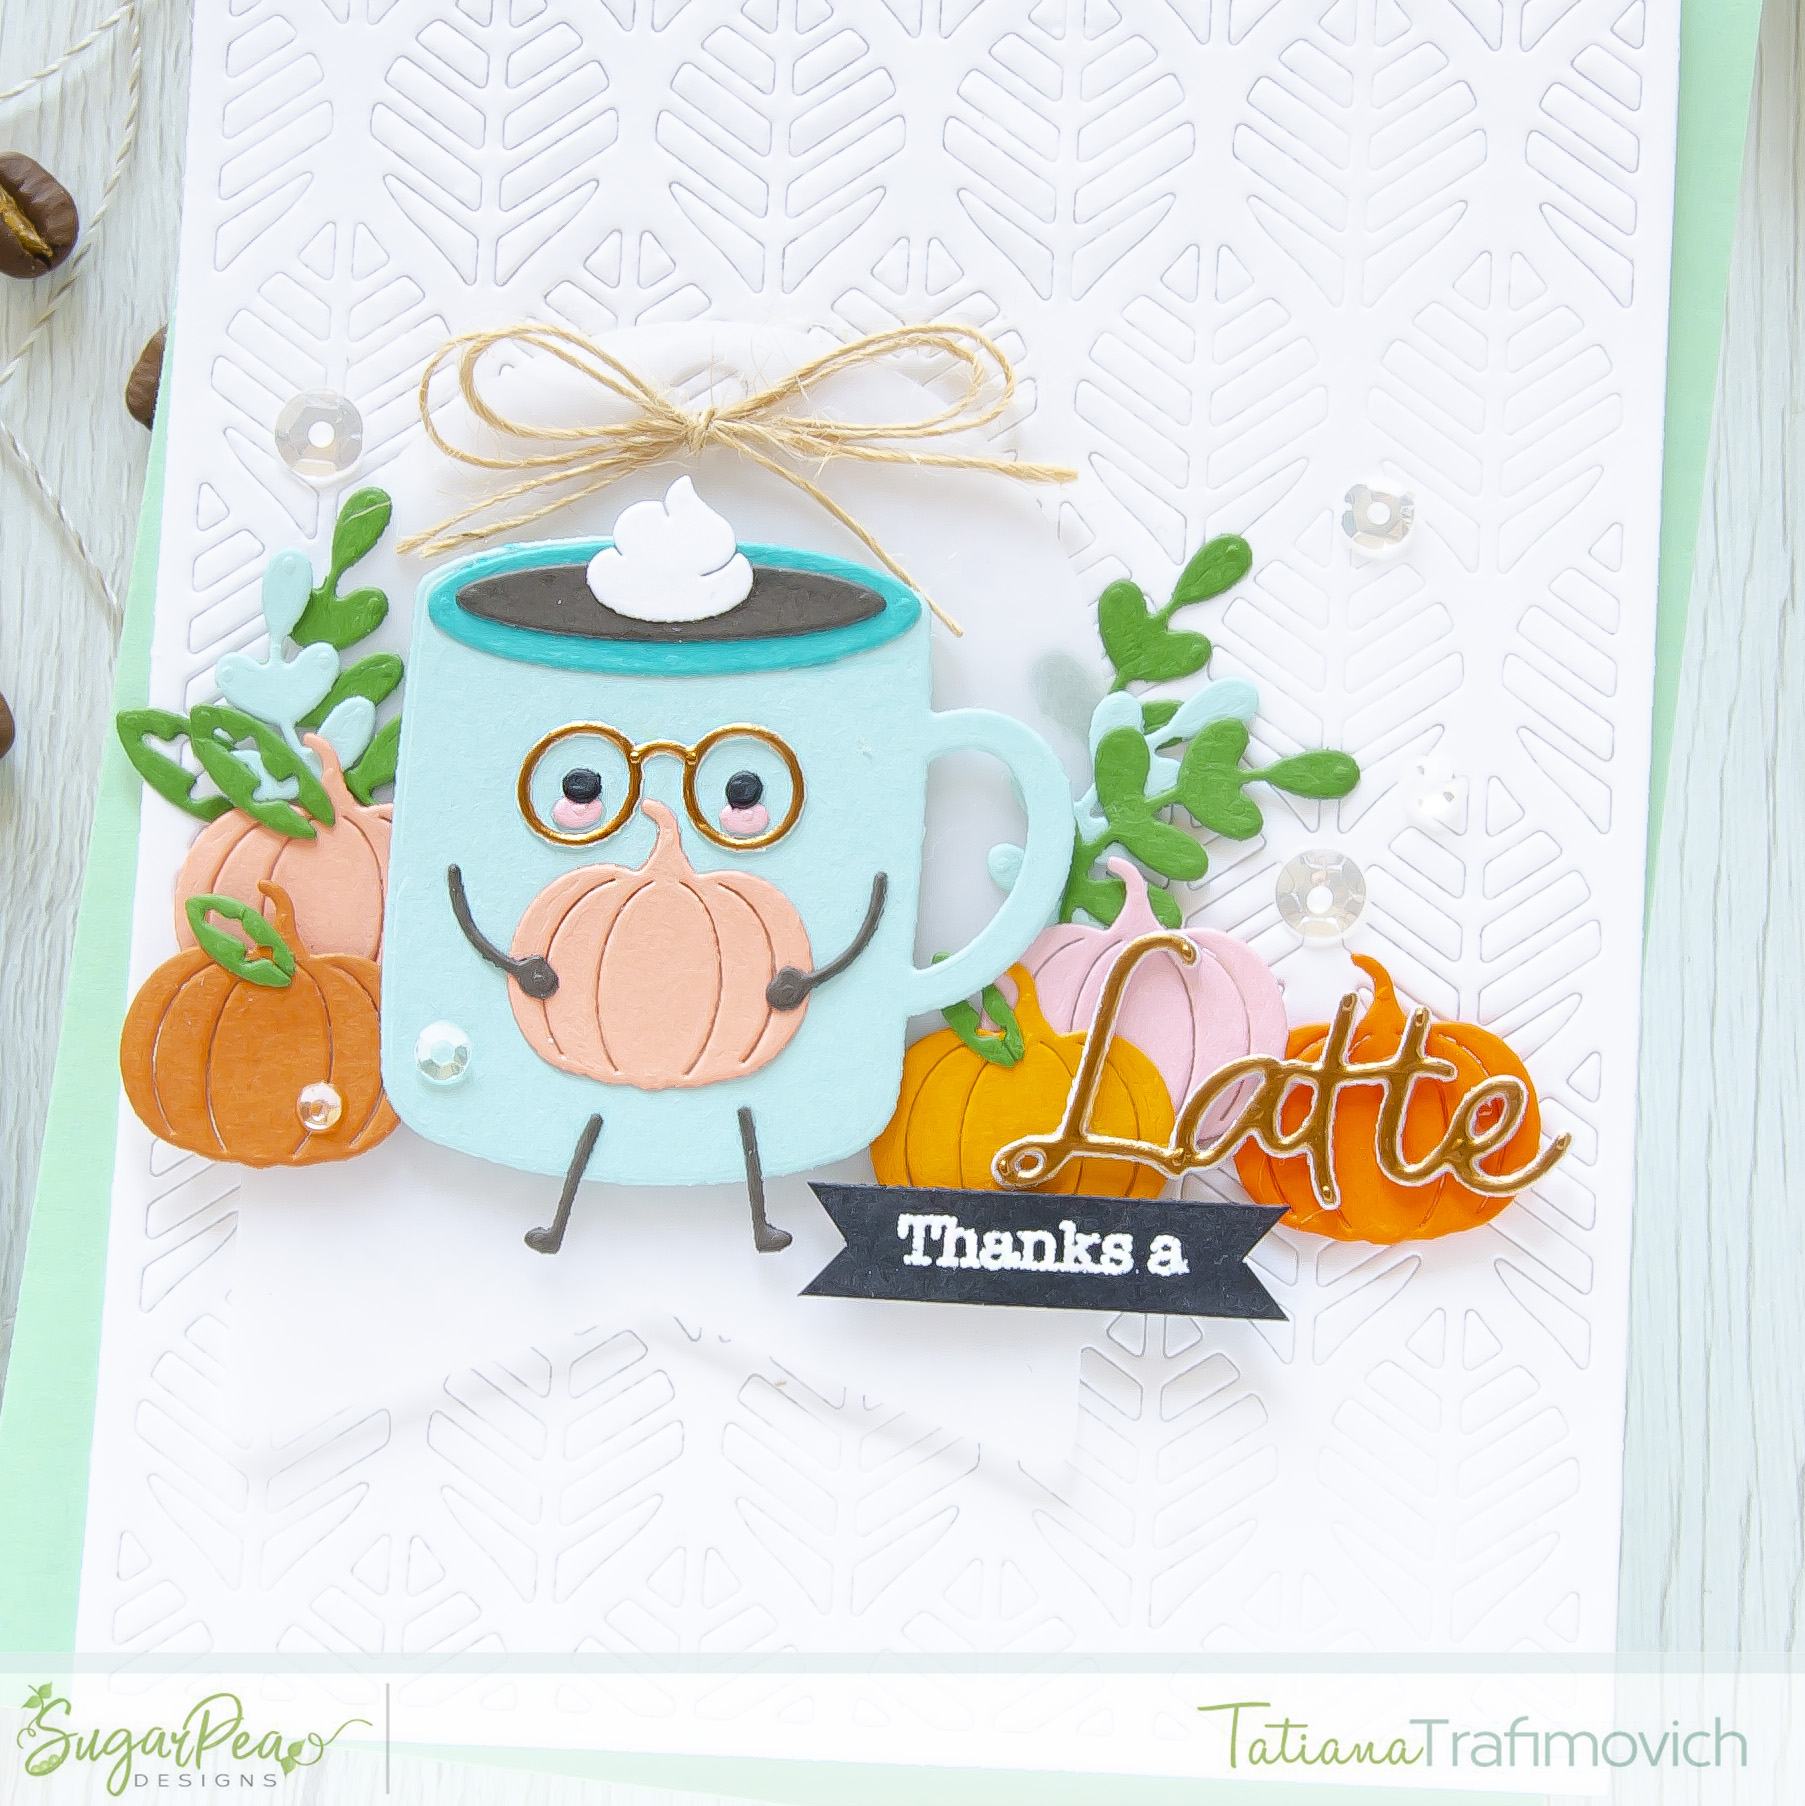
On my stop of this hop you will find a die cut project that features some amazing new products from SugarPea Designs that cannot be any perfect to match the coffee theme! I decided to pair them with a couple of “older” dies and transform my cute coffee theme into a fall one!
Key Ingredients:
- Coffee Cuties SugarCut
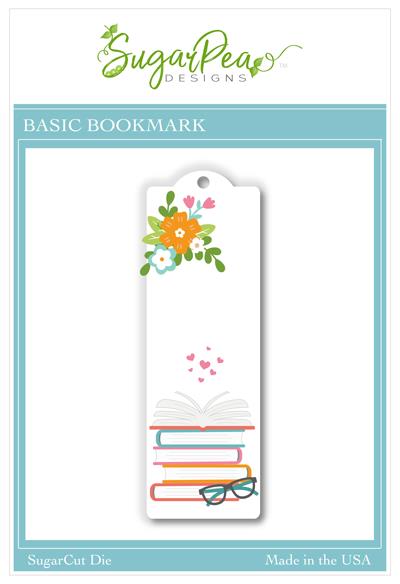
- Basic Bookmark SugarCut
- Cutie Pie SugarCut
- Whole Latte Words SugarCut
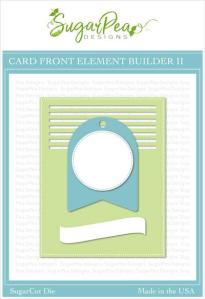
- Card Front Element Builder II
- Brew-tiful Sentiments Stamp Set
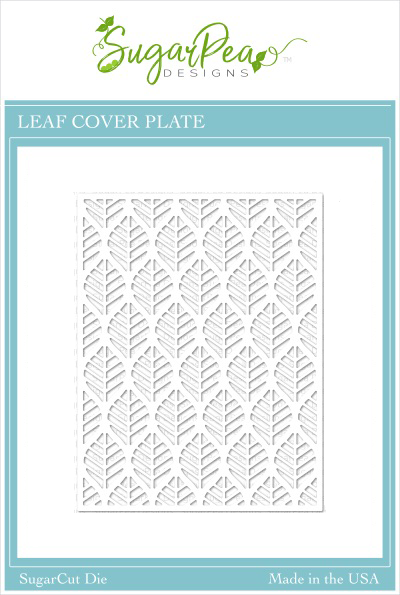
- Leaf Cover Plate SugarCut
Step By Step Instructions:
- Die cut all the elements you need for your scene, using Coffee Cuties SugarCut, Basic Bookmark SugarCut, Cutie Pie SugarCut, an assortment of cardstock colors and Sizzix Big Shot Die Cutting machine. I used:
- The Stamp Market Sea Glass cardstock
- The Stamp Market Emerald Isle cardstock
- Bazzill Candy Bar cardstock
- The Stamp Market Grapefruit cardstock
- The Stamp Market Melon Orange cardstock
- The Stamp Market Rust cardstock
- Concord & 9th Marmalade cardstock
- The Stamp Market Greenery cardstock
- DCWV Foiled cardstock
- Die cut from vellum a tag, using Card Front Element Builder II.
- Die cut three times the word “Latte” from Whole Latte Words SugarCut: two times – from a white cardstock and once – from a copper foiled cardstock. Glue together all three layers, using Distress Collage Medium Matte.
- Heat emboss in white onto black the sentiment from Brew-tiful Sentiments Stamp Set with VersaMark Clear Embossing Ink. Don’t forget to prep the cardstock with a Powder Tool Applicator to prevent the embossing powder to stick where you don’t want it!
- Trim and score an extended A2 size card base (5 1/2″ x 4 1/4″) from Neenah Solar White paper.
- Emboss Leaf Cover Plate SugarCut on a piece of Neenah Solar White paper by sending it through Die Cutting machine with a rubber embossing mat.
- Arrange and glue in place all the elements. Pop some of them on a foam tape for a fun dimensional look.
- Finish with some clear sparkling sequins.

That’s all for today! Hope this sweet fall card will inspire you! As always thanks so much for stopping by and have a great day!!!
Hugs,
Tatiana

Brew-tiful Sentiments Stamp Set
DISCLOSURE. I’m currently on various Design Teams. I only join a team because I love their products and genuinely use them. All opinions are my own. I do not accept offers of direct payment for dedicated blog posts to promote products. I am part of various affiliate programs and link some supplies with compensated affiliate links when used where possible at no cost to you. When you click on an affiliate link and then go on to make a purchase, I receive a small commission. I use the money raised towards the cost of running this blog. I hope if you like the content of my blog you will support me by clicking through these links to make your purchases. Thank you!




11 comments
Absolutely LOVE all the elements Tatiana. Such a fabulous project.
Thank you so much for joining in the fun!
What a detailed and fun card! Very happy!!
What a fun fun card – I just love the glasses and the pumpkin figure on the cup – so super cool TFS
Wow! What a great Fall Coffee card! I love all the different color pumpkins! That background die is amazing!
Your card is so adorable! I just love these new products from Sugarpea.
oh my gosh! This is such an adorable card! I love it!
Love this card and all those layers. That background die is awesome.
This little cup wearing those glasses is the cutest thing EVER !! All of the elements you used are combined to create a great card !!
this card is super cute. I just love the pumpkins cut in different colors. They really make the card pop. TOO cute!
this is so cool!
[…] from Tatiana Trafimovich’s […]