Hello and welcome!
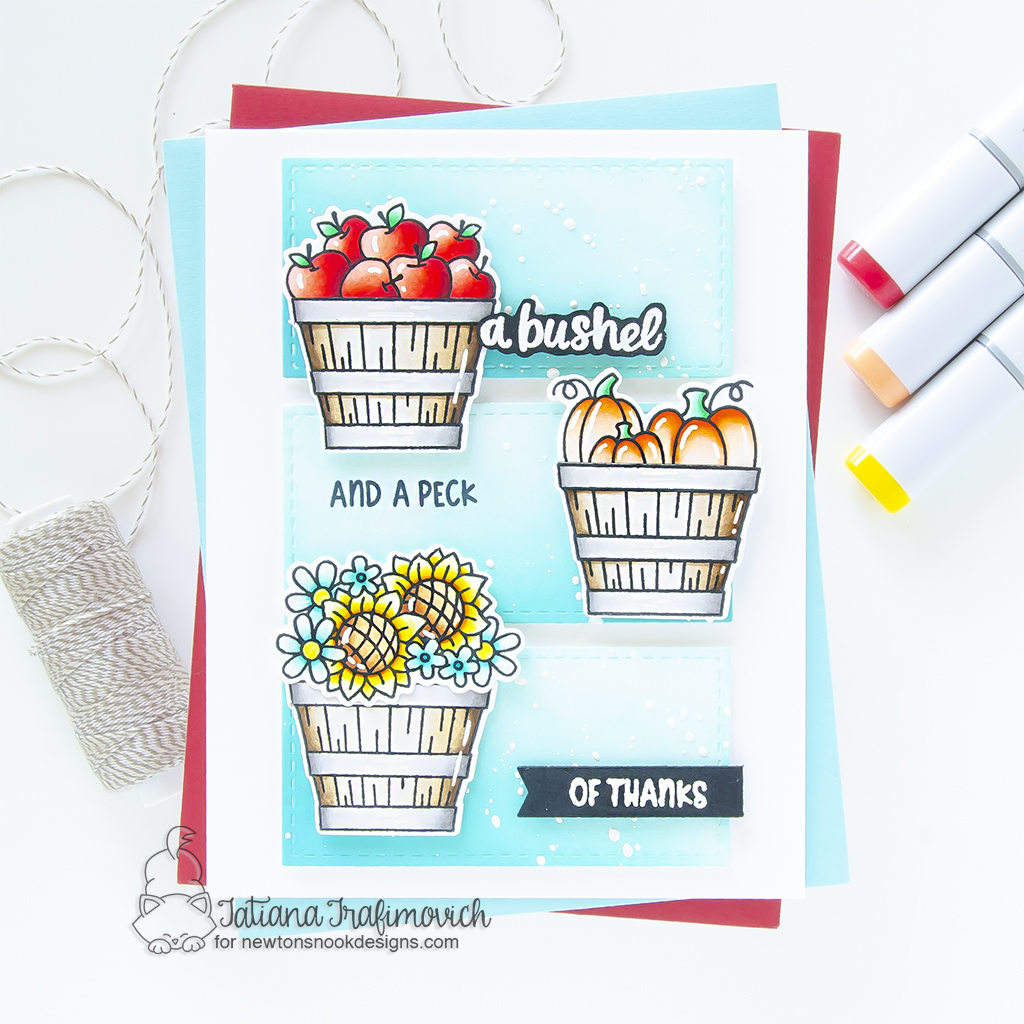
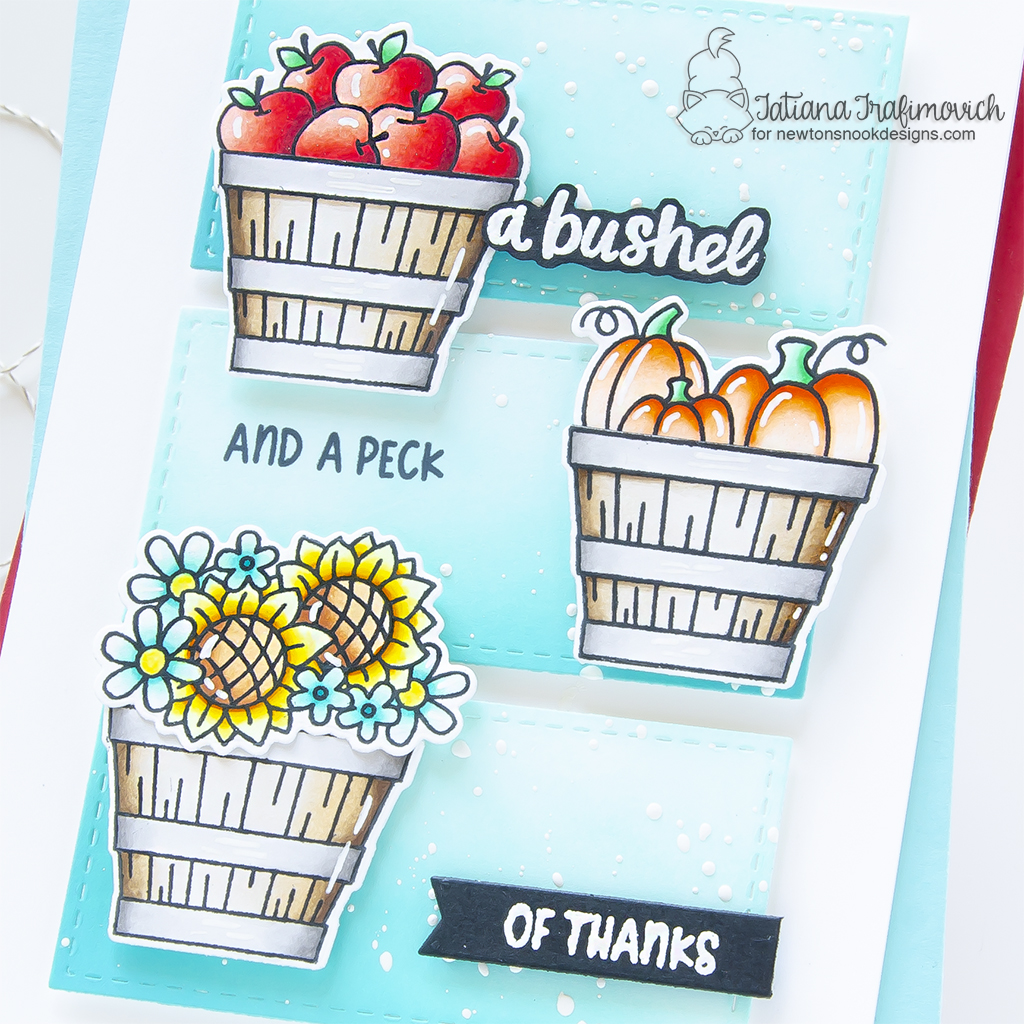
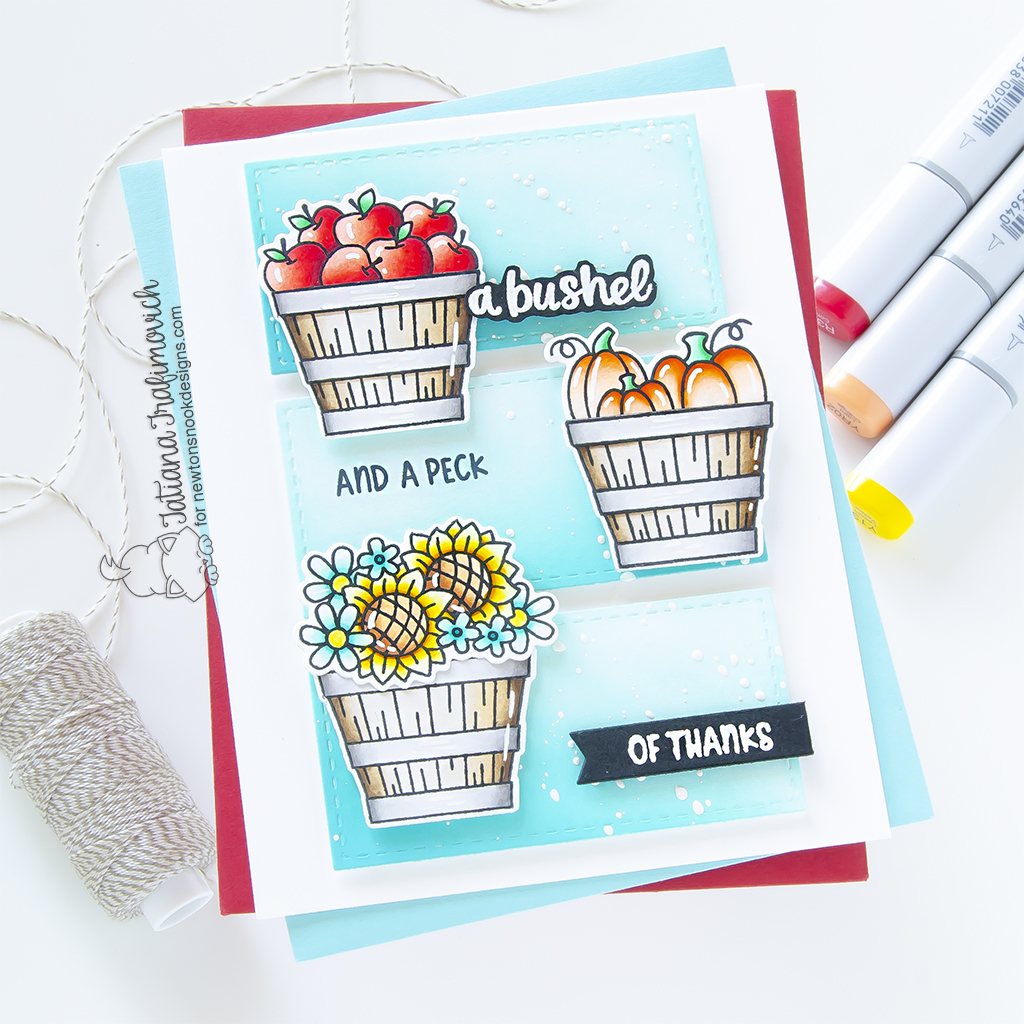
I’m so glad you’ve joined me today and even more excited to be on the Newton’s Nook Designs blog, sharing a sweet autumn card that features beautiful Fall Harvest Stamp Set from the NND latest fall release!

Fall is my favorite season as well as the autumn stamps and dies! However, the autumn craft products are often obscured by Christmas and Holiday stuff! So today, I decided to make you get another glimpse of beautiful Fall Harvest Stamp Set! This wonderful stamp set became one of my favorites so far because it contains both the cutest critters and more traditional fall illustrations! Let me tell you that the sky is the limit to all possible designs with this versatile set!

Key Ingredients:
Step By Step Instructions:
- Die cut from Neenah Solar White paper all the elements you need, using the coordinating Fall Harvest Die Set and Spellbinders Platinum 6 Die Cutting Machine or Sizzix Big Shot Die Cutting Machine. Save the negative parts of the dies.
- Stamp the outline illustrations from Fall Harvest Stamp Set with Memento Tuxedo Black ink, using the negative parts of the dies as a guide for a perfect alignment inside the stamping positioning tool.
- Color the stamps with COPIC MARKERS. I used on this card:
- red R0000-R30-R43-R35-R39
- orange YR0000-YR00-YR61-YR65-YR68
- yellow Y0000-Y13-Y19-YR24
- green G0000-G00-G02-G05
- teal BG10-BG11-BG15-BG49
- brown E30-E33-E34
- green YG00-YG01-YG06-G09
- bushel baskets E40-E41-E42-E43-E44-E47 & T0-T1-T3
- Trim and score an extended A2 size card base (5 1/2″ x 4 1/4″) from Neenah Solar White paper. I used Tim Holtz Maxi Guillotine Trimmer and Mini Score Board.
- Die cut three faux stitched rectangles from the same Neenah Solar White paper, using A7 Frames & Banners Die Set.
- Ink them with Salvaged Patina Distress Oxide ink and Peacock Feathers Distress Oxide ink, using the blending brushes.
- Splatter the inked panels with some tiny dots of a white gouache.
- Heat emboss in white onto black the two parts of the sentiment, using VersaMark clear sticky ink. Don’t forget to prep the paper with a Powder Tool Applicator to prevent the embossing powder to stick where you don’t want it!
- Fussy cut “a bushel” word with the sharp small scissors, leaving a little white edge around.
- Partially die cut “of thanks” word, using a fish-tail banner from A7 Frames & Banners Die Set.
- Stamp “and a peck” frase with Memento Tuxedo Black ink on one inked panel.
- Arrange and glue in place all the elements on the card front by popping them on a foam tape for a bit of dimension.
- Finish with a generous coat of Wink of Stella clear glitter pen and a few highlights added with a white gel pen.

That’s all for today! Hope you like this sweet fall card ! Thanks so much for stopping by and have a fabulous day!
Hugs,
Tatiana
