Hello and welcome!
Did you see that Newton’s Nook Designs is having a retiring sale on their website? It’s time to make room for new products so they are retiring select designs! These designs are available at up to 40% off while supplies last so hurry to get your favorites before they’re gone for good!

All week the NND Design Team will be sharing inspiration using some of their favorite products from the retiring list! Check out what I created today and don’t forget to check the Newton’s Nook Designs Blog each day this week for more fun inspiration!

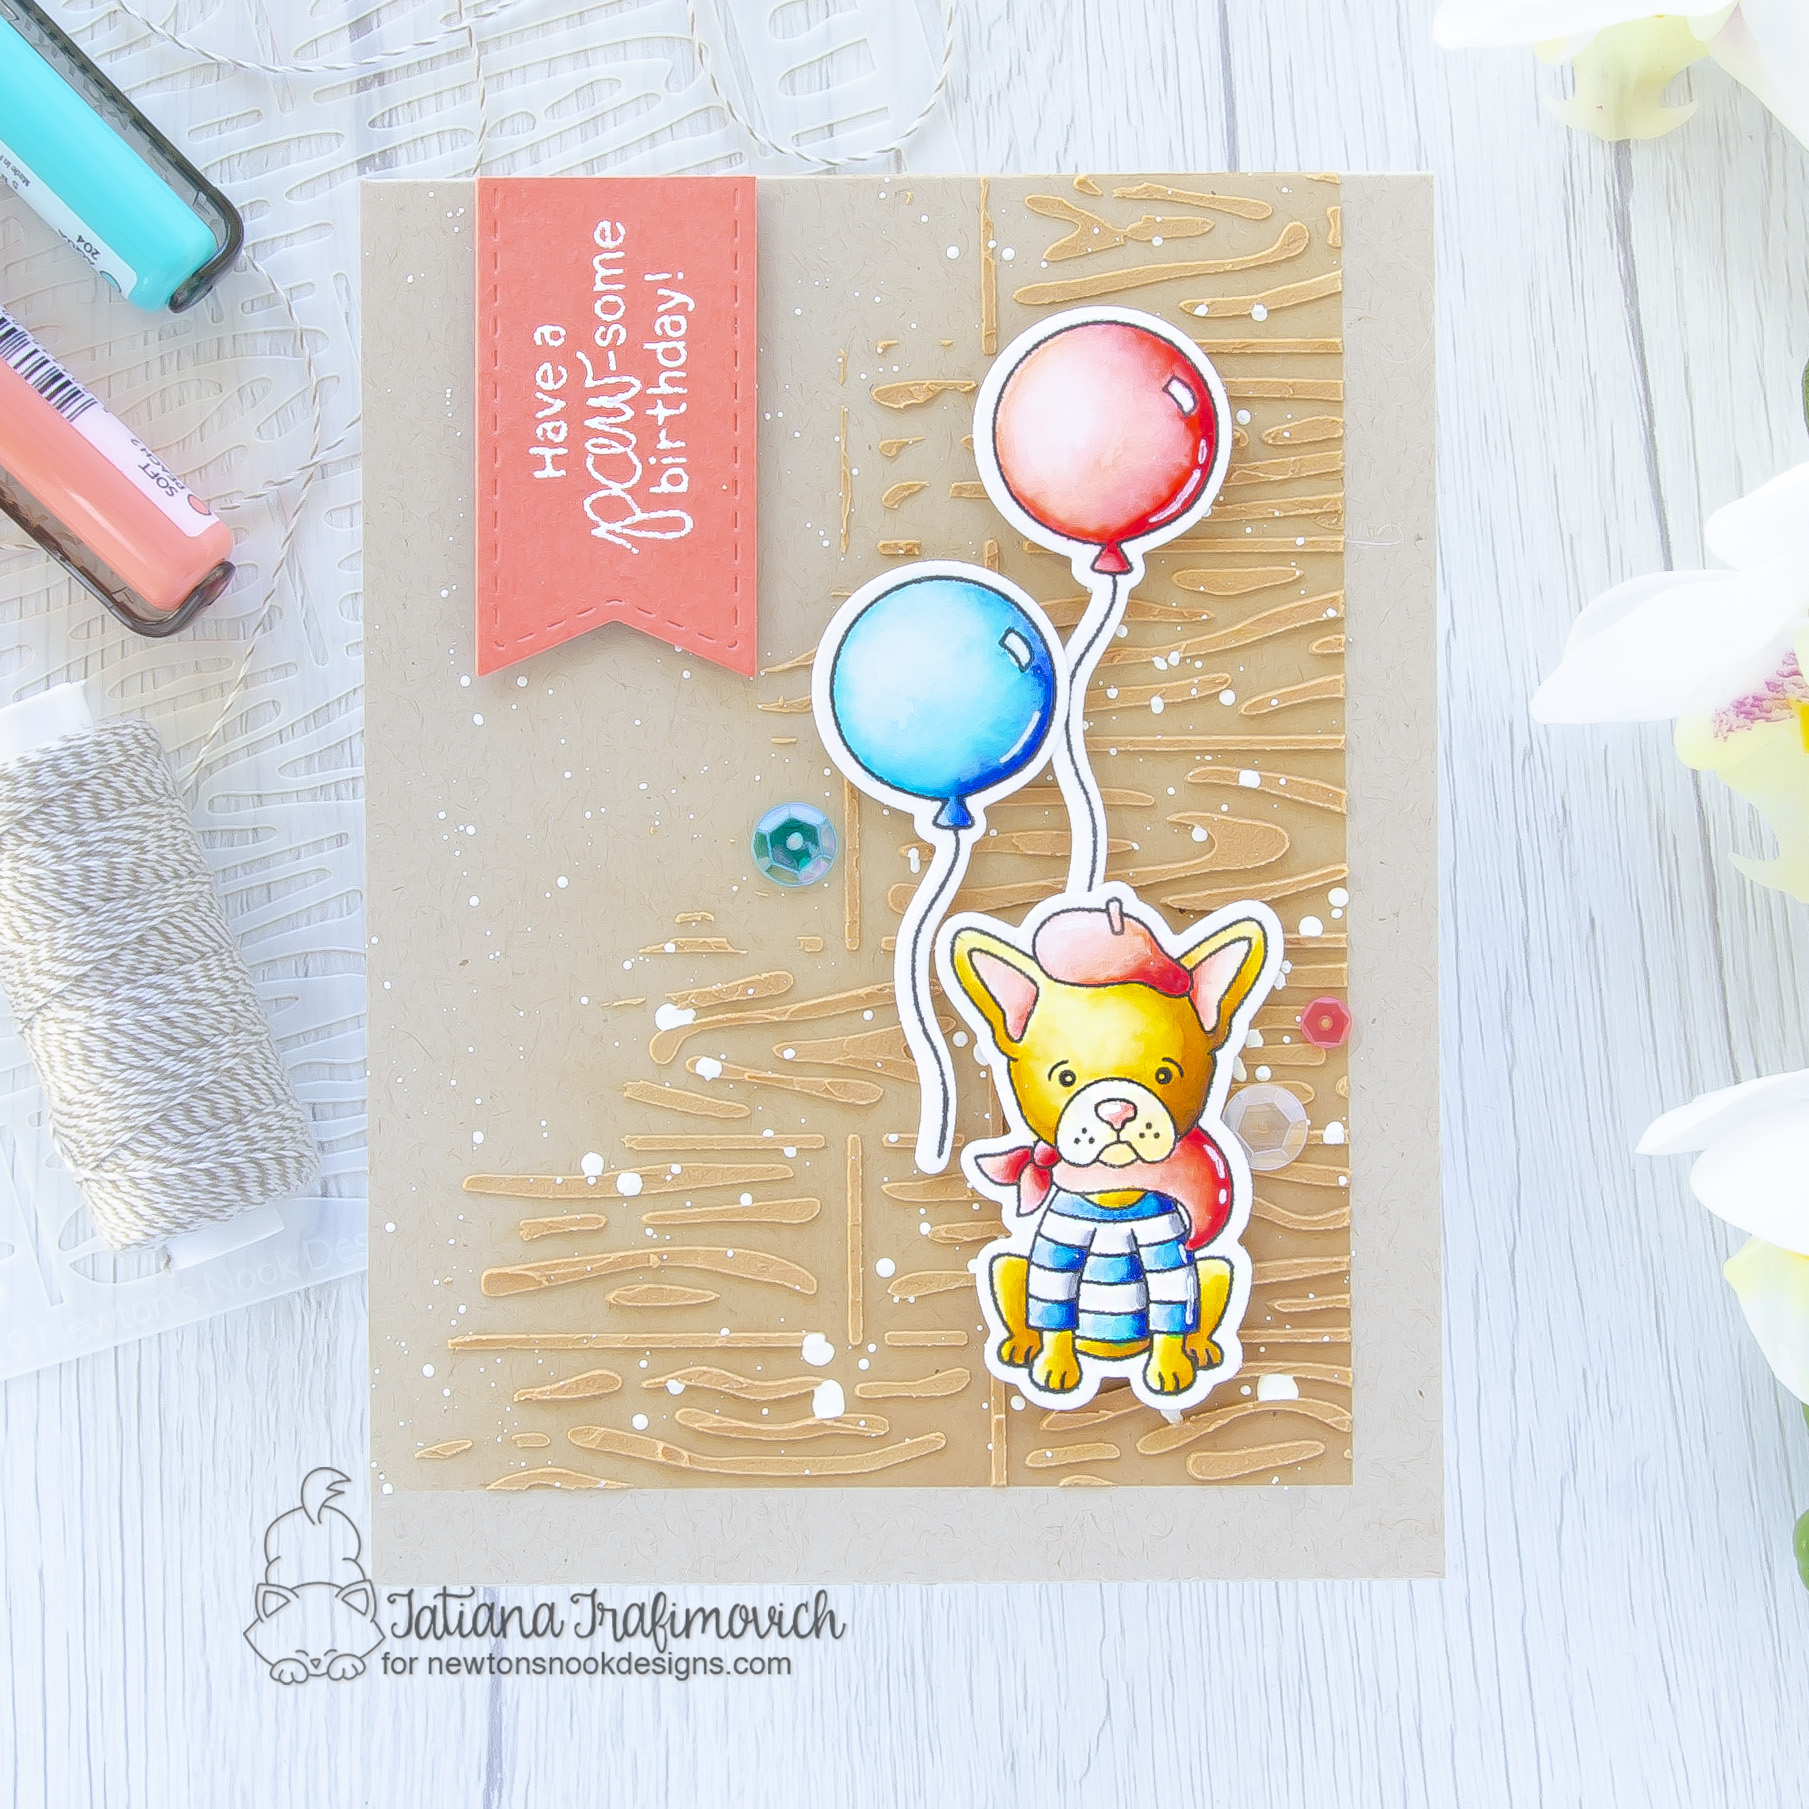
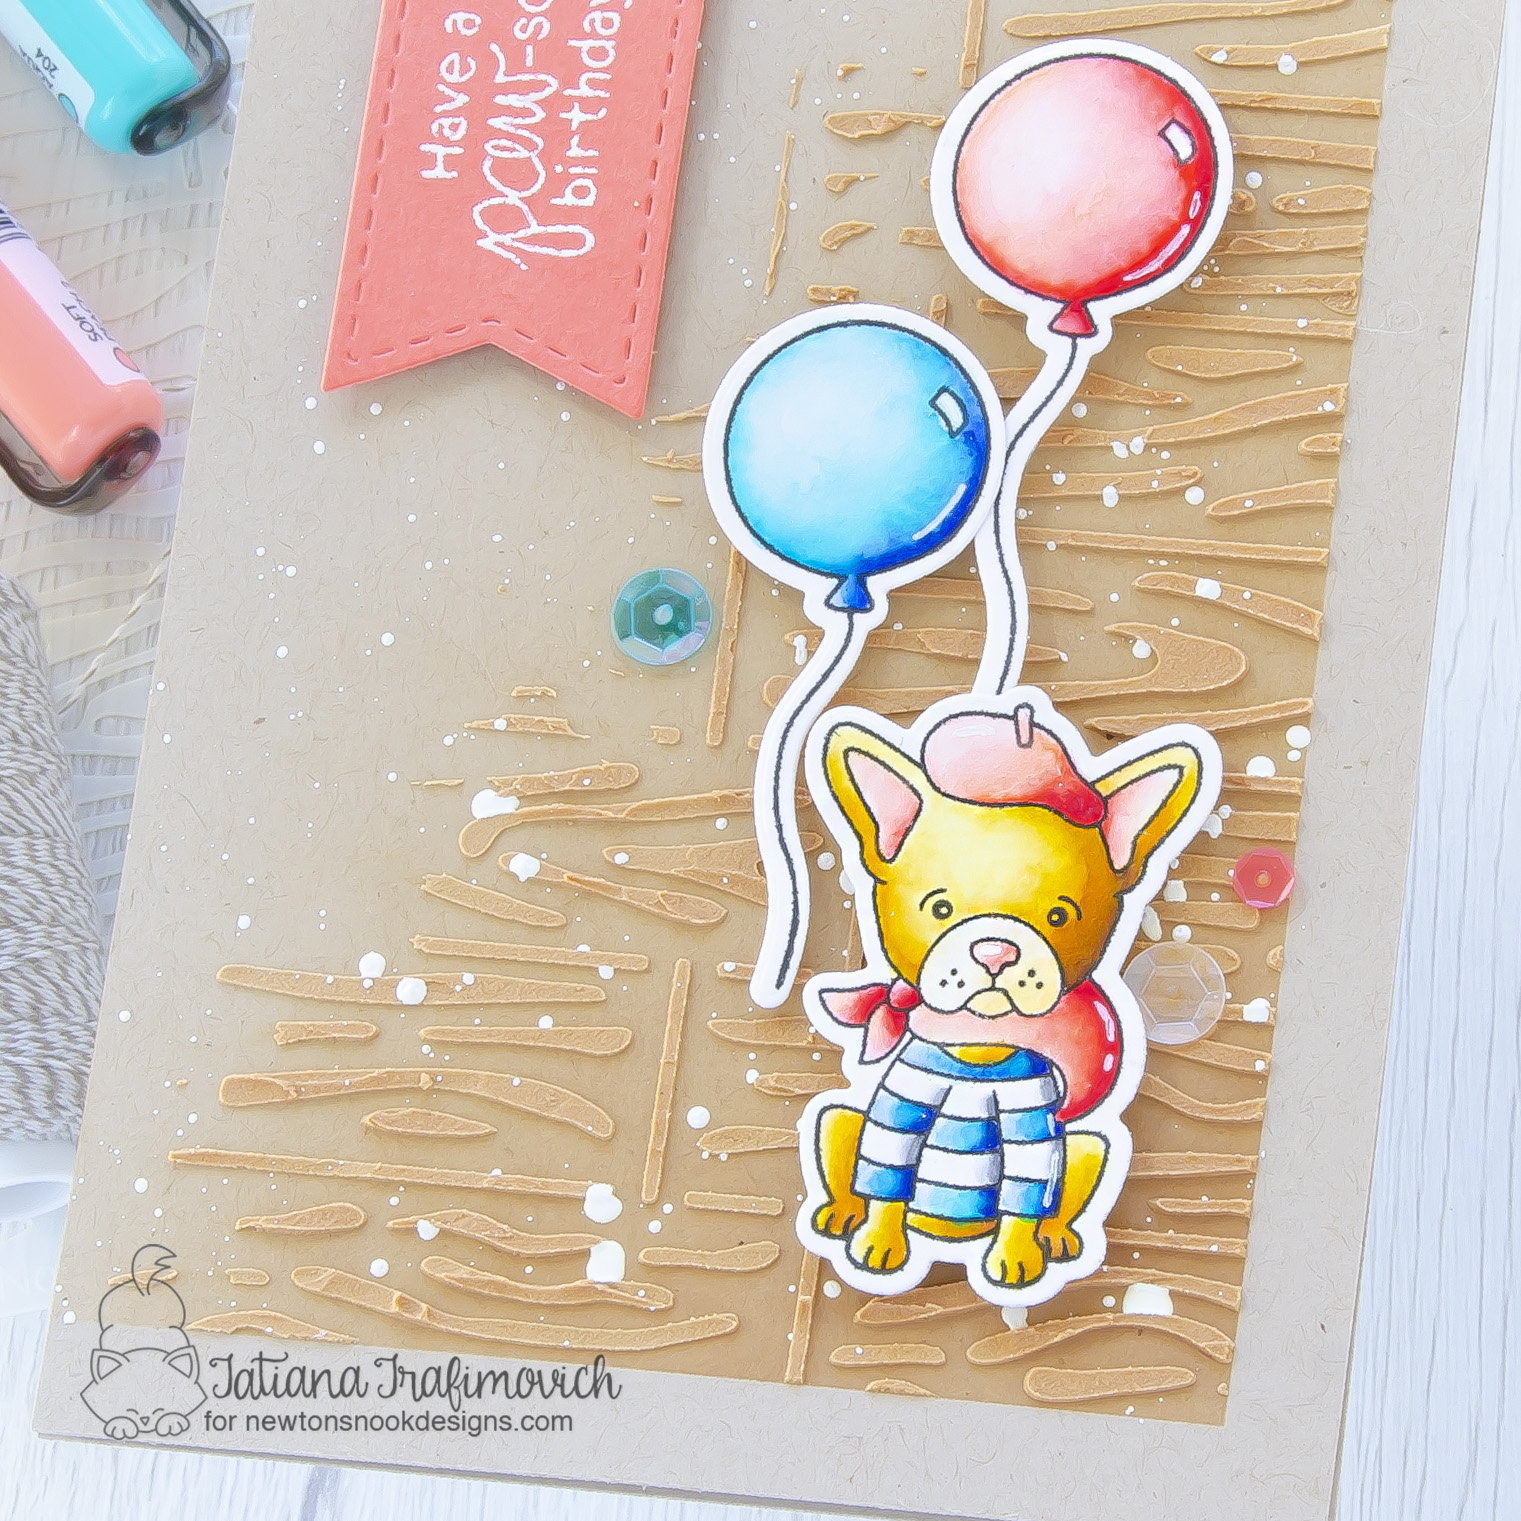
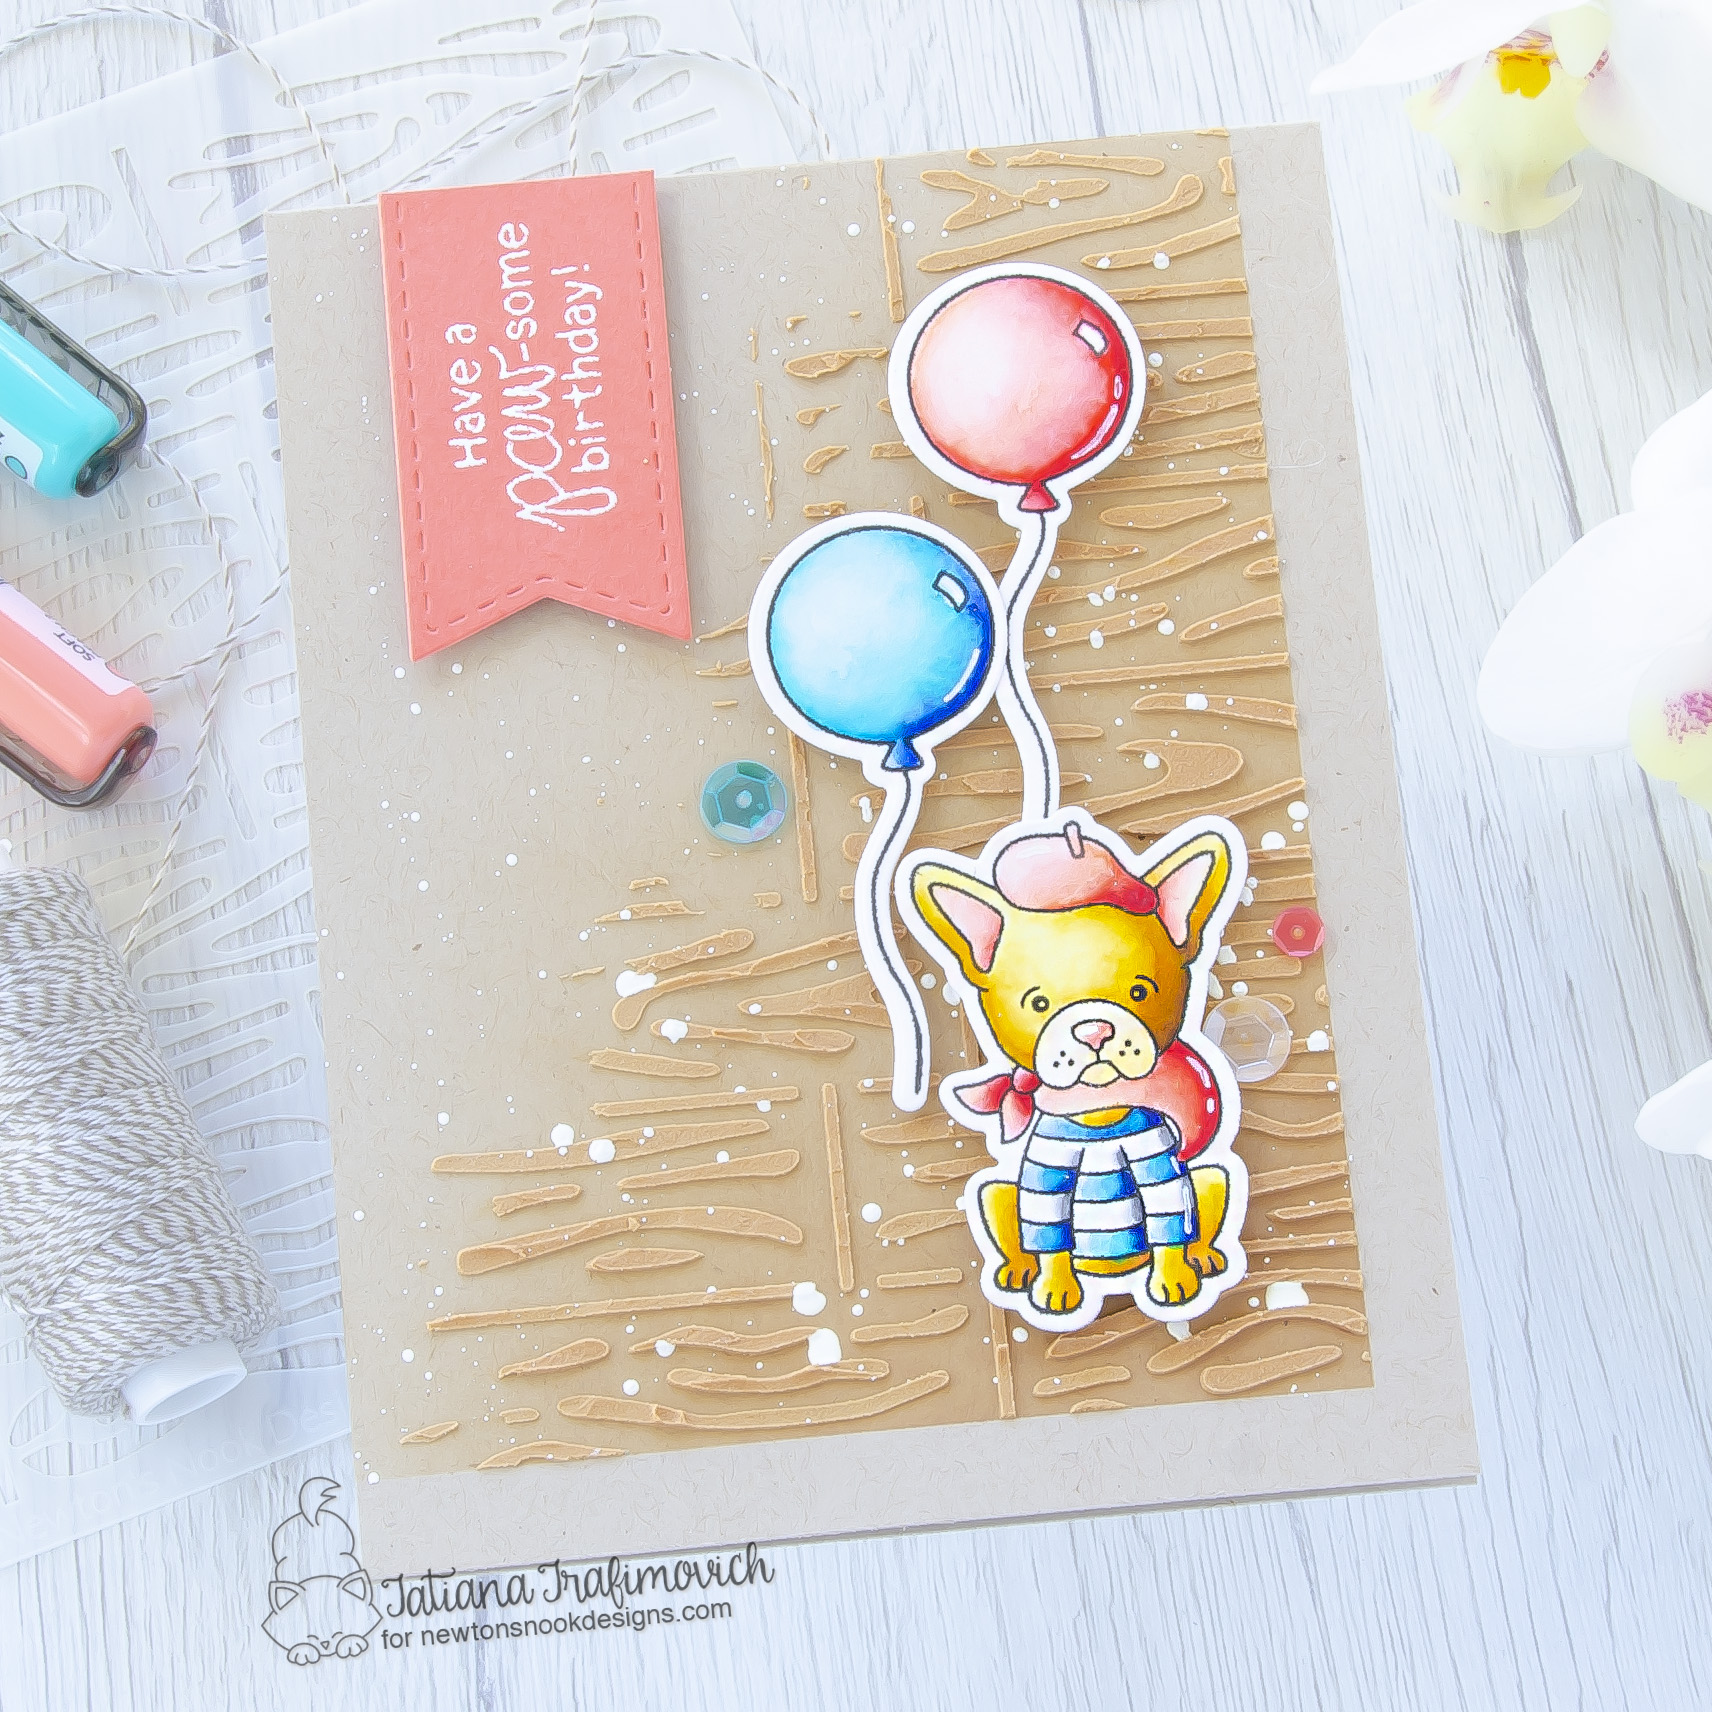
Today on my blog I’m sharing a cute and fun birthday card that features absolutely adorable Fabulous Frenchies Stamp Set paired with a fun hardwood background. I colored the illustrations with new to me Karin Brushmarkers. This is my first attempt to use them. I applied the colors directly from the markers and then made the blending with a regular brush.

Key Ingredients:
Step By Step Instructions:
- Die cut from Strathmore Bristol paper all the elements you need, using the coordinating Fabulous Frenchies Die Set. I used on this project Sizzix Big Shot Die Cutting machine. Save the negative parts of the dies.
- Stamp the outline illustrations from Fabulous Frenchies Stamp Set with VersaFine Onyx Black pigment ink. Use the negative parts of the dies as a guide for a perfect alignment inside the stamping positioning tool.
- Color the stamps with water based markers. I used on this card KARIN BRUSHMARKERS PRO:
- dog 283, 216, 552, 272, 174
- grey 277
- pink 200, 181, 168
- blue 305, 204
- Trim and score an extended A2 size card base (5 1/2″ x 4 1/4″) from Neenah Desert Storm paper.
- Mask the bottom right corner with a low tack tape and ink the card front with Vintage Photo Distress Oxide ink, using the blending brush. Leave the masking tape in place.
- Mix Vintage Photo Distress ink with a white embossing paste on a slick surface, tape well Hardwood Stencil to the card front and apply the embossing paste at an angle. Lift up the stencil and the masking tape. Let it air dry well.
- Splatter the background with some tiny droplets of a white gouache diluted with a small amount of water.
- Die cut from The Stamp Market Papaya cardstock a stitched banner, using Frames & Flags Die Set.
- Heat emboss in white the sentiment from Fabulous Frenchies Stamp Set with VersaMark Clear Embossing Ink onto the banner. Don’t forget to prep the cardstock with a Powder Tool Applicator to prevent the embossing powder to stick where you don’t want it!
- Arrange and glue in place all the elements on the card front, by popping them on a foam tape for a fun dimensional look.
- Finish with a couple of matching sequins and some highlight added with a white gel pen.

That’s all for today! Hope you like this cute birthday card! Thanks so much for stopping by and have a fabulous day!
Hugs,
Tatiana
