Hello and welcome!
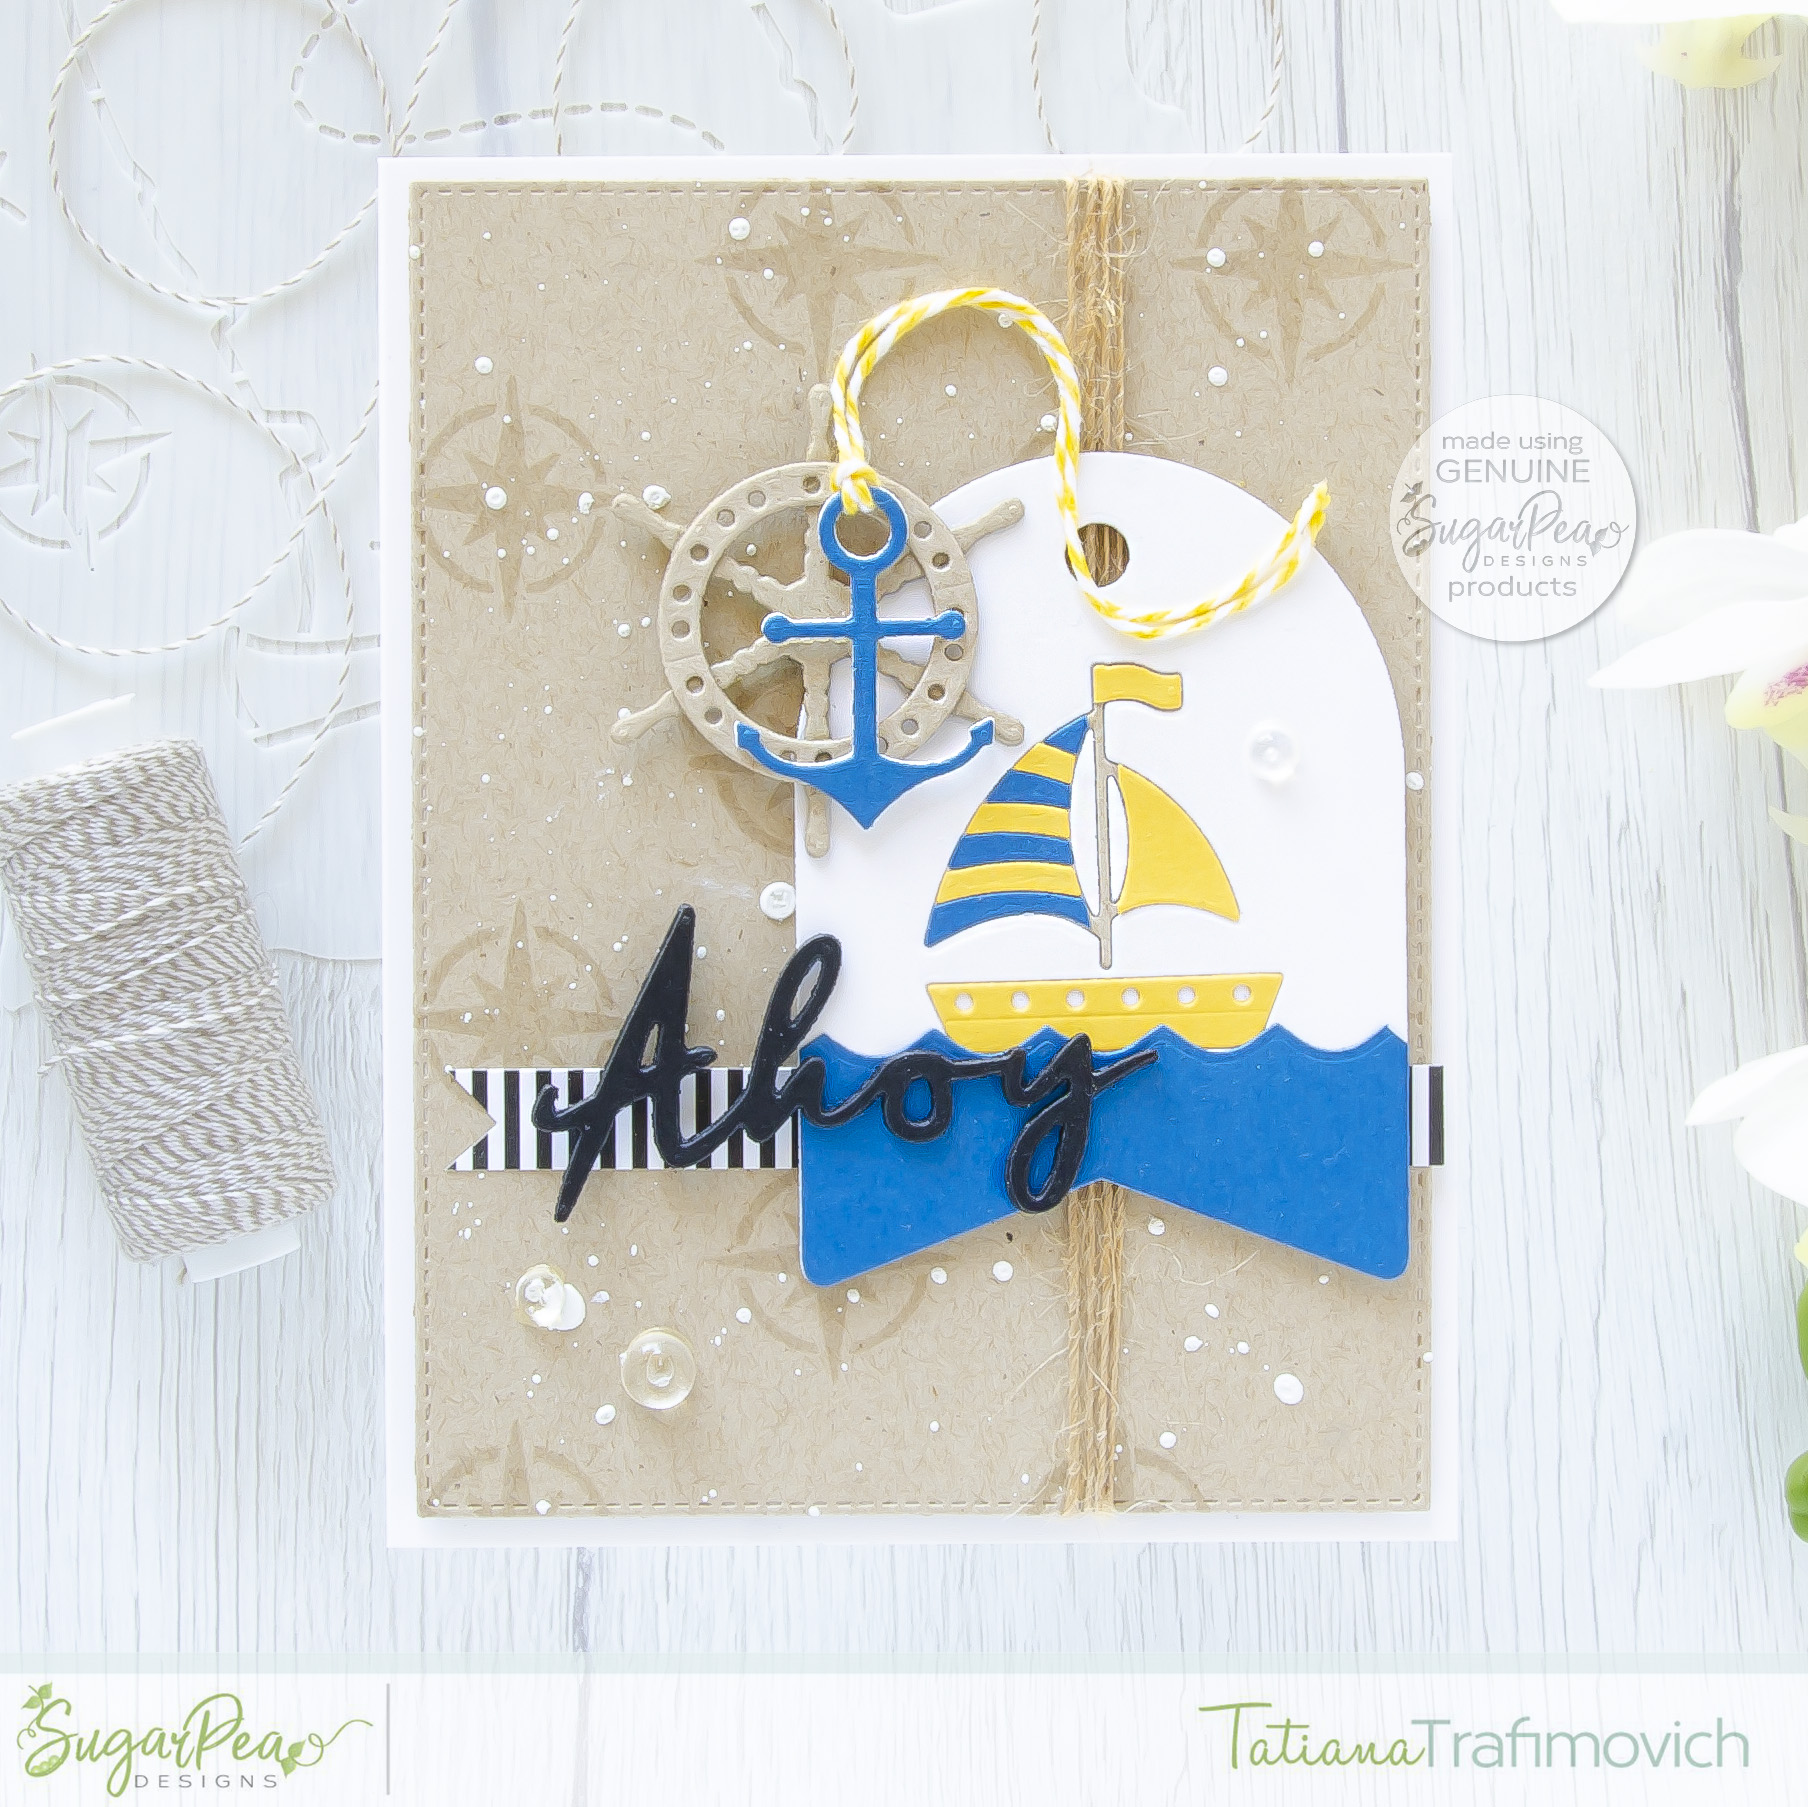
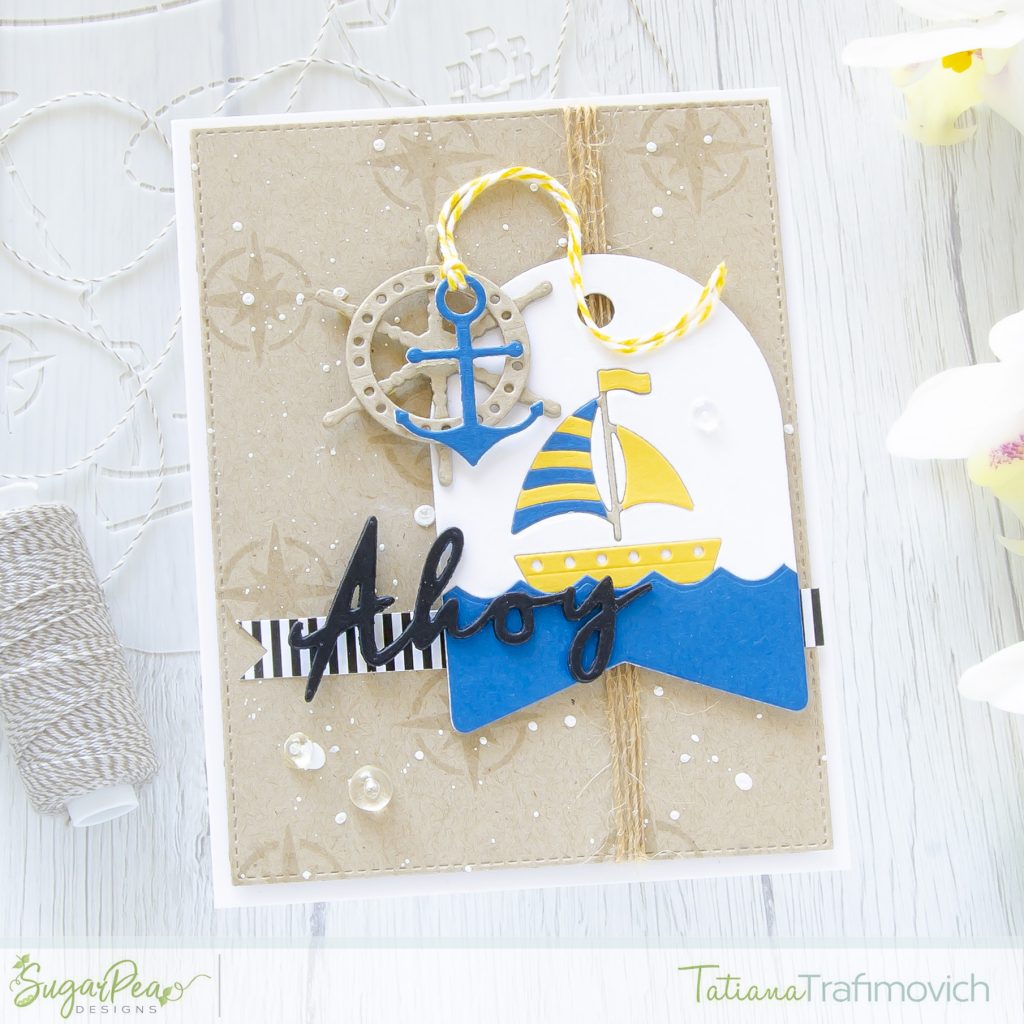
Today is my turn to get you inspired for the SugarPea Designs monthly Mix It Up Challenge! I came up with a simple nautical card created with a mix of die cut elements from different die sets!
In case you want to play along, as well, here’s how you can do that: you have all month to play along and make a project using just the inspiration, just the sketch or Mix it Up and use both! It is totally up to you! You can find all the rules at SugarPea blog right here!!!

Key Ingredients:
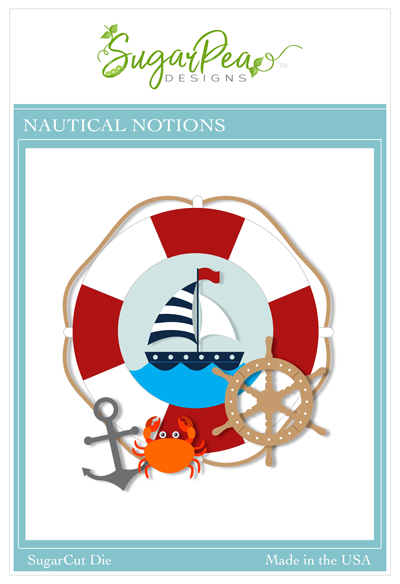
- Nautical Notions SugarCut
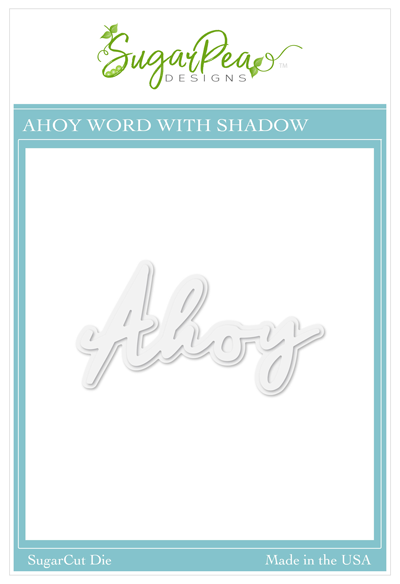
- Ahoy SugarCut
- Card Front Element Builder II
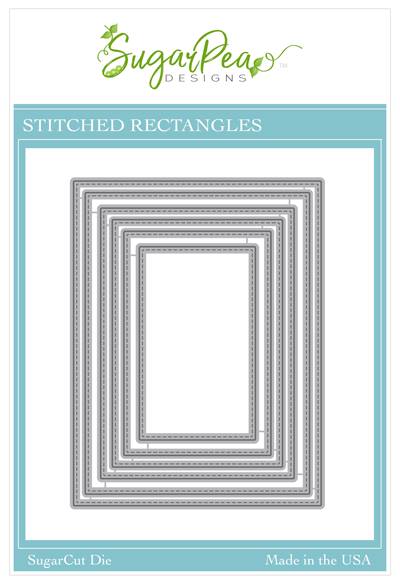
- Stitched Rectangles SugarCut
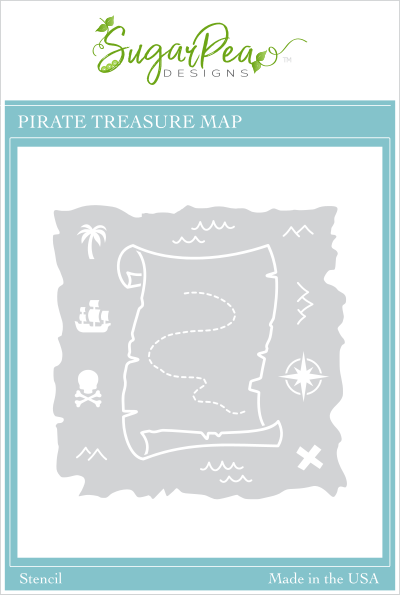
- Pirate Treasure Map Stencil

Step By Step Instructions:
- Trim and score an extended A2 card base (5 1/2″ x 4 1/4″) from Neenah Solar White paper.
- Die cut a stitched rectangle slightly smaller than the card front, using Stitched Rectangles SugarCut and Neenah Desert Storm paper. I used on this project Sizzix Big Shot Die Cutting machine.
- Repeatedly ink a tone on tone compass rose through Pirate Treasure Map Stencil with VersaMark clear sticky ink.
- Splatter the background with a white gouache and wrap a matching natural twine around.
- Die cut a fish-tail tag twice from Neenah Solar White and The Stamp Market Cobalt papers, using Card Front Element Builder II.
- Die cut the edge of the blue tag with a wavy die from Nautical Notions SugarCut.
- Die cut the sail boat from Nautical Notions SugarCut four times:
- in the center of the white tag;
- from The Stamp Market Cobalt cardstock;
- from Concord & 9th Buttercup cardstock;
- from Neenah Desert Storm cardstock.
- Assemble and glue in place the ship elements, using the negative space inside the tag as a guide.
- Die cut the anchor from Nautical Notions SugarCut a couple of times and glue all the layers together, placing The Stamp Market Cobalt on top.
- Die cut the ship wheel from Nautical Notions SugarCut on Neenah Desert storm cardstock a couple of times and glue all the layers together.
- Die cut Ahoy SugarCut from a black cardstock a couple of times and glue all the layers together.
- Trim a stripe from MFT Black & White Stripes pattern paper.
- Arrange and glue in place all the elements, by popping some of them on a foam tape for a fun dimensional look.
- Finish with some clear droplets.
Designer’s Tip:
Use a liquid adhesive on this project that dries CLEAR and MATTE like Distress Collage Medium Matte or Multi Medium Matte to achieve a nice, clean and professional result.
Hope you like this cute card! Now it’s your turn to link up your creations for a chance to win a $50 Gift Certificate from SugarPea Designs! Can’t wait to see what you create!!!
Thanks so much for stopping by and have a wonderful day!!!
Hugs,
Tatiana

