Hello and welcome! I’m so excited to be part of the Newton’s Nook Designs Lucky Release and blog hop today! Hope you will like my take on the cutest new products that are perfect for creating paper projects on San Patrick’s Day and many other special occasions!
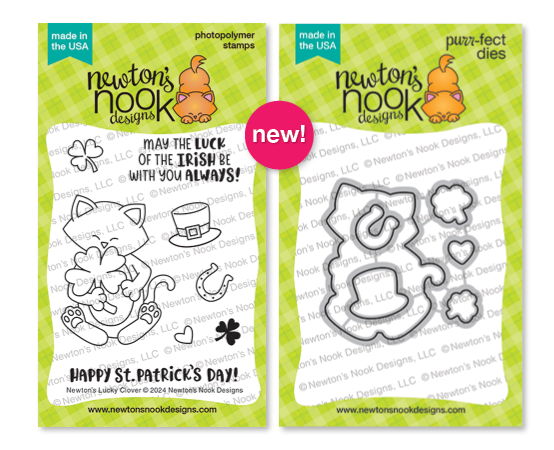
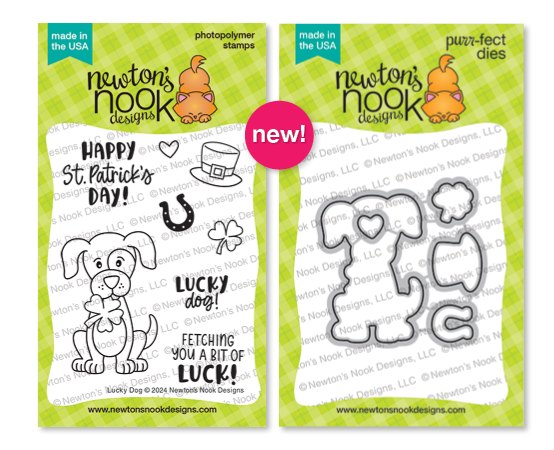
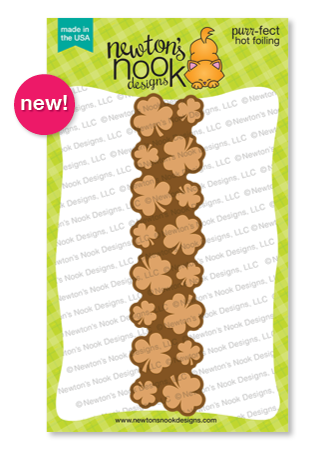
Today I’m happy to introduce you two new small, but not less adorable Newton’s Lucky Clover Stamp Set and Lucky Dog Stamp Set that comes with the coordinating Newton’s Lucky Clover Die Set and Lucky Dog Die Set! Plus there’s a charming new Shamrocks Hot Foil Plate that will add some shine and sparkle to your backgrounds in no time!
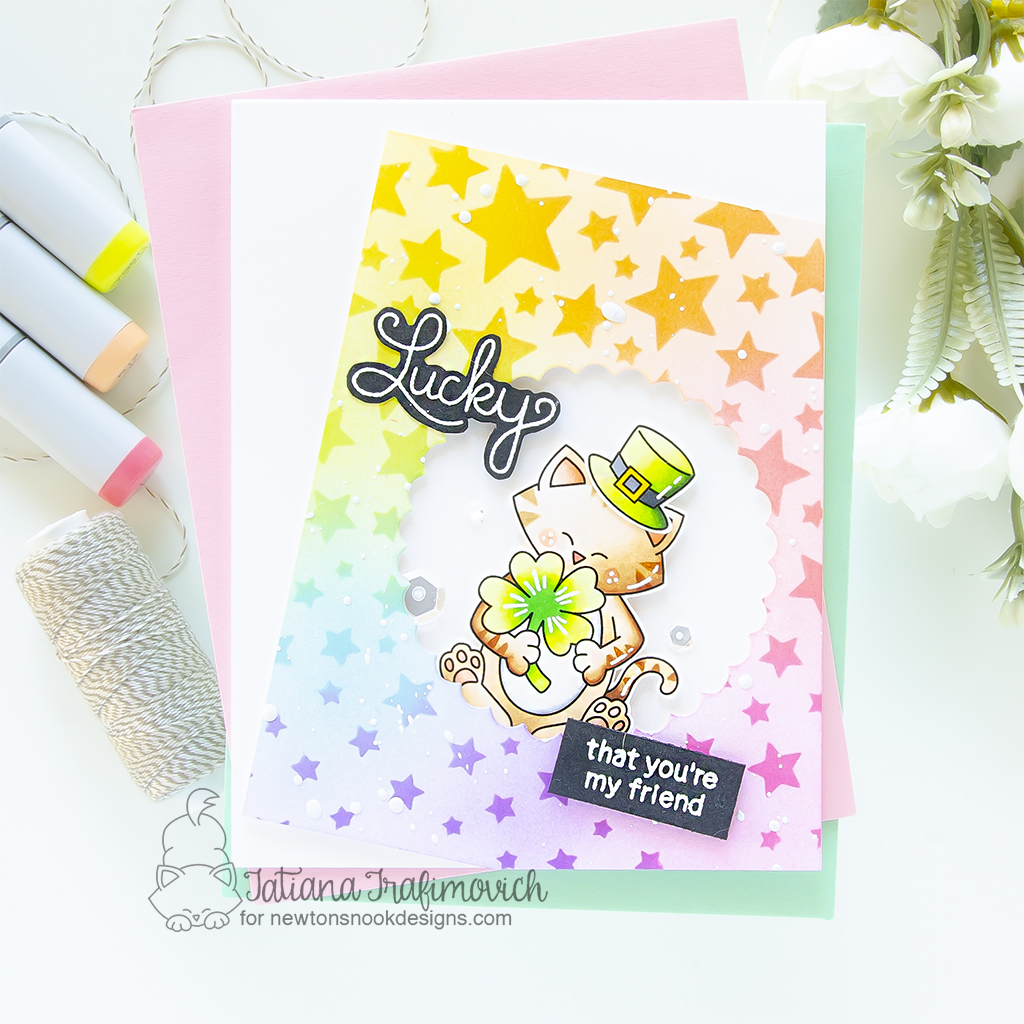
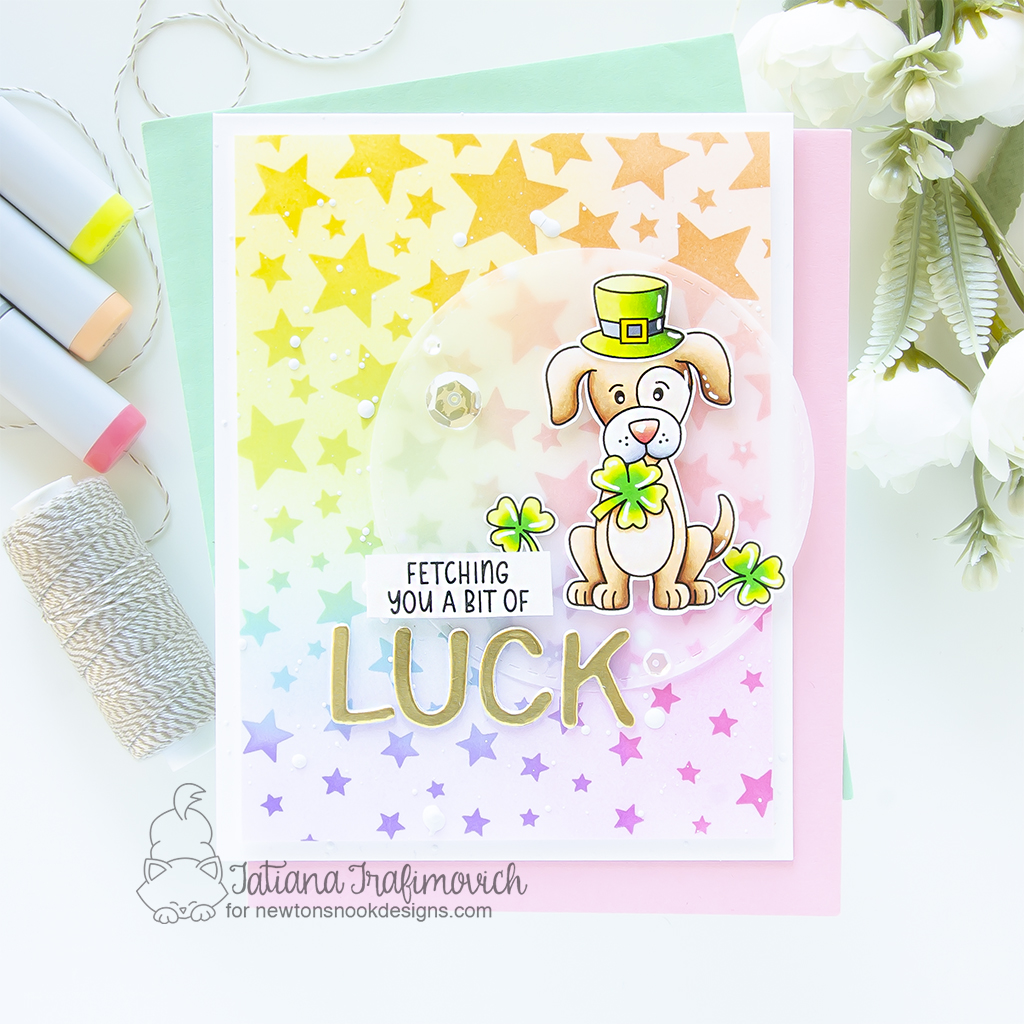
Well, the lucky theme made me think about rainbow and so I decided to start with two identical inked rainbow backgrounds! Speaking about the colors, I also used the same copic colors on my critters. I colored both cuties with the neutral brown tones because I was afraid to overwhelm the rainbow card front. However, then I went for two different layouts! Which one do you fancy more?
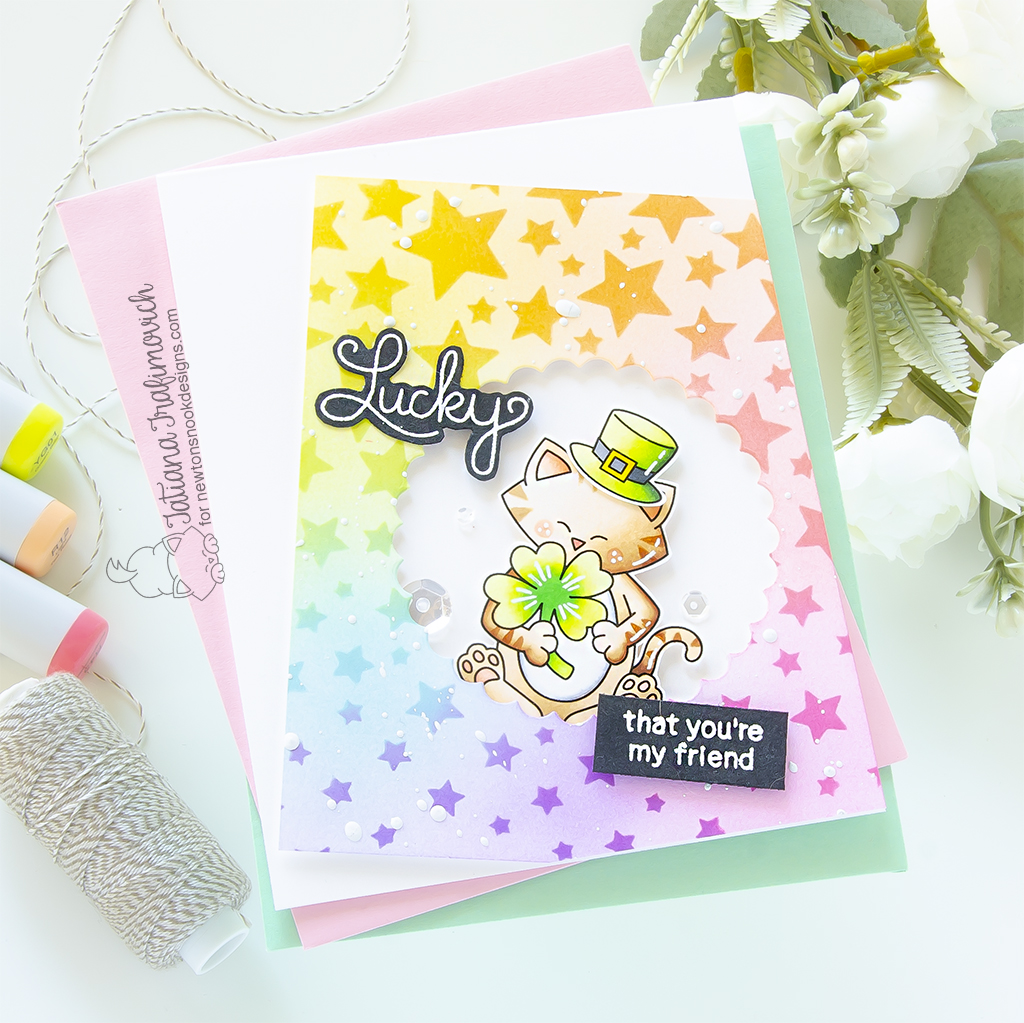
Key Ingredients:
- Newton’s Lucky Clover Stamp Set
- Newton’s Lucky Clover Die Set
- Cascading Stars Stencil
- Circle Frames Die Set
- Newton’s Pot of Gold Stamp Set
Step By Step Instructions:
- Die cut all the elements you need from Neenah Solar White paper, using Newton’s Lucky Clover Die Set and Spellbinders Platinum 6 Die Cutting Machine or Sizzix Big Shot Die Cutting Machine. Save the negative parts of the dies.
- Stamp the outline illustrations from Newton’s Lucky Clover Stamp Set with Memento Tuxedo Black ink, using the negative parts of the dies as a guide for a perfect alignment inside the stamping positioning tool.
- Color the stamps with COPIC MARKERS. I used on this card:
- brown E0000-E30-E31-E33-E35-E37
- green YG0000-YG00-YG01-YG03-YG06-YG67
- yellow Y15
- pink R000-R12-R43
- gray C00-C0-C2-C3-C4-C7
- Trim and score an extended A2 size card base (5 1/2″ x 4 1/4″) from Neenah Solar White paper. I used Tim Holtz Maxi Guillotine Trimmer and Mini Score Board.
- Trim a slightly smaller rectangle from Hammermill cardstock for the background.
- Secure Cascading Stars Stencil on the paper with a lock tack tape to prevent any movements and add ink it to create a rainbow background. Help yourself with the blending brushes to achieve a smooth transition between the colors.
- Lift up the stencil and keep inking the background with the left over ink on the brushes, keeping your hand much lighter. For my card I picked Simon Stamp Pawsitively Saturated inks in colors:
- Peony;
- Blush;
- Sherbet;
- Sunbeam;
- Limelicious;
- Marine;
- Orchid.
- Die cut a scalloped circle in the center of the inked background, using Circle Frames Die Set.
- Heat emboss in white on black the sentiments from Newton’s Pot of Gold Stamp Set with VersaMark clear sticky ink and Hero Arts White Embossing Powder. Don’t forget to prep the paper with a Powder Tool Applicator to prevent the embossing powder to stick where you don’t want it!
- Carefully fussy cut the word “LUCKY” with the sharp small scissors, leaving a little edge around.
- Arrange and glue in place all the elements on the card front by popping them on a foam tape for a bit of dimension.
- Finish with a few highlights added with a white gel pen and a couple of clear sparkling sequins.
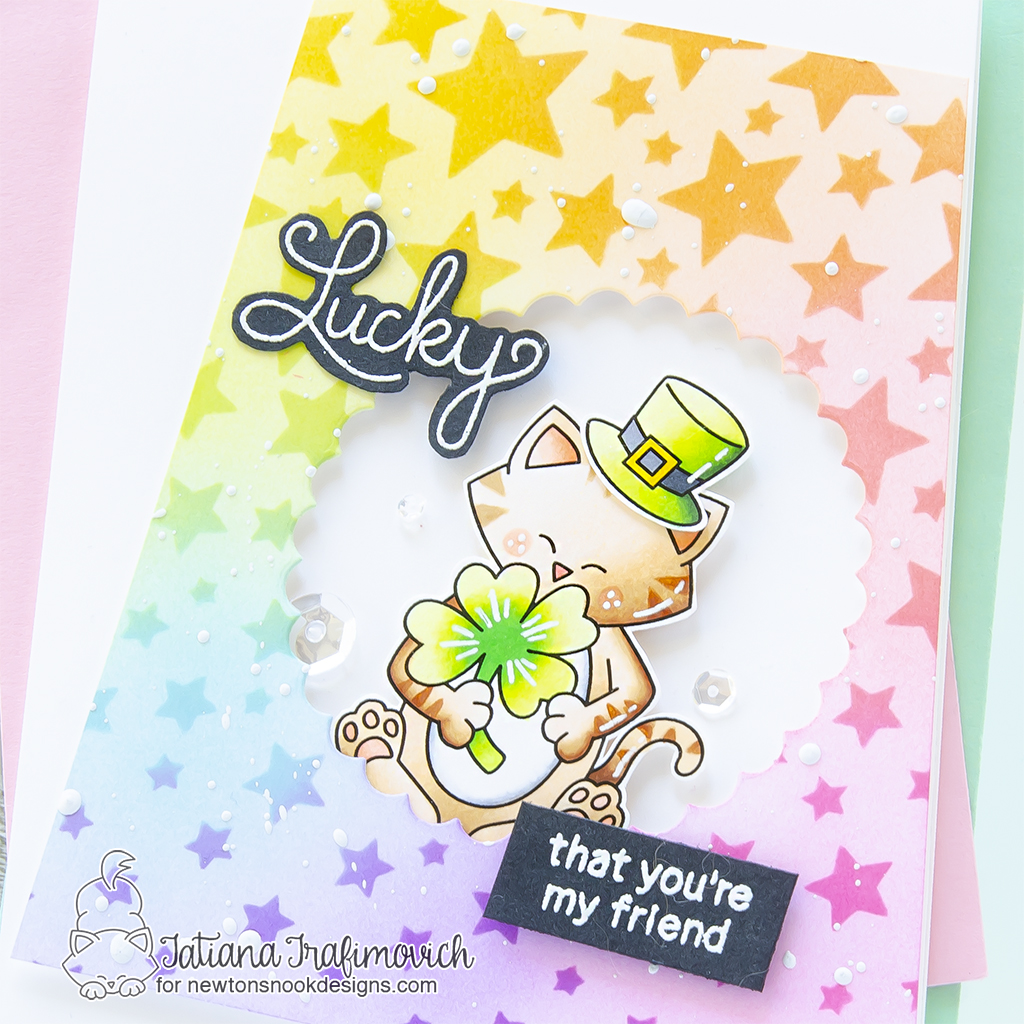
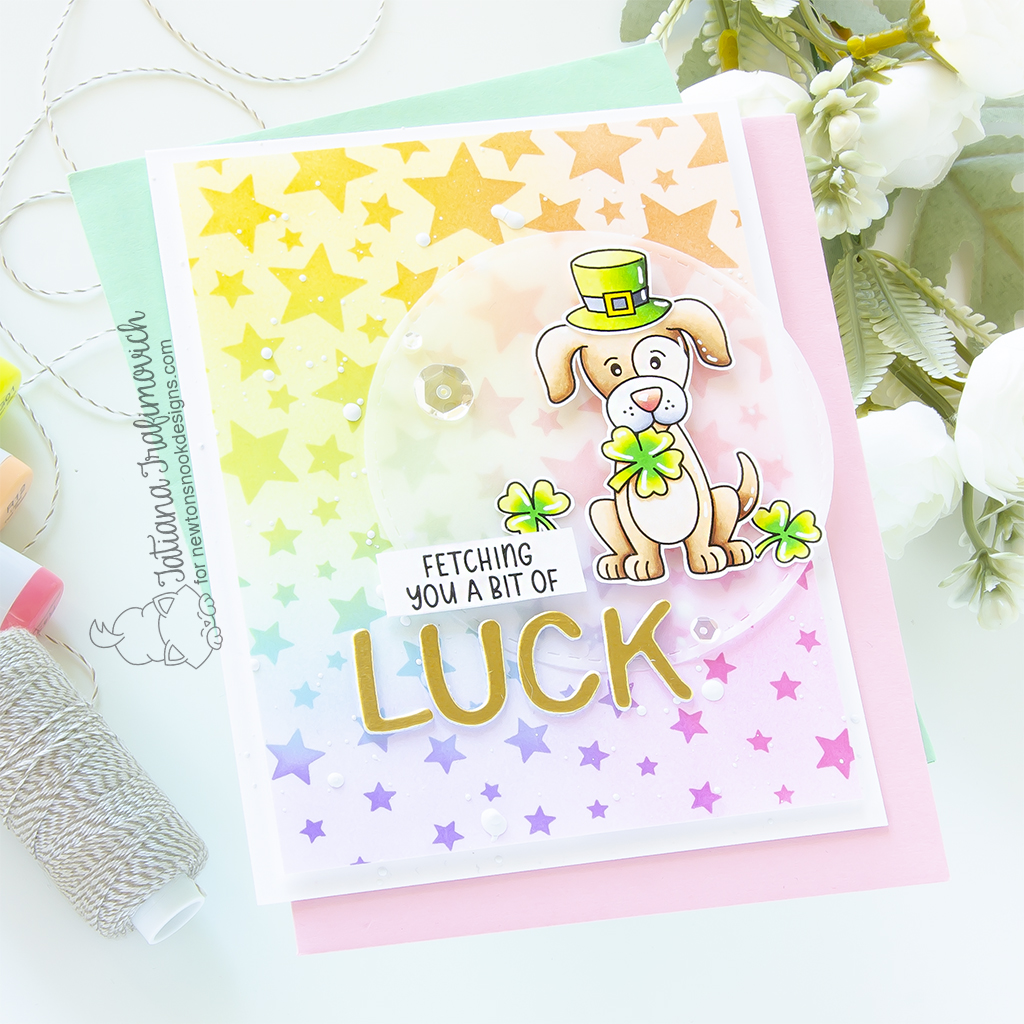
Key Ingredients:
- Lucky Dog Stamp Set
- Lucky Dog Die Set
- Cascading Stars Stencil
- Circle Frames Die Set
- Essential Alphabet Die Set
Step By Step Instructions:
- Die cut all the elements you need from Neenah Solar White paper, using Lucky Dog Die Set and Spellbinders Platinum 6 Die Cutting Machine or Sizzix Big Shot Die Cutting Machine. Save the negative parts of the dies.
- Stamp the outline illustrations from Lucky Dog Stamp Set with Memento Tuxedo Black ink, using the negative parts of the dies as a guide for a perfect alignment inside the stamping positioning tool.
- Color the stamps with COPIC MARKERS. I used on this card:
- brown E0000-E30-E31-E33-E35-E37
- green YG0000-YG00-YG01-YG03-YG06-YG67
- yellow Y15
- pink R000-R12-R43
- gray C00-C0-C2-C3-C4-C7
- Trim and score an extended A2 size card base (5 1/2″ x 4 1/4″) from Neenah Solar White paper. I used Tim Holtz Maxi Guillotine Trimmer and Mini Score Board.
- Trim a slightly smaller rectangle from Hammermill cardstock for the background.
- Secure Cascading Stars Stencil on the paper with a lock tack tape to prevent any movements and add ink it to create a rainbow background. Help yourself with the blending brushes to achieve a smooth transition between the colors.
- Lift up the stencil and keep inking the background with the left over ink on the brushes, keeping your hand much lighter. For my card I picked Simon Stamp Pawsitively Saturated inks in colors:
- Peony;
- Blush;
- Sherbet;
- Sunbeam;
- Limelicious;
- Marine;
- Orchid.
- Die cut a circle from a vellum, using Circle Frames Die Set.
- Carefully split apart “FETCHING YOU A BIT OF LUCK” sentiment with the sharp small scissors and stamp the first part with Memento Tuxedo Black ink on Neenah Solar White paper.
- Die cut the word “LUCK” from a gold cardstock to complete the sentiment, using Essential Alphabet Die Set.
- As an extra step, die cut the word “LUCK” two more times and stack all the layers together to create a faux chip board elements. Use a liquid glue that dries clear and matte like Bearly Art – Precision Craft Glue.
- Arrange and glue in place all the elements on the card front by popping them on a foam tape for a bit of dimension.
- Finish with a few highlights added with a white gel pen and a couple of clear sparkling sequins.
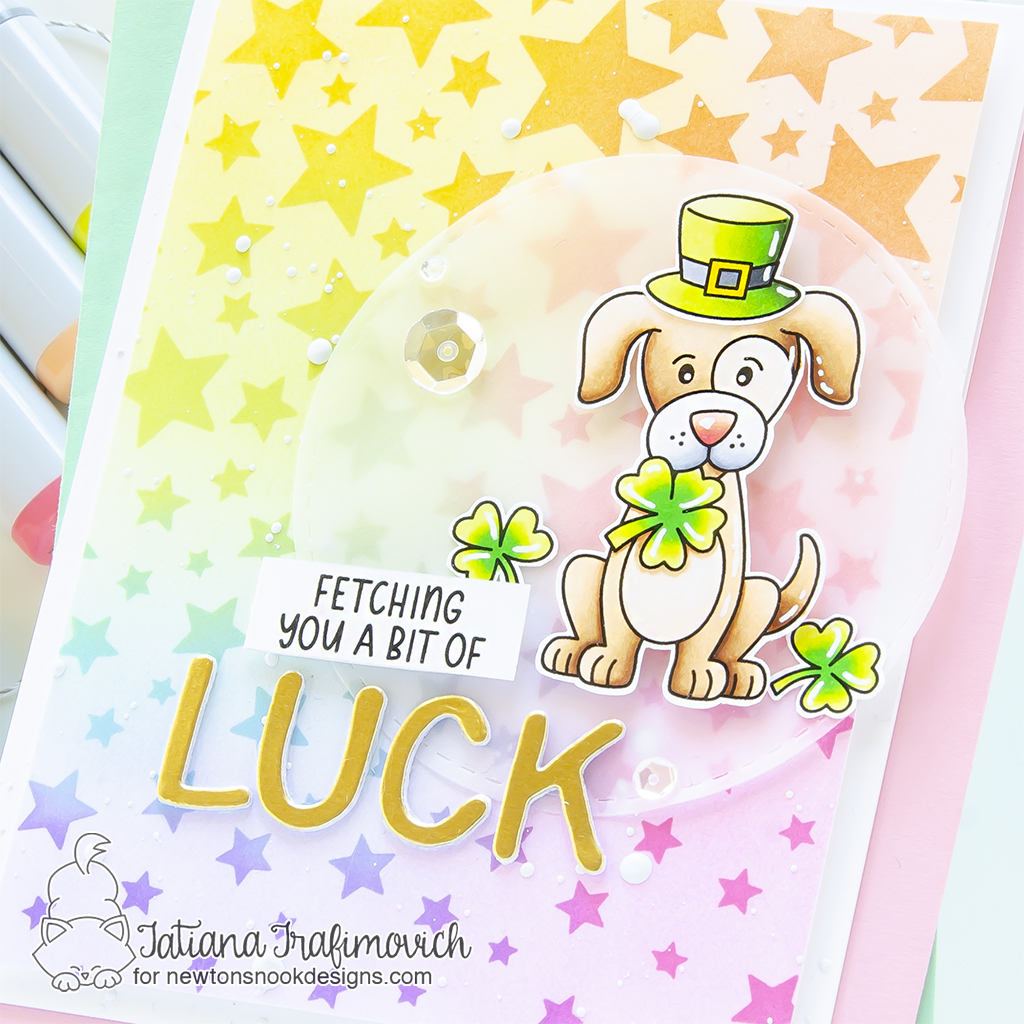
That’s all for today! Hope you like the cute cat and dog from the new release and my rainbow cards! Thanks so much for stopping by and have a fabulous day!
Hugs,
Tatiana
