Hello and welcome!
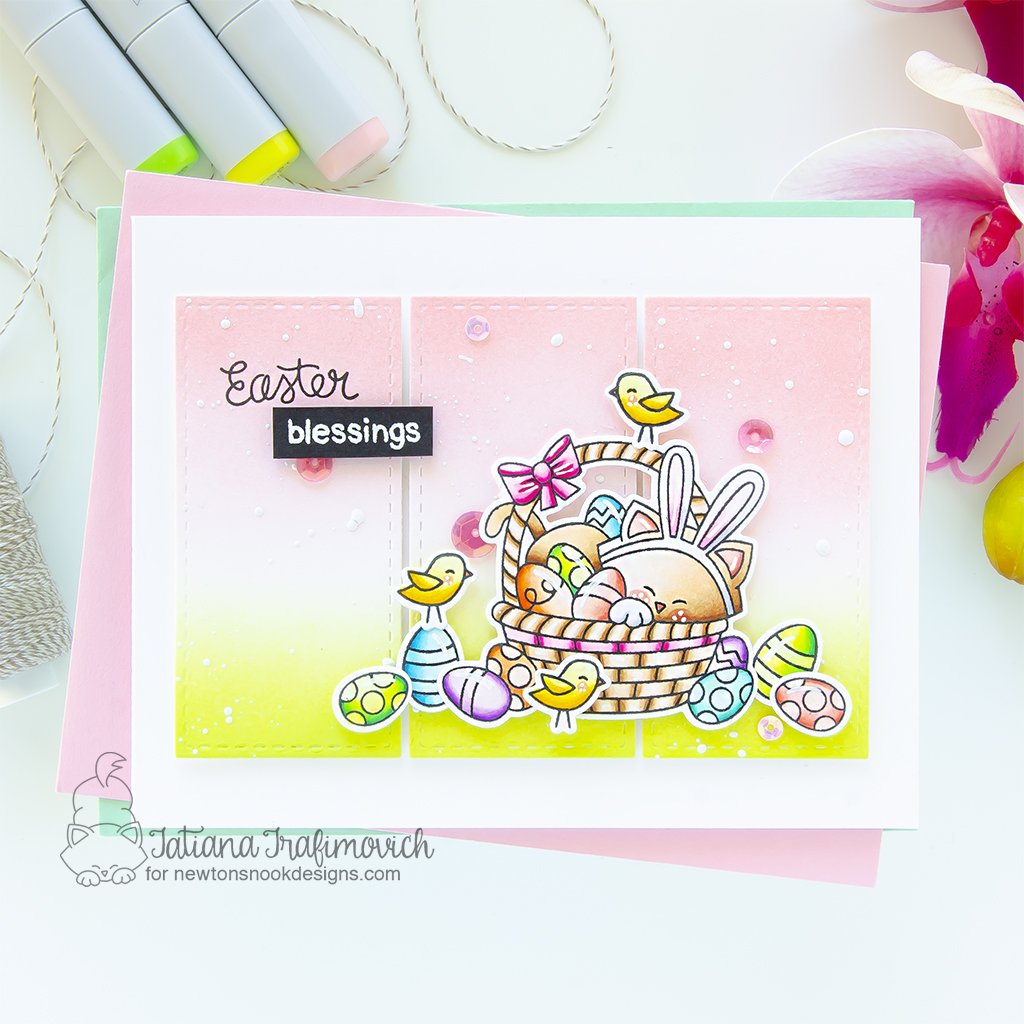
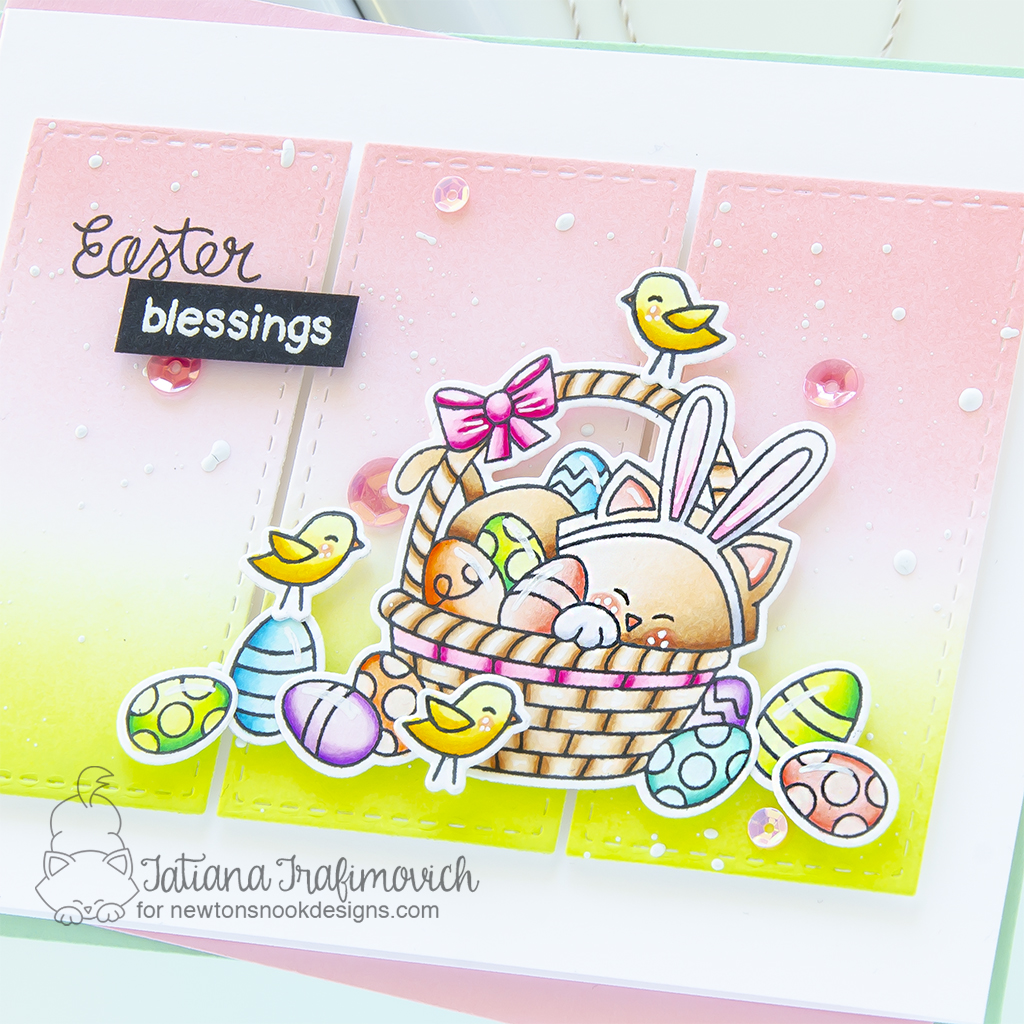
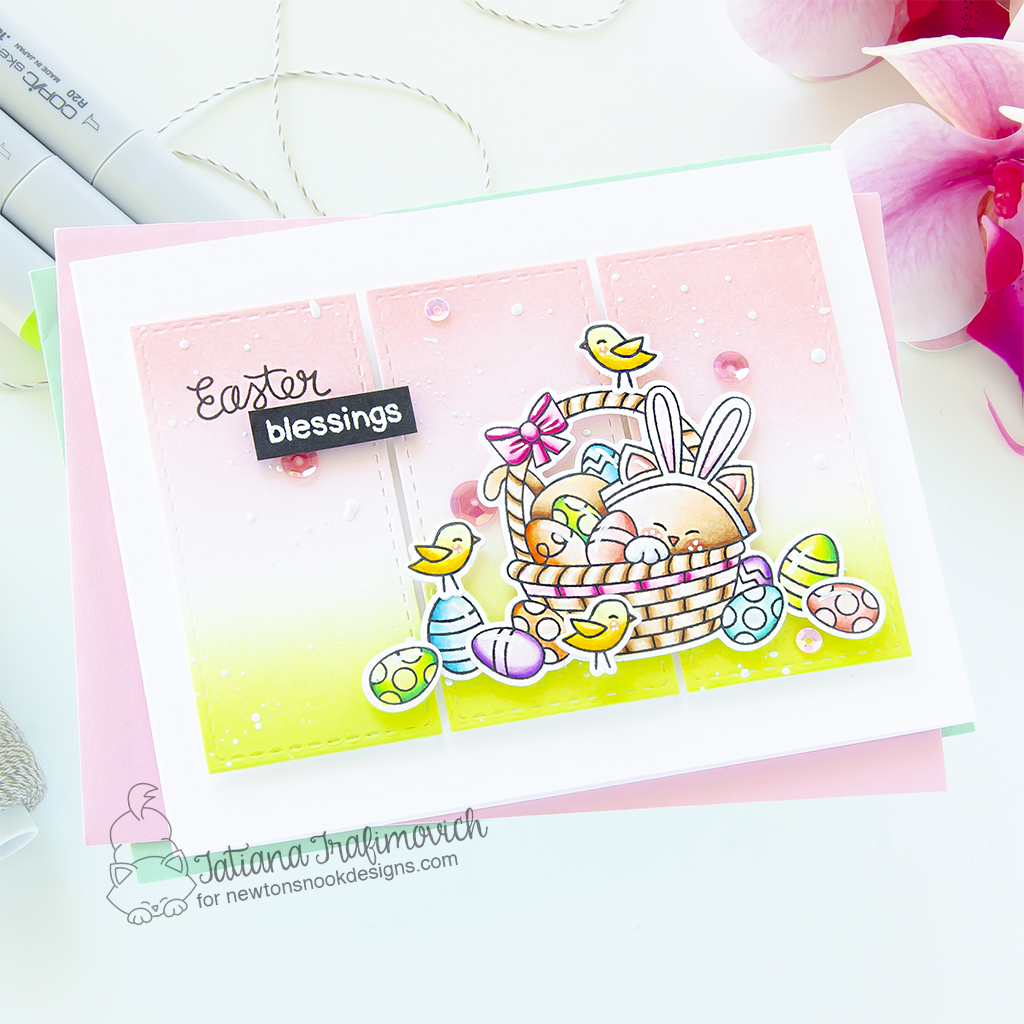
I’m so glad you’ve joined me today and even more excited to be on the Newton’s Nook Designs blog, sharing a sweet Easter card filled with spring mood and pastel colors! Today I played with the most adorable stamps from Newton’s Easter Basket Stamp Set!

I thought it was time to start creating spring cards since we are a month away from Easter! I always get inspired by spring palettes and soft pastel colors! So I tried to keep my hand very light with copic shading and ink blending just to give this project fresh and airy look!

Key Ingredients:
- Newton’s Easter Basket Stamp Set
- Newton’s Easter Basket Die Set
- Easter Lily Stamp Set
- A7 Frames & Banners Die Set
Step By Step Instructions:
- Die cut all the elements you need from Neenah Solar White paper, using Newton’s Easter Basket Die Set and Spellbinders Platinum 6 Die Cutting Machine or Sizzix Big Shot Die Cutting Machine. Save the negative parts of the dies.
- Stamp the outline illustrations from Newton’s Easter Basket Stamp Set with Memento Tuxedo Black ink, using the negative parts of the dies as a guide for a perfect alignment inside the stamping positioning tool.
- Color the stamps with COPIC MARKERS. I used on this card:
- red R0000-R20-R21-R22
- pink RV000-RV00-RV02-RV06-RV09
- orange YR000-YR00-YR02-YR07
- yellow Y00-Y11-Y15-Y17
- green YG0000-YG00-YG01-YG06-YG09
- teal BG0000-BG10-BG11-BG13
- blue BG000-BG02-BG05-BG07
- violet V0000-V01-V04
- gray C00-C2
- brown E0000-E30-E31-E34-E35-E37
- Trim and score an extended A2 size card base (5 1/2″ x 4 1/4″) from Neenah Solar White paper. I used Tim Holtz Maxi Guillotine Trimmer and Mini Score Board.
- Trim another 5 1/2″ x 4 1/4″ from Hammermill cardstock for the background.
- Ink it from two sides with pink and yellow-green shades, using the blending brushes to achieve a soft and smooth result. I picked Simon Says Stamp Pawsitively Saturated inks:
- Simon Says Stamp Pawsitively Saturated Limelicious ink;
- Simon Says Stamp Pawsitively Saturated Cheeky ink;
- Simon Says Stamp Pawsitively Saturated Blush ink.
- Die cut the inked panel, using the big frame die from A7 Frames & Banners Die Set.
- Splatter three inked frames with some tiny dots of a white gouache to add more interest and let them air dry well.
- Carefully split in two the “EASTER BLESSINGS” sentiment from Easter Lily Stamp Set with the sharp small scissors.
- Stamp the first part of the sentiment directly on the inked background with VersaFine Onyx Black pigment ink.
- Heat emboss in white on black the second part of the sentiment with VersaMark clear sticky ink and Hero Arts White Embossing Powder. Don’t forget to prep the paper with a Powder Tool Applicator to prevent the embossing powder to stick where you don’t want it!
- Arrange and glue in place all the elements on the card front by popping them on a foam tape for a bit of dimension.
- Finish with a generous coat of Wink of Stella clear glitter pen, a few highlights added with a white gel pen and some matching sequins adhered with Bearly Art – Precision Craft Glue.

That’s all for today! Hope you like this sweet Easter card ! Thanks so much for stopping by and have a fabulous day!
Hugs,
Tatiana
