Hello and welcome! Thank so much for joining me today! Throughout this week the Newton’s Nook Designs Design Team and I are featuring some brand new holiday products just revealed yesterday! Please, join the Blog Hop & Giveaway by clicking HERE for a chance to win a $25 store credit for Newton’s Nook Designs online shop and keep reading this post for more holiday inspiration!

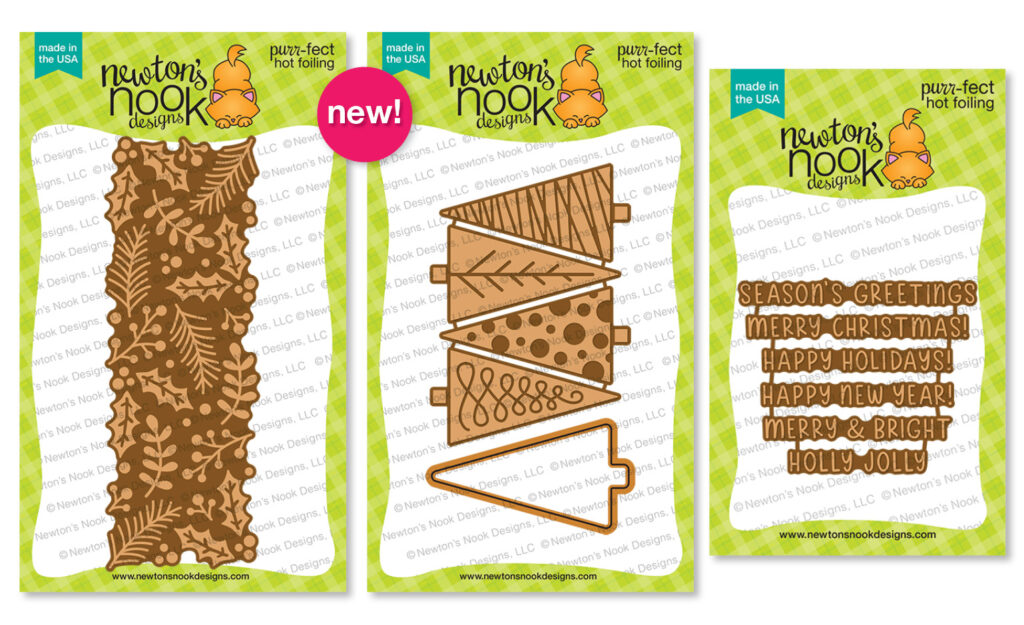
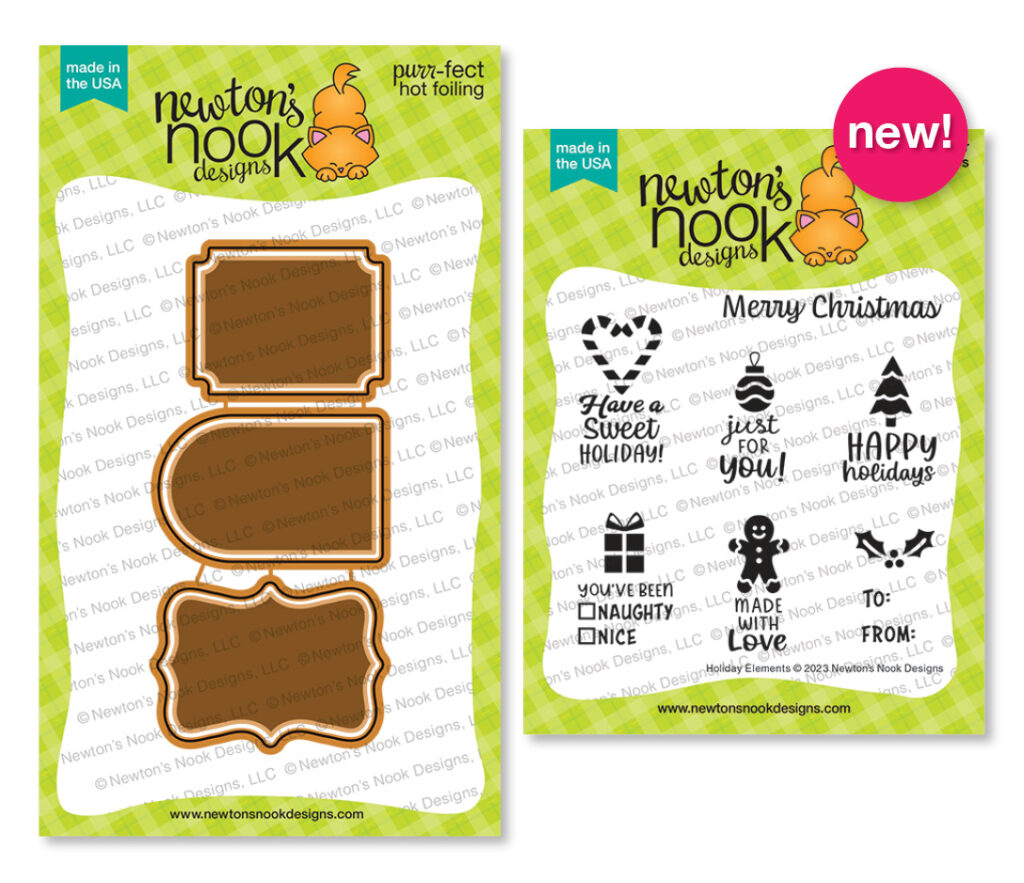
Today I’m focusing on some amazing new hot foil products and the coordinating stamps and dies! To start there’s a wonderful big background Holiday Foliage Hot Foil Plate filled with classic Christmas ornamental designs! Then we have Christmas Trees Hot Foil Plates & Die with a more modern and geometric twist! Holiday Greetings Hot Foil Plates will create a perfect matching holiday sentiment for any project! Finally lovely and cute Holiday Elements Stamp Set completes today’s reveals! Please, note that this stamp set coordinates with the previously released Labels Hot Foil Plates & Dies!
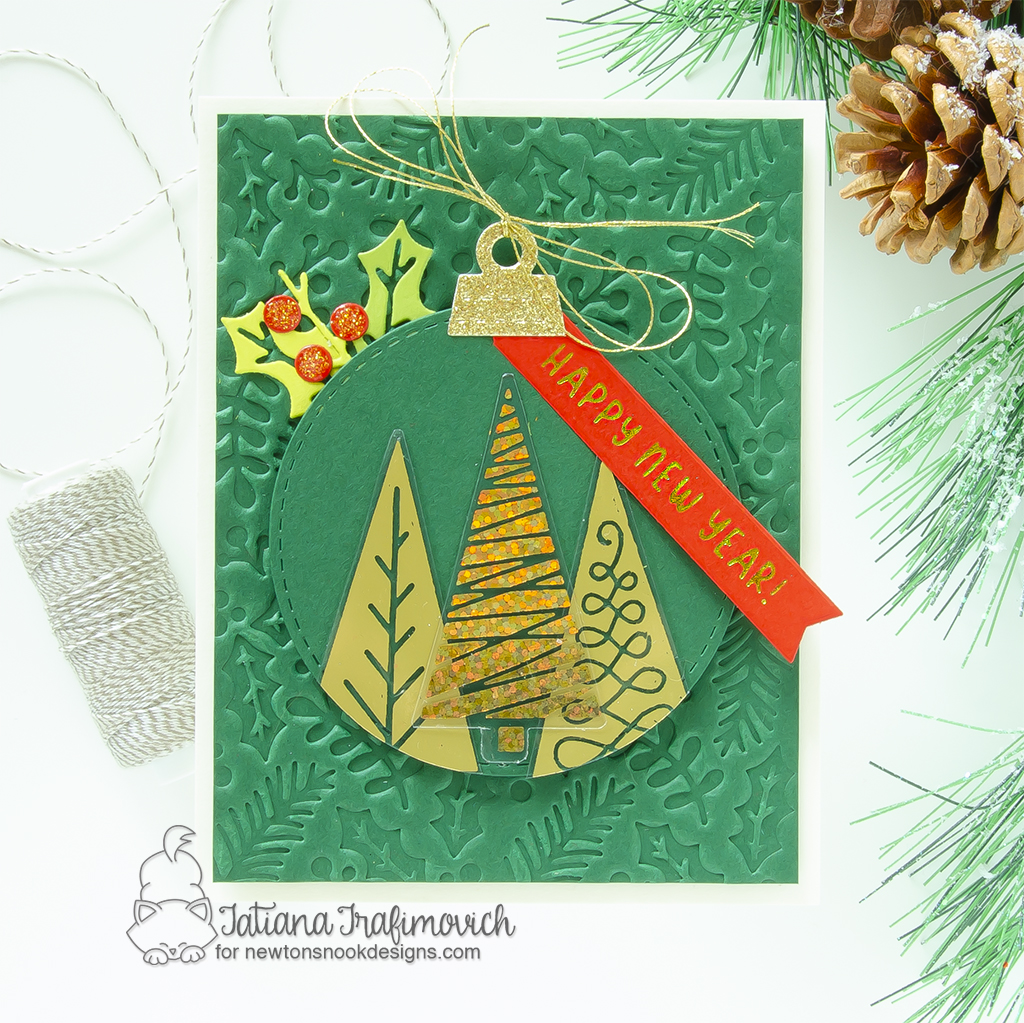
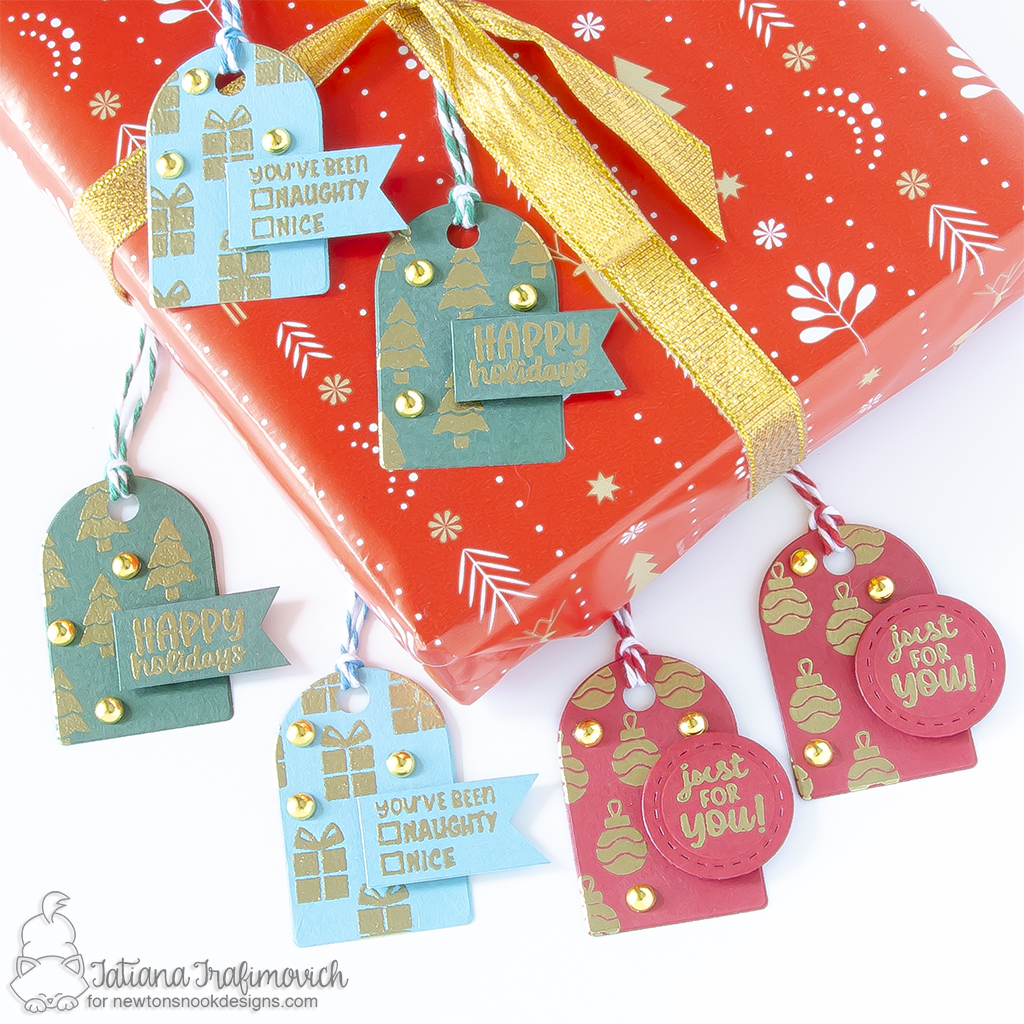
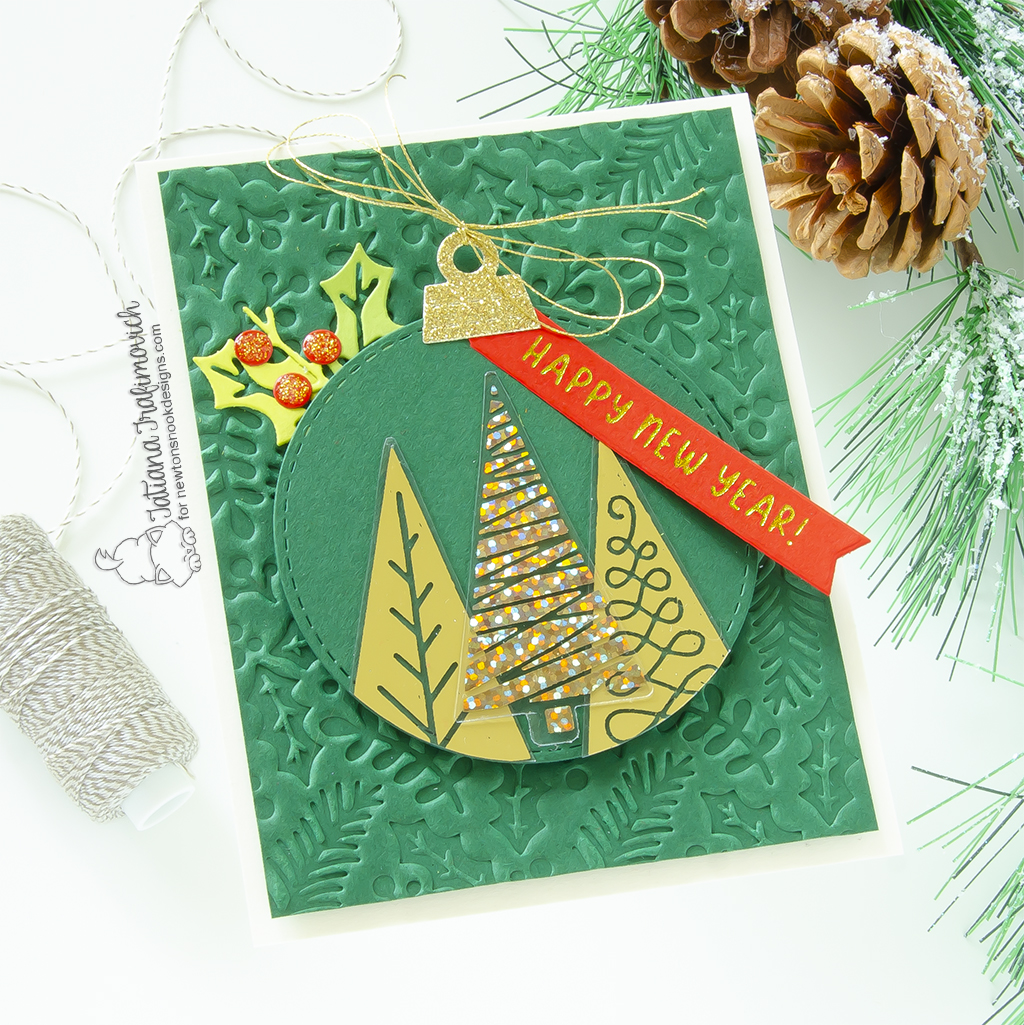
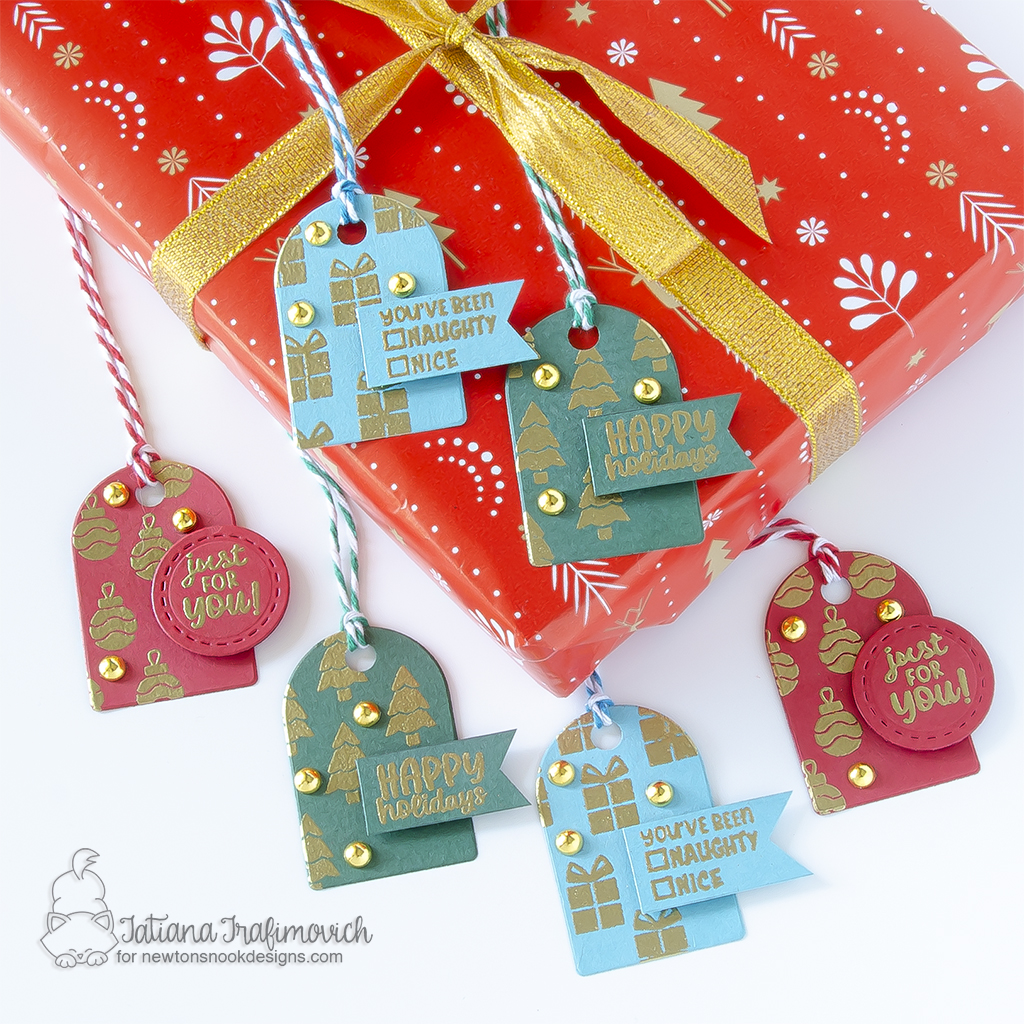
Today I came up with two different projects! To start, I tried to create a hot foil design on a dark green background, playing with the new hot products! My second project are fun and cute Christmas tags! I chose classic red and green plus gold and teal as my color scheme to make them match my Christmas tree ornaments!
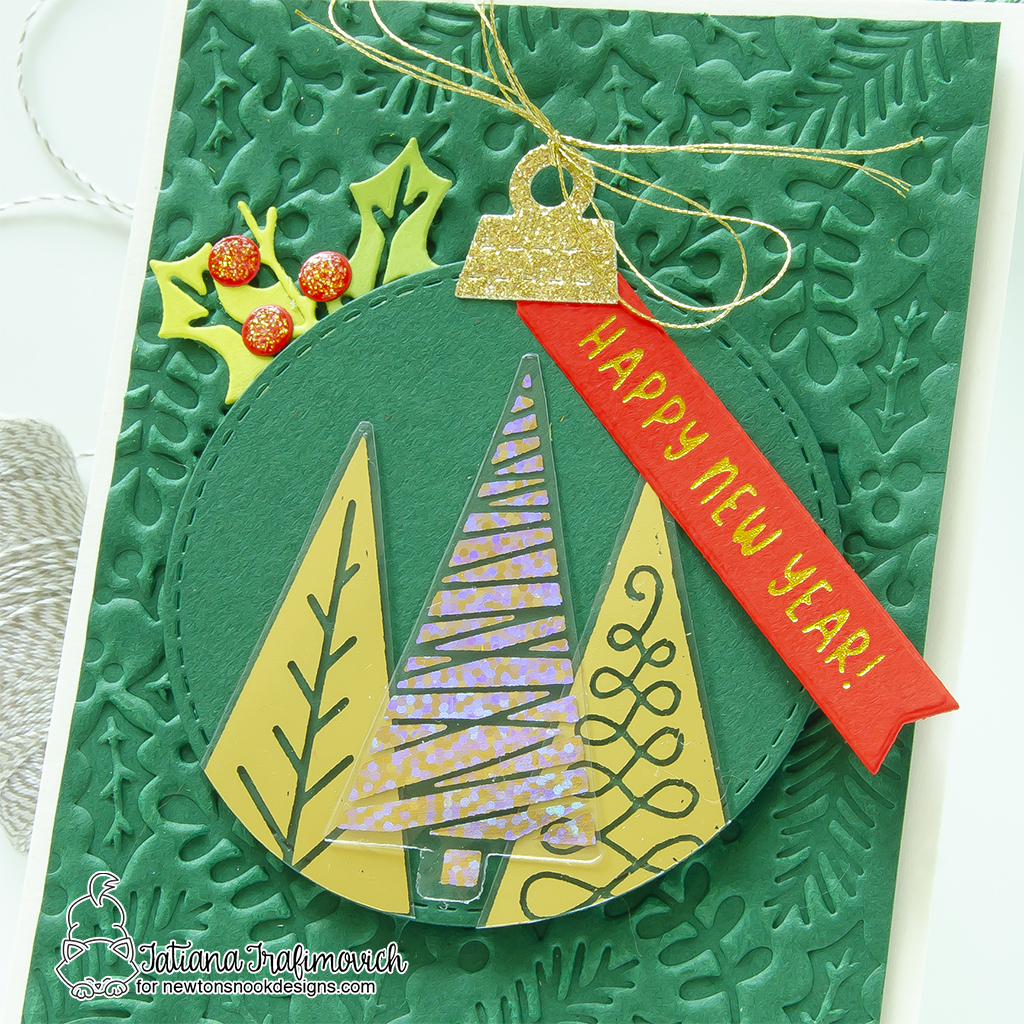
Key Ingredients:
- Christmas Trees Hot Foil Plates & Die
- Holiday Foliage Hot Foil Plate
- Holiday Greetings Hot Foil Plates
- Circle Frames Die Set
- Ornamental Shaker Die Set
- Pines & Holly Die Set
- Banner Duo Die Set
Step By Step Instructions:
- Trim and score an extended A2 size card base (5 1/2″ x 4 1/4″) from a cream paper. I used Lawn Fawn Vanilla Malt cardstock, Tim Holtz Maxi Guillotine Trimmer and Mini Score Board.
- Trim a green rectangle slightly smaller than the card base. I used Concord & 9th Evergreen cardstock for my card.
- Dry emboss the background on green with Holiday Foliage Hot Foil Plate. I ran the hot foil plate twice inside my Sizzix Big Shot Die Cutting Machine to fill the whole area with the pattern. My sandwich was:
- 1) Sizzix Multipurpose Platform at Tab 1;
- 2) thick embossing rubber mat;
- 3) cardstock;
- 4) Holiday Foliage Hot Foil Plate face down on the cardstock;
- 5) clear cutting pad.
- Die cut a stitched circle from the same green carstock that you used before with Circle Frames Die Set.
- Die cut an ornament top from gold glitter paper. I used Concord and 9th gold glitter paper.
- Die cut from light green and red two holly leaves and three berries, using Pines & Holly Die Set. I used Bazzill Juicy Pear, Bazzill Easter Grass and Concord & 9th Poppy cardstock on my card.
- Hot foil the Christmas Trees Hot Foil Plates on clear acetate, following the instructions of your hot foil system. You will need both a hot foil system and a die cutting machine for this step. I used:
- Die cut the trees with the coordinating die from Christmas Tress Hot Foil Plates & Die set.
- Adhere the hot foiled trees to the circle with tiny glue dots.
- Trim the excess with the sharp small scissors following the circle edge.
- Hot foil the sentiment from Holiday Greetings Hot Foil Plates on red, following the instructions of your hot foil system. You will need both a hot foil system and a die cutting machine for this step. I used:
- Die cut the sentiment with the coordinating Banner Duo Die Set.
- Arrange and glue in place all the elements on the card front by popping them on a foam tape for a bit of dimension.
- Tie a matching gold bow on the ornament top and add a coat of a glitter glue to the berries.
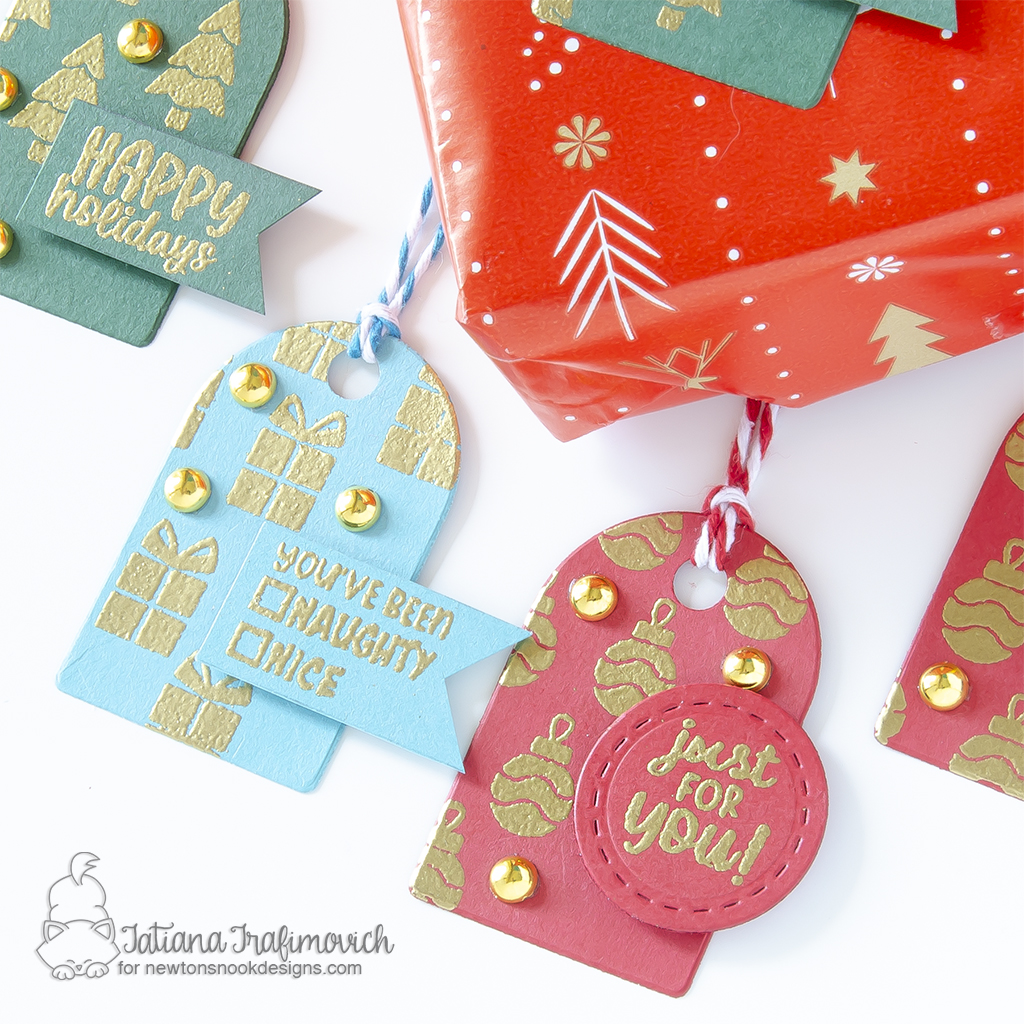
Key Ingredients:
Step By Step Instructions:
- Die cut a bunch of arched tags, using Labels Hot Foil Plates & Dies set and Spellbinders Platinum 6 Die Cutting Machine or Sizzix Big Shot Die Cutting Machine. I picked Bazzill Peppermint, The Stamp Market Coastal and Forest cardstock.
- Carefully split in two the stamps from Holiday Elements Stamp Set with the sharp small scissors.
- Repeatedly heat emboss in gold onto labels the holiday designs, using VersaMark clear sticky ink and Ranger Super Fine Gold Embossing Powder. Don’t forget to prep the paper with a Powder Tool Applicator to prevent the embossing powder to stick where you don’t want it!
- Then heat emboss in gold the matching sentiments, using again VersaMark clear sticky ink and Ranger Super Fine Gold Embossing Powder.
- Shape the sentiments into a fish-tail banners, using the sharp small scissors, or die cut them with a stitched circle die from Frames Squared Die Set.
- Arrange and glue in place all the elements by popping the sentiments on a foam tape for a bit of dimension.
- Finish with the matching gold half pearls and twine.
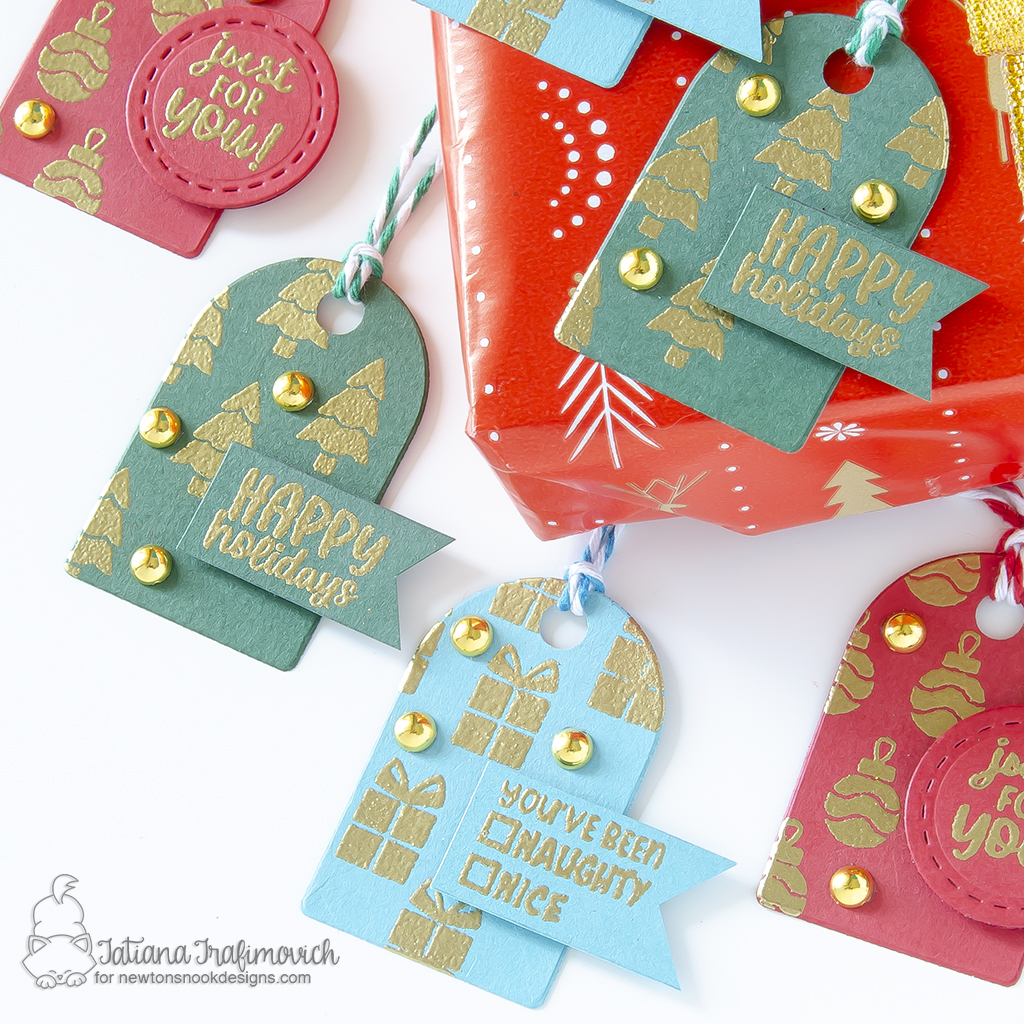
That’s all for today! Hope you like today’s fun holiday projects! Thanks so much for stopping by and have a fabulous day!
Hugs,
Tatiana

1 comment
Wonderful card and lovely tags!