Hello and happy International Women’s Day!
Thanks so much for stopping by! I’m so excited joining Heffy Doodle in the Women’s Day Instagram Hop & Facebook Linky Party! This year the theme is EMPOWERMENT and the Heffy Doodle Design Team have been inspired to create some beautiful cards. Don’t forget to head to the Instagram Hop by clicking HERE for a chance to win amazing prizes from many crafty sponsors!

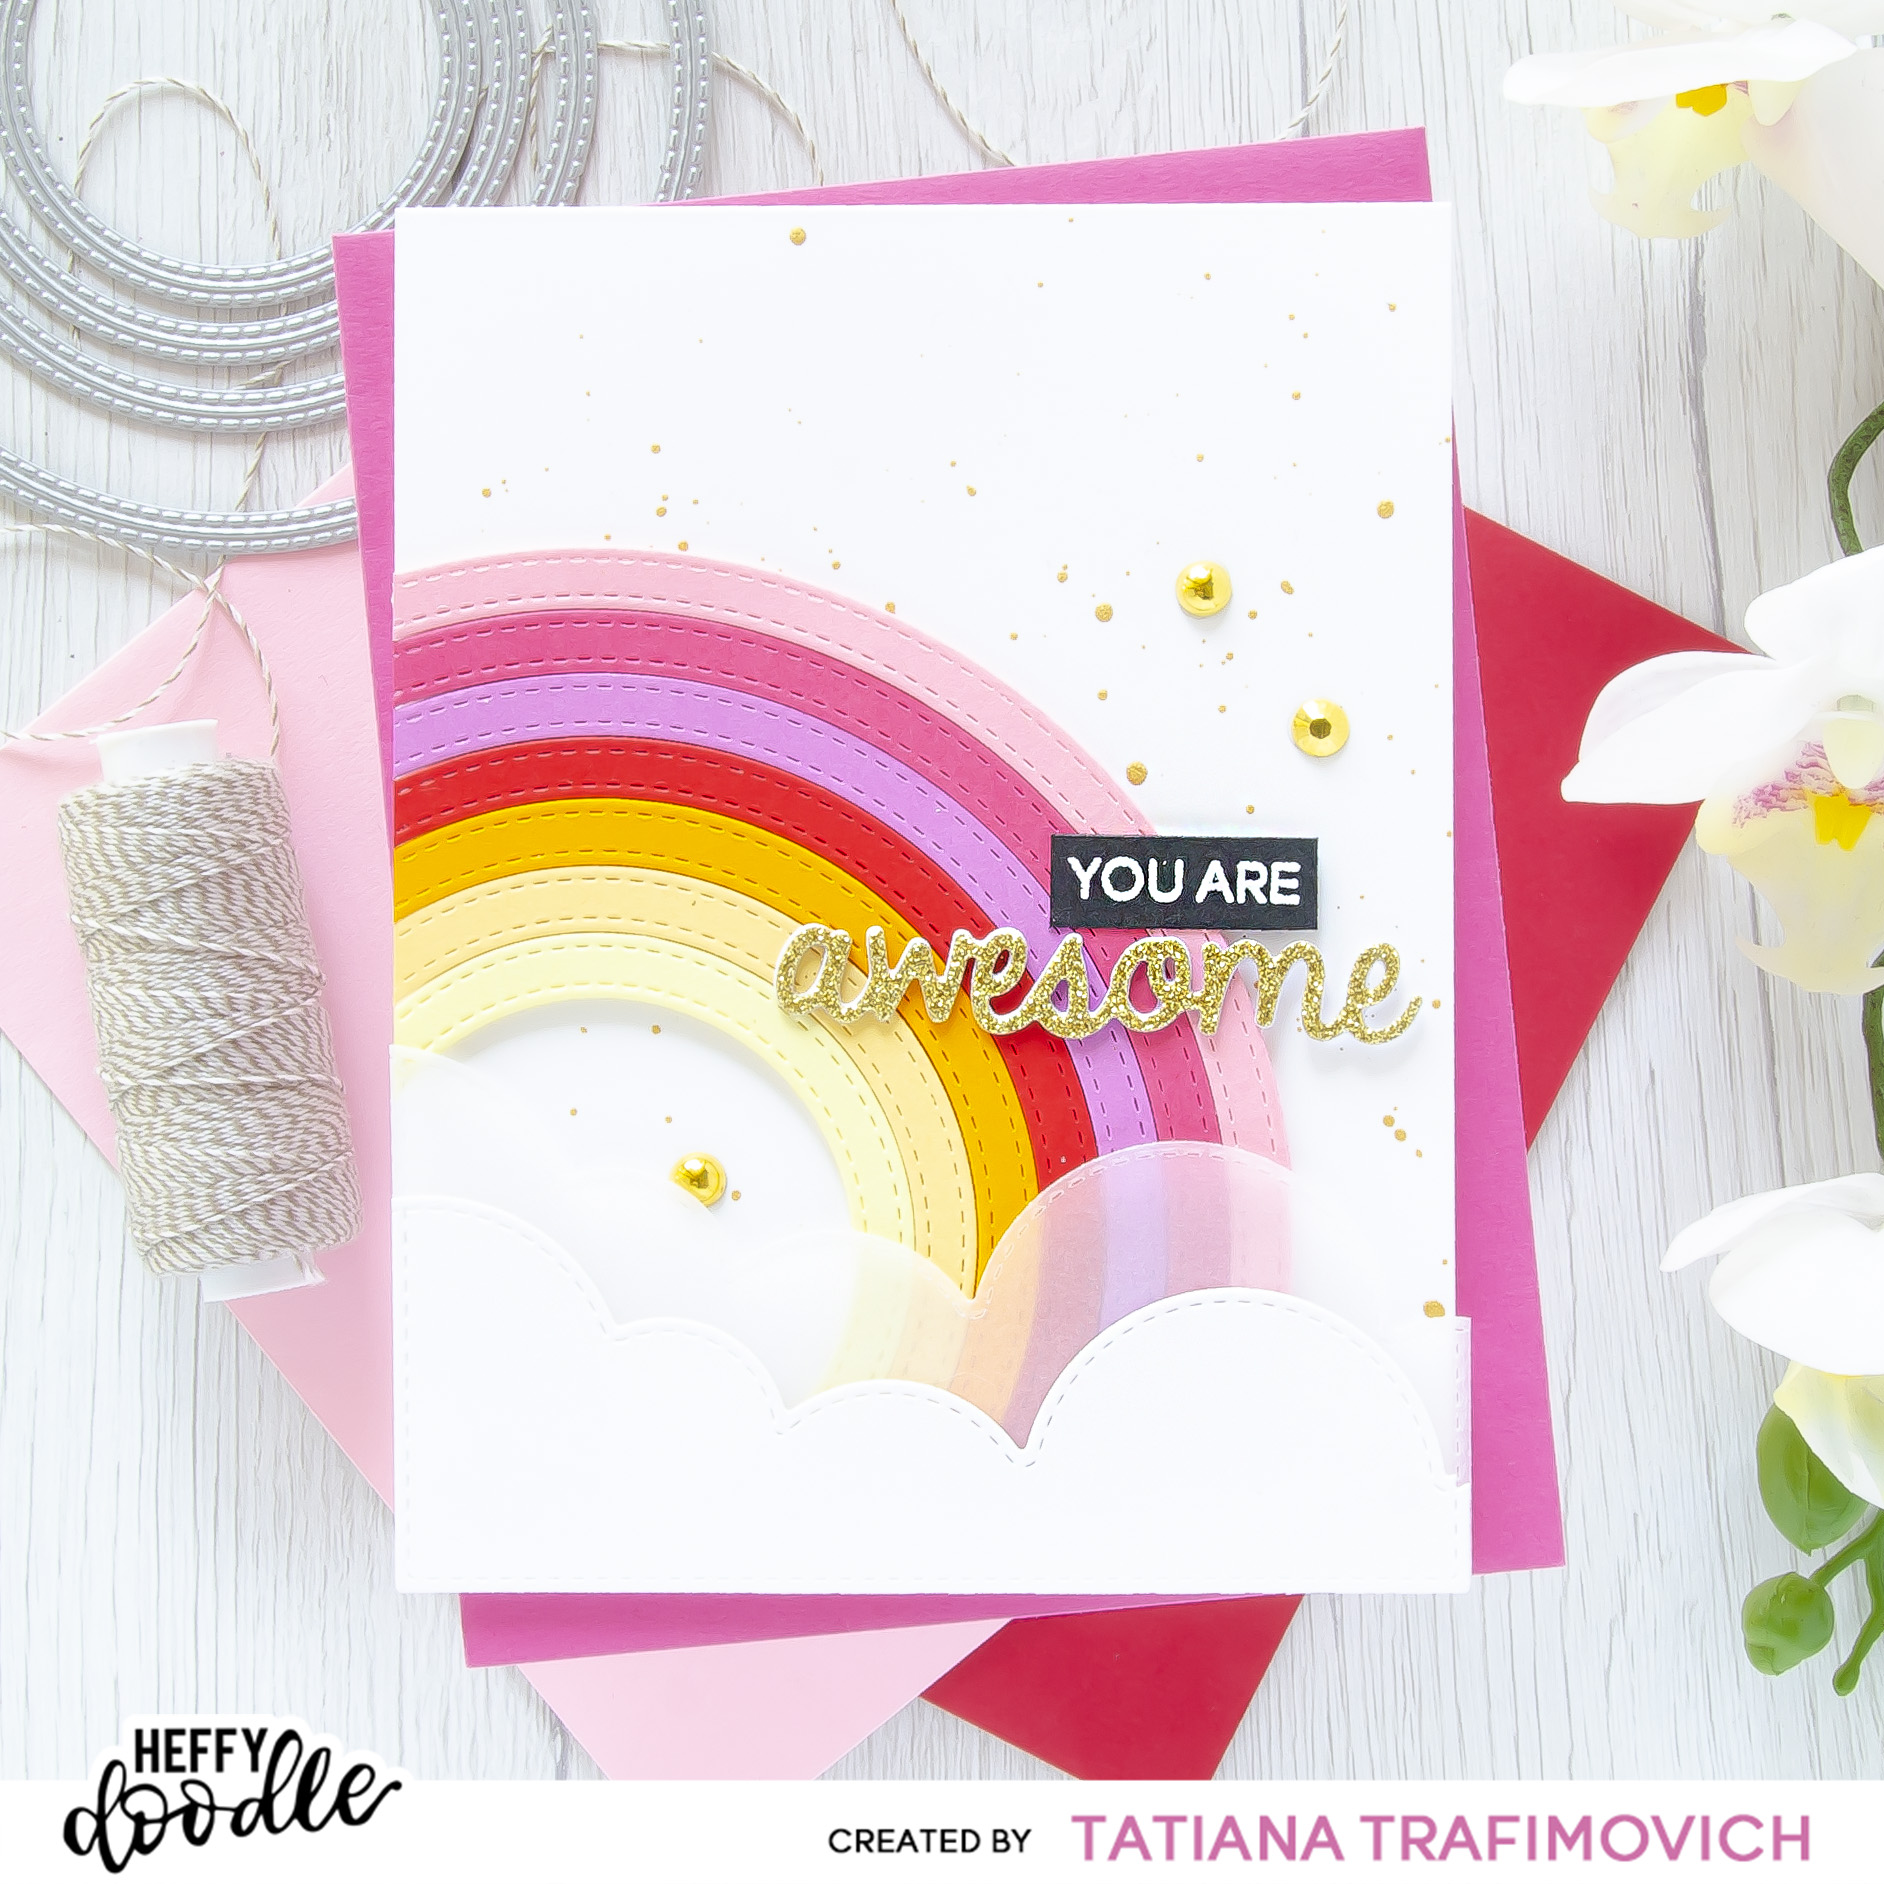
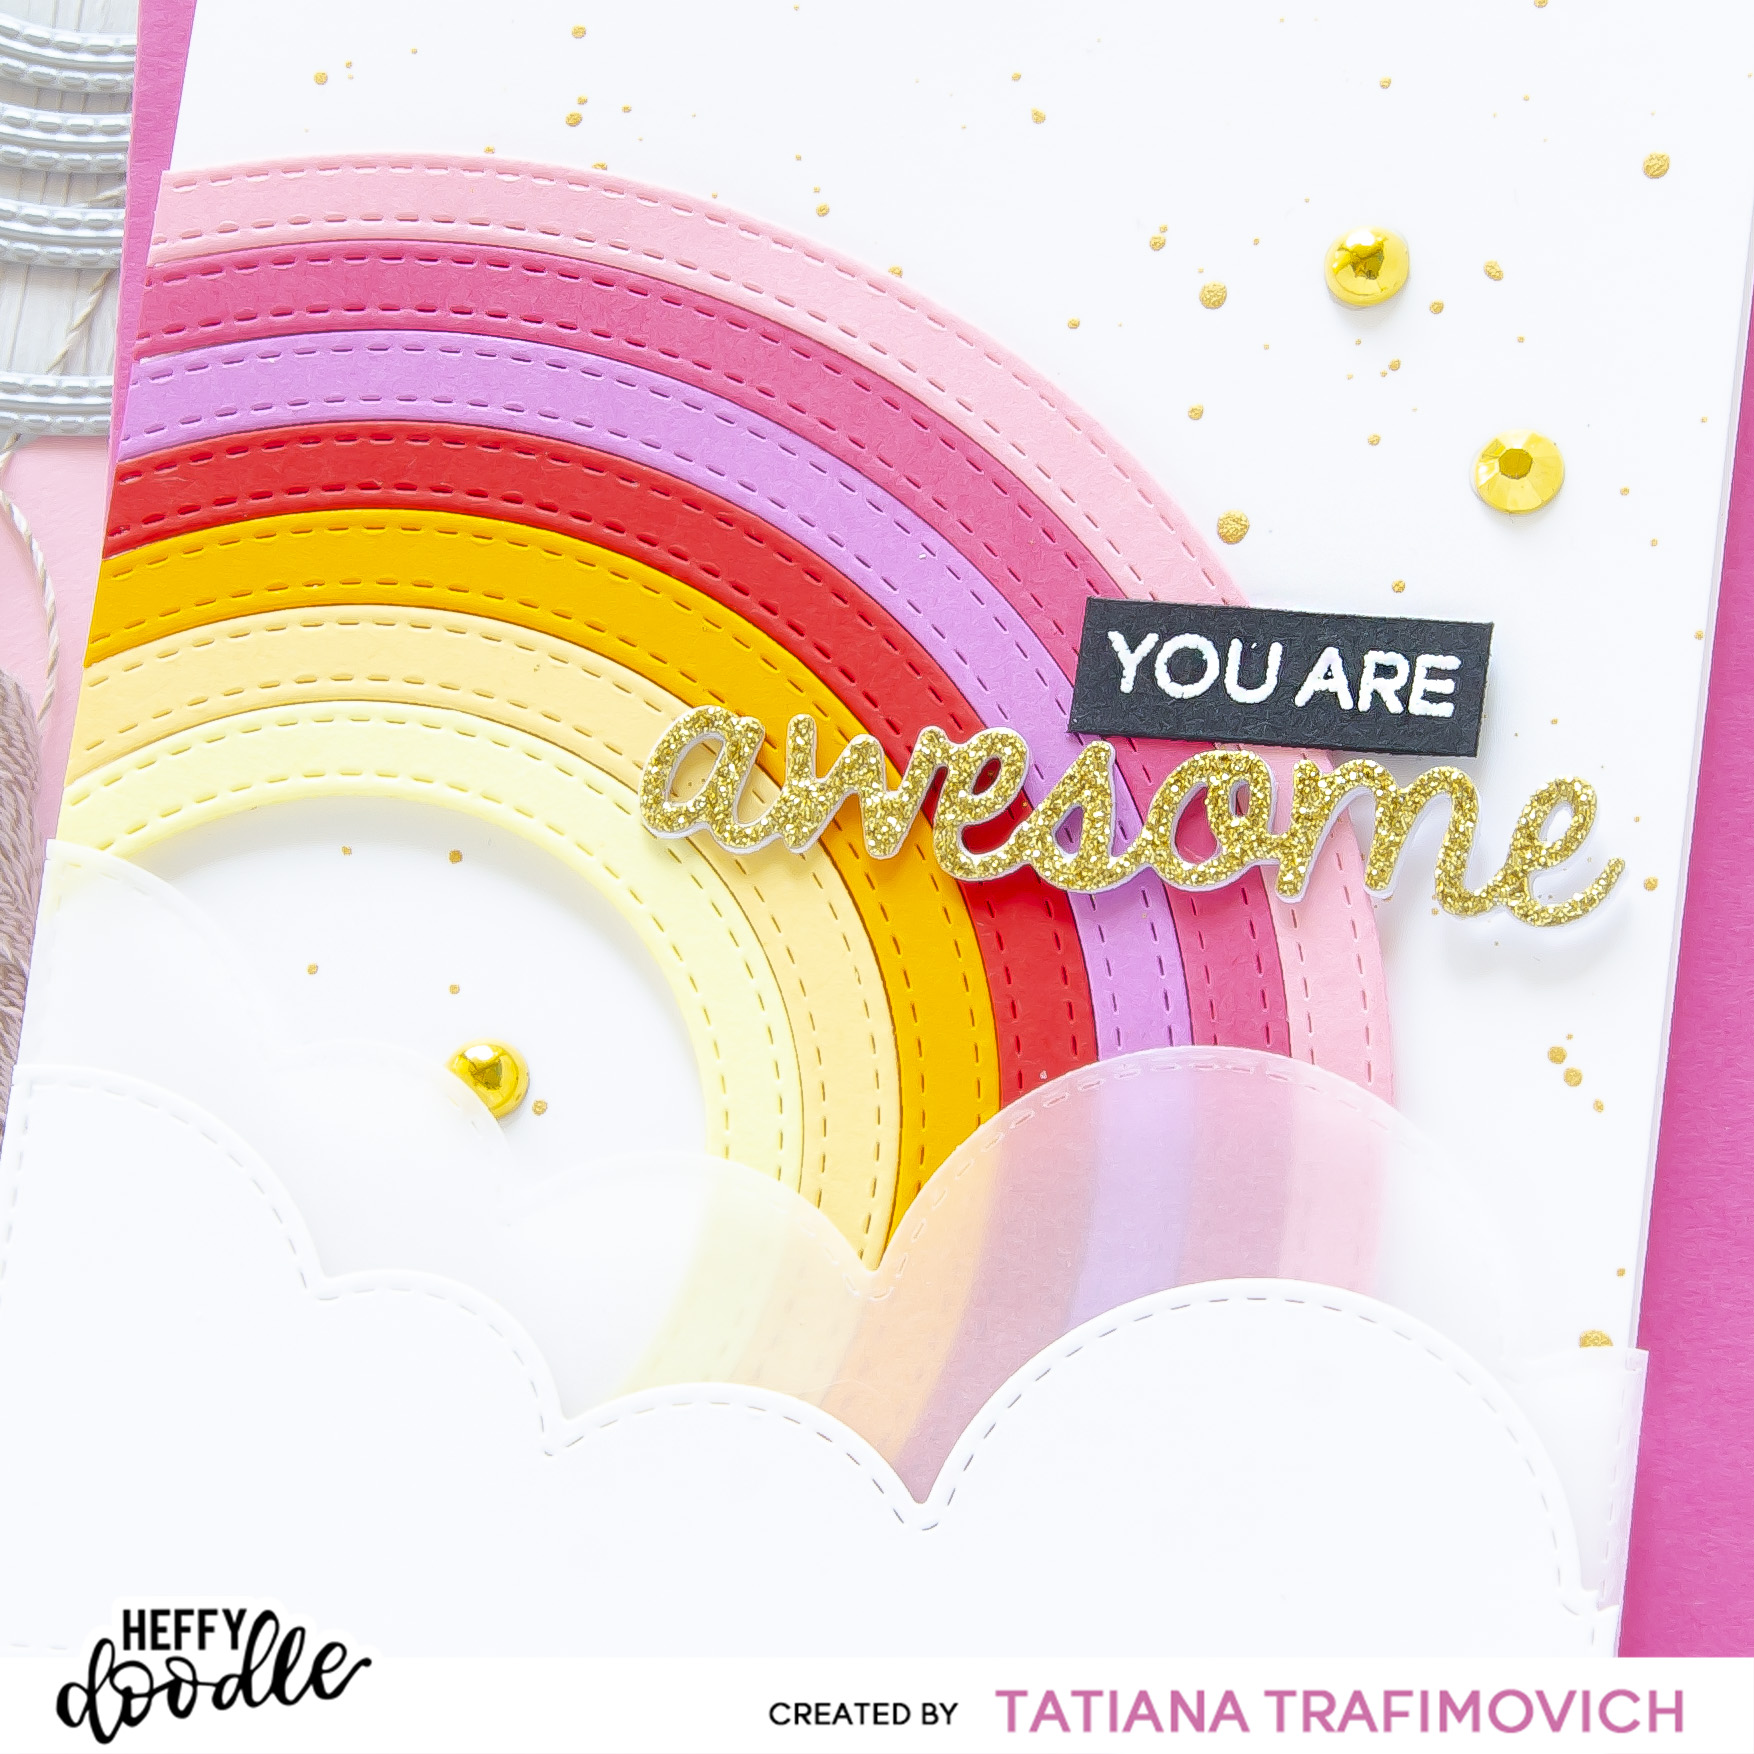
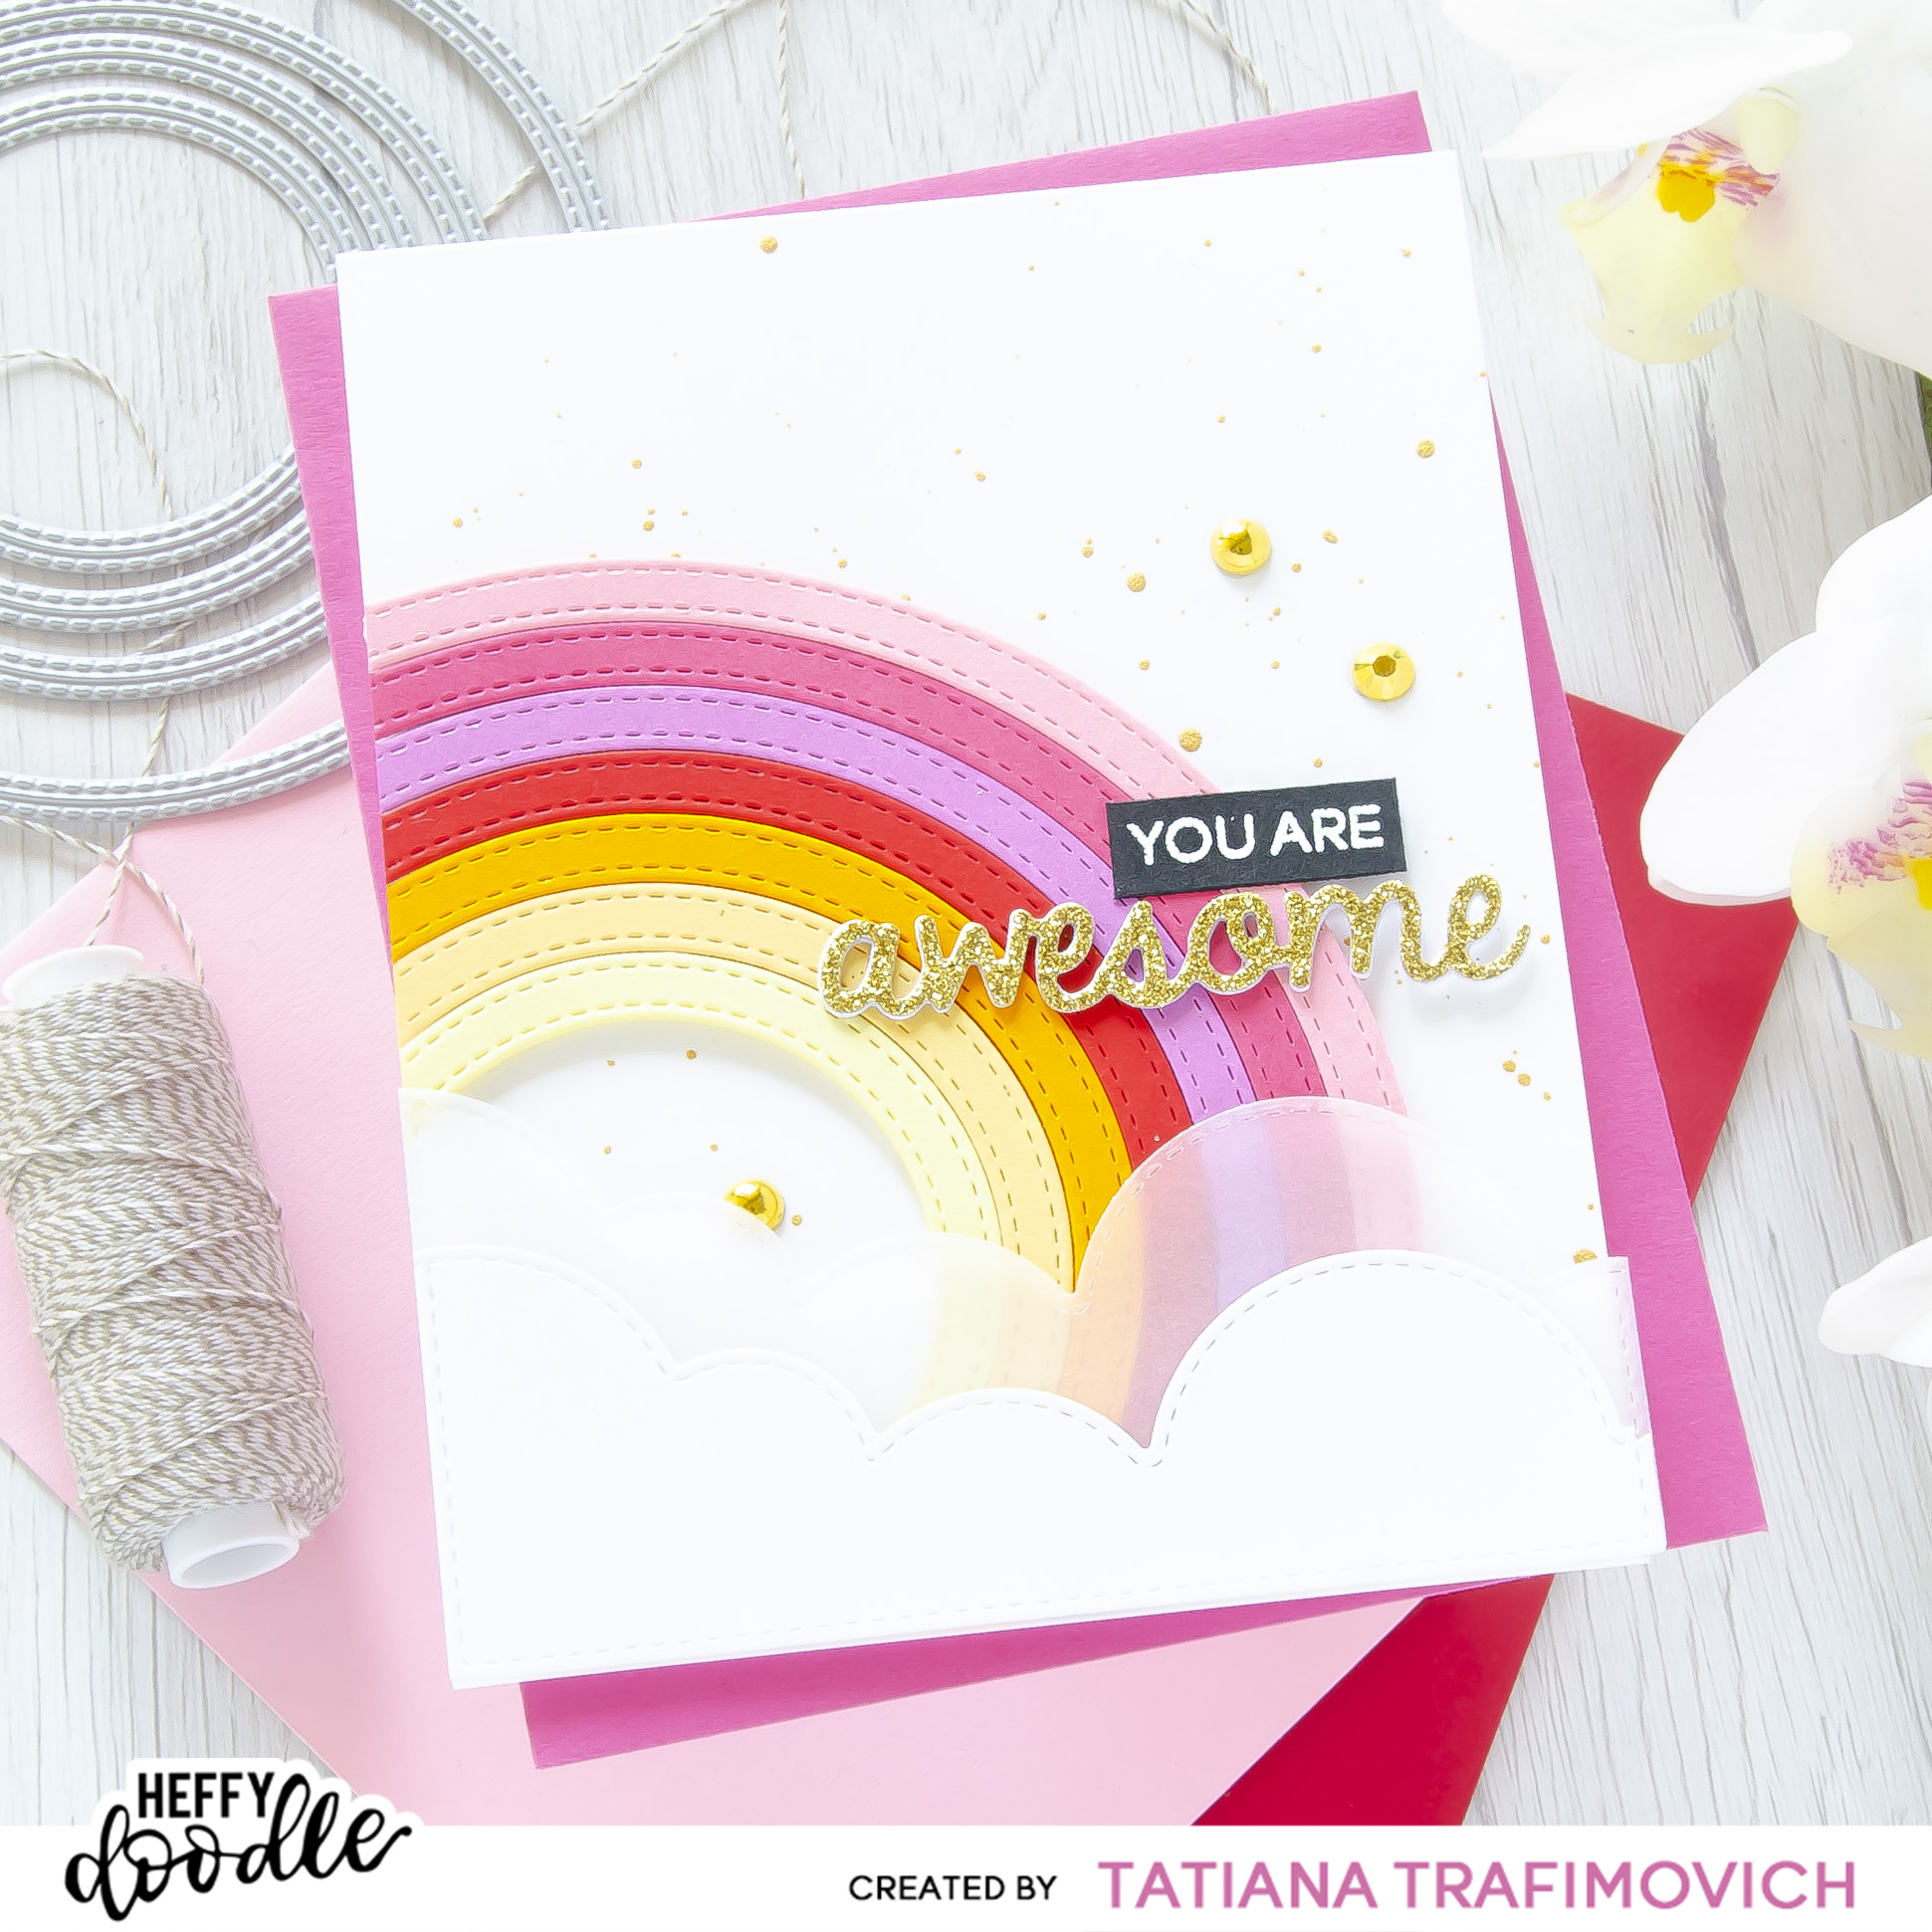
My today’s card turned out as a clean and simple die cut project in pretty girly pink colors with some golden splatters and accents! You don’t need to have any specific rainbow dies to recreate this design! In fact, I used just ordinary Circles Dies to achieve all rainbow layers! Curious how I did that? Please, keep reading the step-by-step instructions below!!!
DISCLOSURE. I’m currently on various Design Teams. I only join a team because I love their products and genuinely use them. All opinions are my own. I do not accept offers of direct payment for dedicated blog posts to promote products. I am part of various affiliate programs and link some supplies with compensated affiliate links when used where possible at no cost to you. When you click on an affiliate link and then go on to make a purchase, I receive a small commission. I use the money raised towards the cost of running this blog. I hope if you like the content of my blog you will support me by clicking through these links to make your purchases. Thank you!

Key Ingredients:
- STAMPS AND DIES:
- Stitched Circles Dies (available at Heffy Doodle and Scapbook.com)
- Imperial Stitched Rectangles Dies (available at Heffy Doodle and Scapbook.com)
- Slimline Scenery Dies (available at Heffy Doodle and Scapbook.com)
- Awesome Shadow Heffy Cuts (available at Heffy Doodle and Scapbook.com)
- Fluffy Puffy Unicorns Stamp Set (available at Heffy Doodle and Scapbook.com)
- OTHER CRAFT SUPPLES
- Heffy Doodle Coloured Cardstock – Mix 1 (available at Heffy Doodle and Scapbook.com)
- Heffy Doodle Coloured Cardstock – Mix 2 (available at Heffy Doodle and Scapbook.com)
Step By Step Instructions:
- Trim and score an extended A2 size card base (5 1/2″ x 4 1/4″) from Neenah Solar White paper.
- Splatter some tiny golden droplets on the card front and let it air dry.
- Partially die cut seven circle frames from a colorful cardstock, using Stitched Circles Dies and Sizzix Big Shot Die Cutting machine. Don’t forget to align and tape together two circle dies with a strong masking tape every time you ran them through the die cutting machine to prevent any movement and achieve the evenly spaced circle frames. On my card I used Heffy Doodle Coloured Cardstock from Mix 1 and Mix 2 packs plus Simon Says Stamp Lemon Chiffon as a lightest yellow shade.
- Partially die cut from Neenah Solar White paper and from a vellum two faux stitched rectangles, using the biggest frame from Imperial Stitched Rectangles Dies.
- Die cut the top part of both layers with a cloudy border die from Slimline Scenery Dies.
- Die cut two layers of Awesome Shadow Heffy Cut from a scratch cardstock and another layers – from a gold glitter paper.
- Stack all three layers together with a liquid adhesive that dries clear and matte like Distress Collage Medium Matte.
- Carefully cut apart the words “YOU ARE” from Fluffy Puffy Unicorns Stamp Set with the sharp small scissors.
- Heat emboss in white onto black the sentiment with VersaMark Clear Embossing Ink. Don’t forget to prep the paper with a Powder Tool Applicator to prevent the embossing powder to stick where you don’t want it!
- Arrange and glue in place all the elements on the card front, using a foam tape and Distress Collage Medium Matte.
- Finish with a couple of golden jewels.

That’s all for today! Hope this simple die cut card will inspire you! Thanks so much for stopping by and happy International Women’s Day!!!
Hugs,
Tatiana
