Hello and welcome!
I’m so glad you’ve joined me today and even more excited to be on the Newton’s Nook Designs blog, sharing a cute and easy swing birthday card that doesn’t require any specific dies at all for the interactive element. Curious?! So let’s start!!!
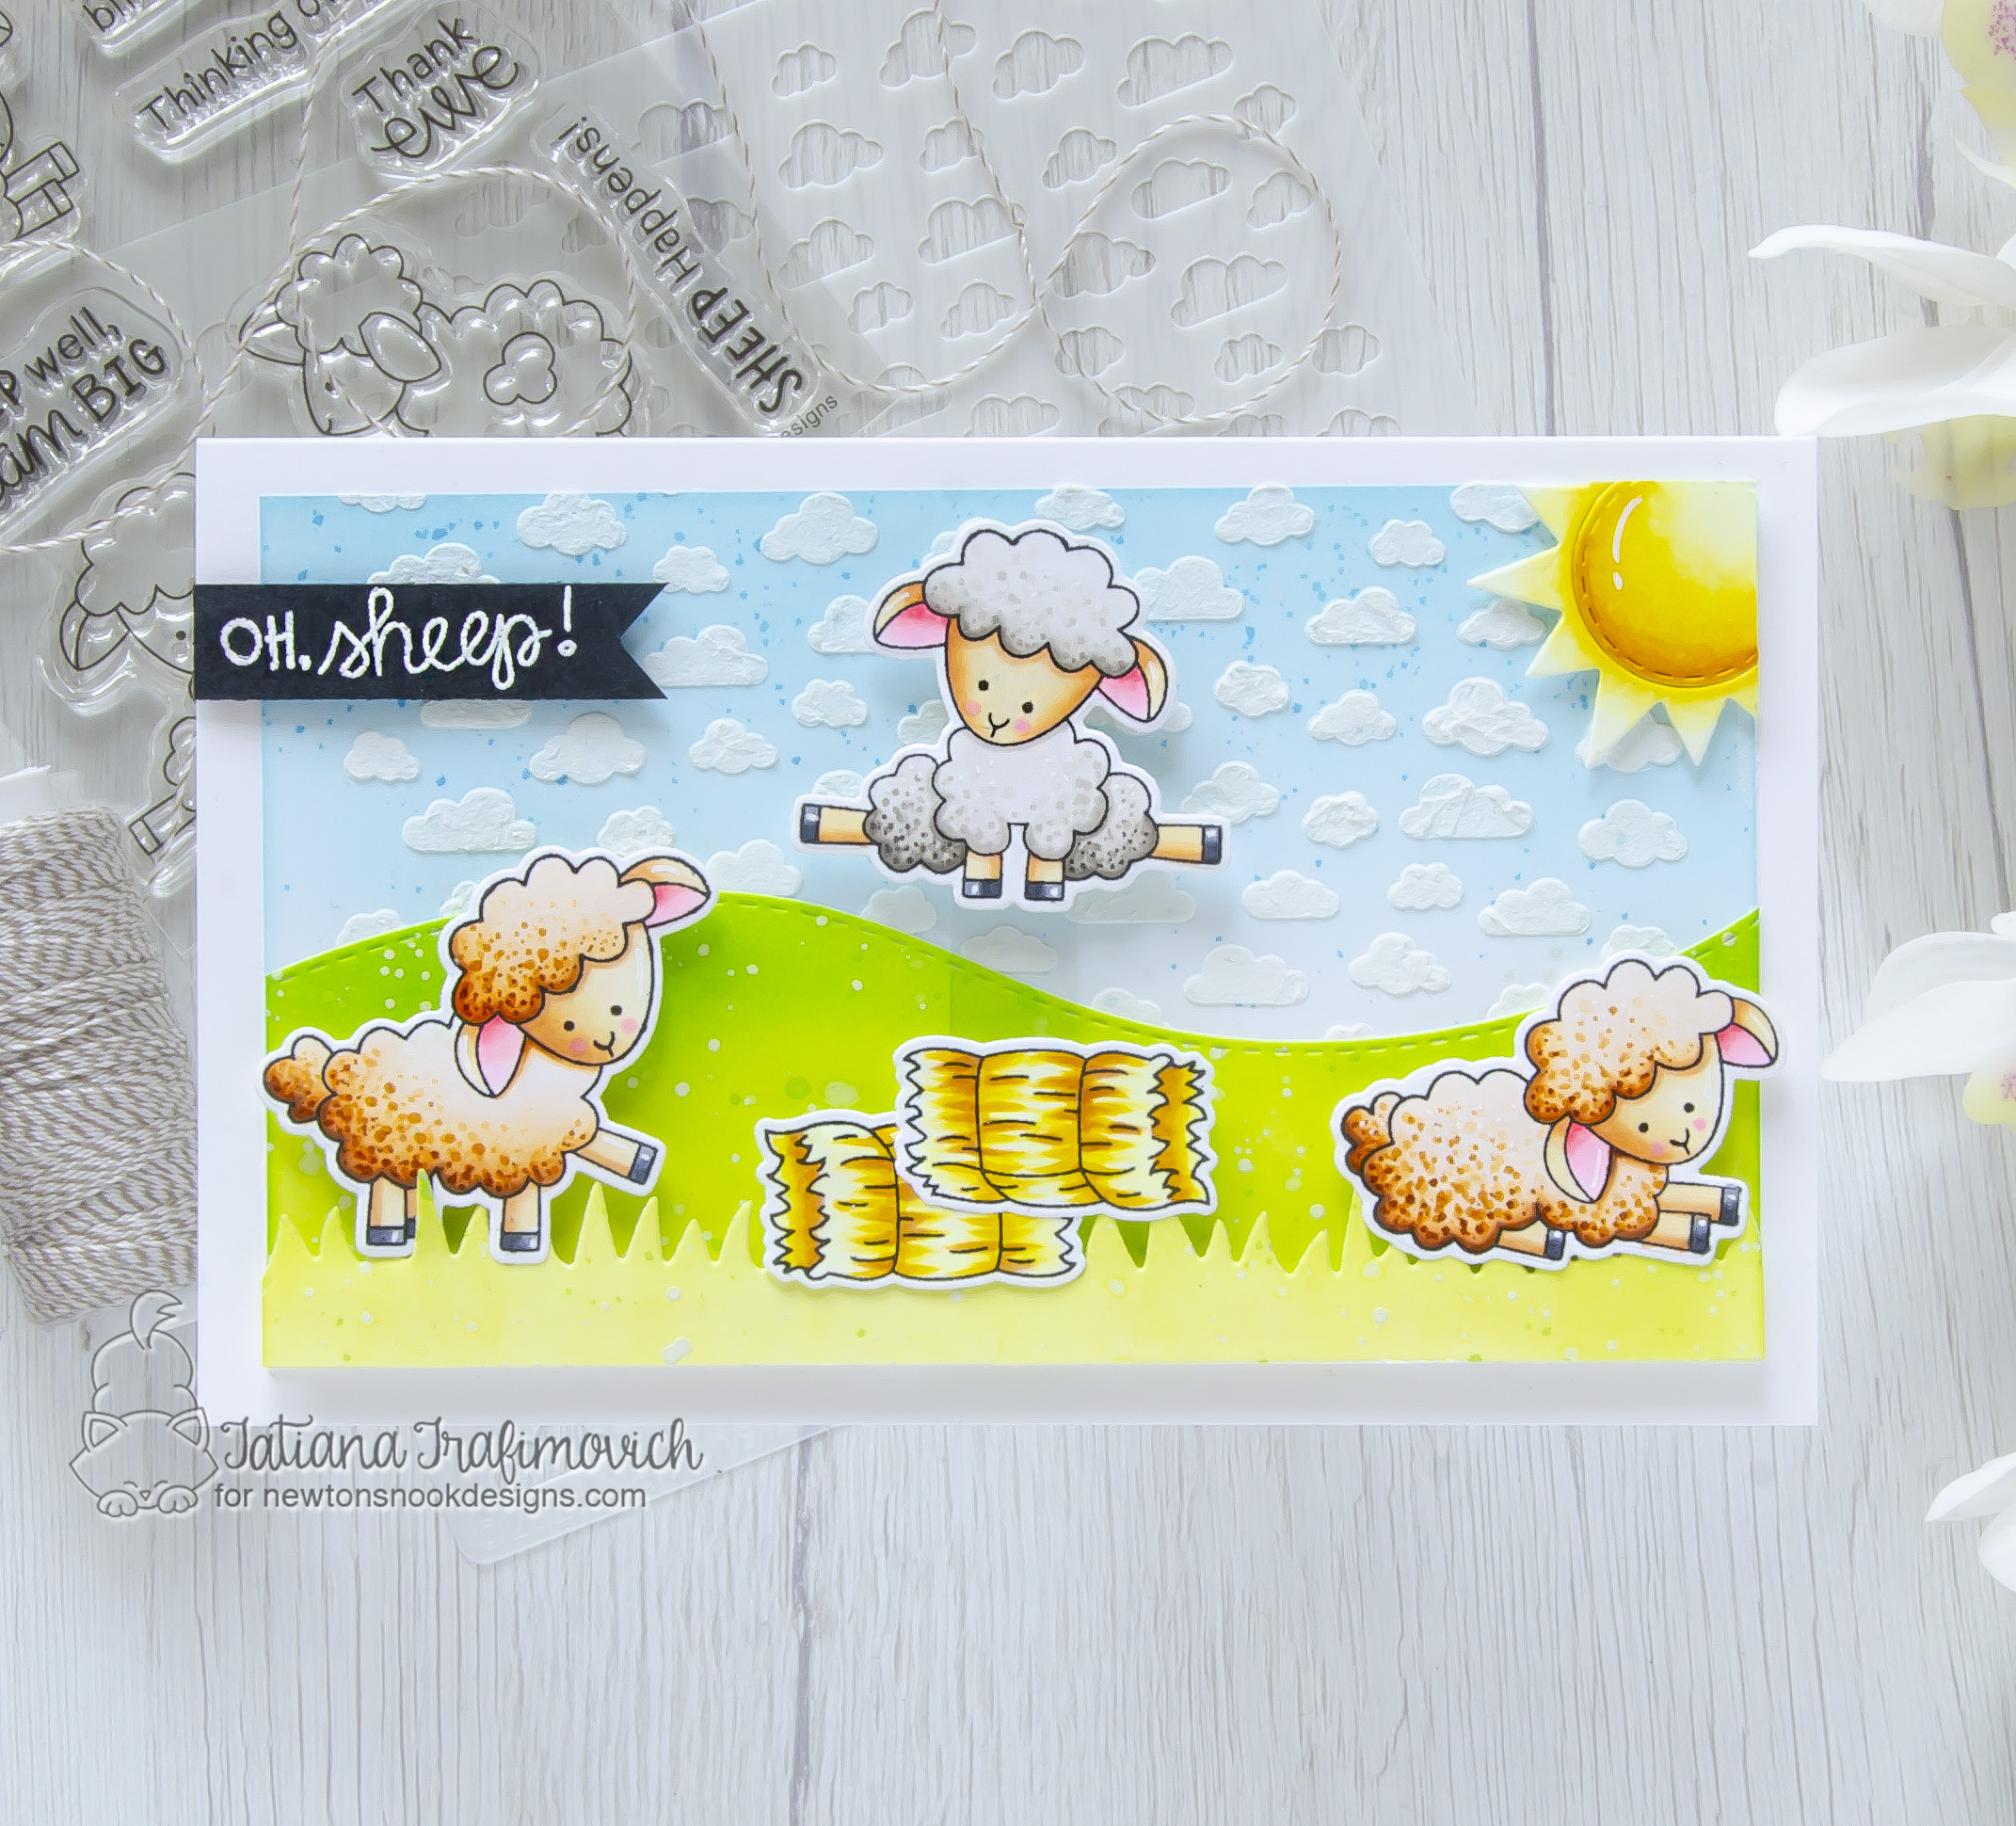
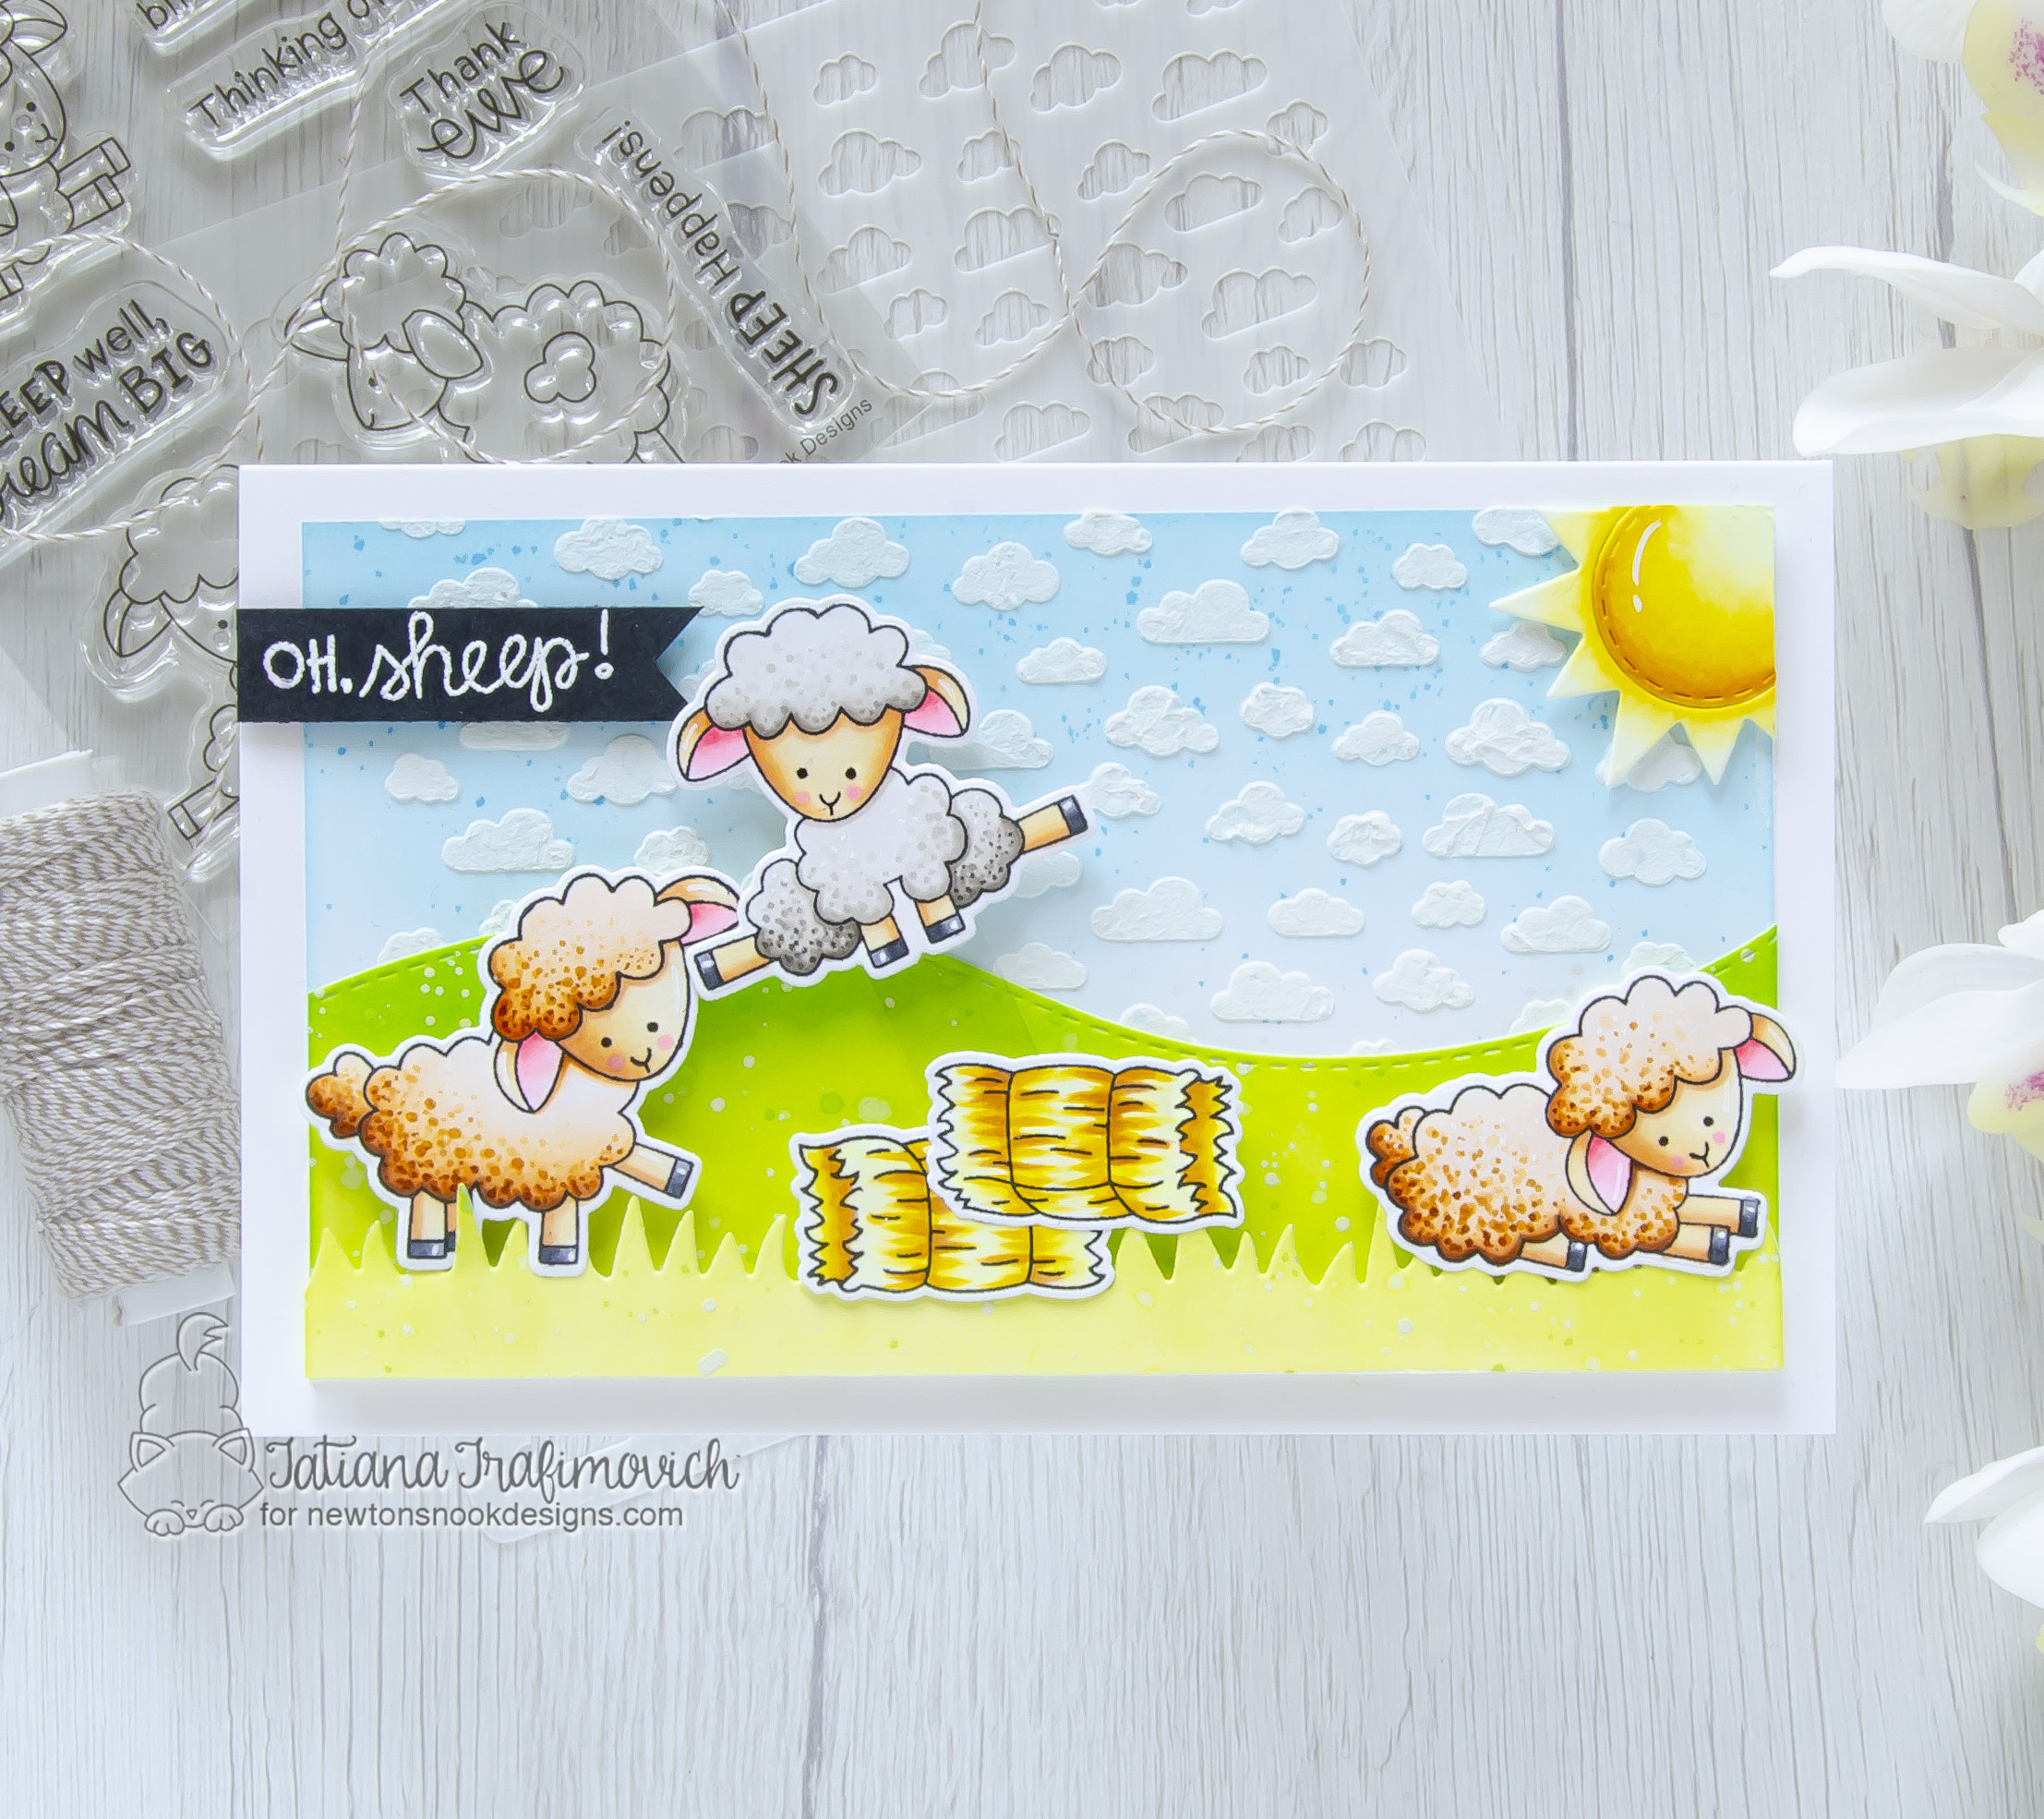
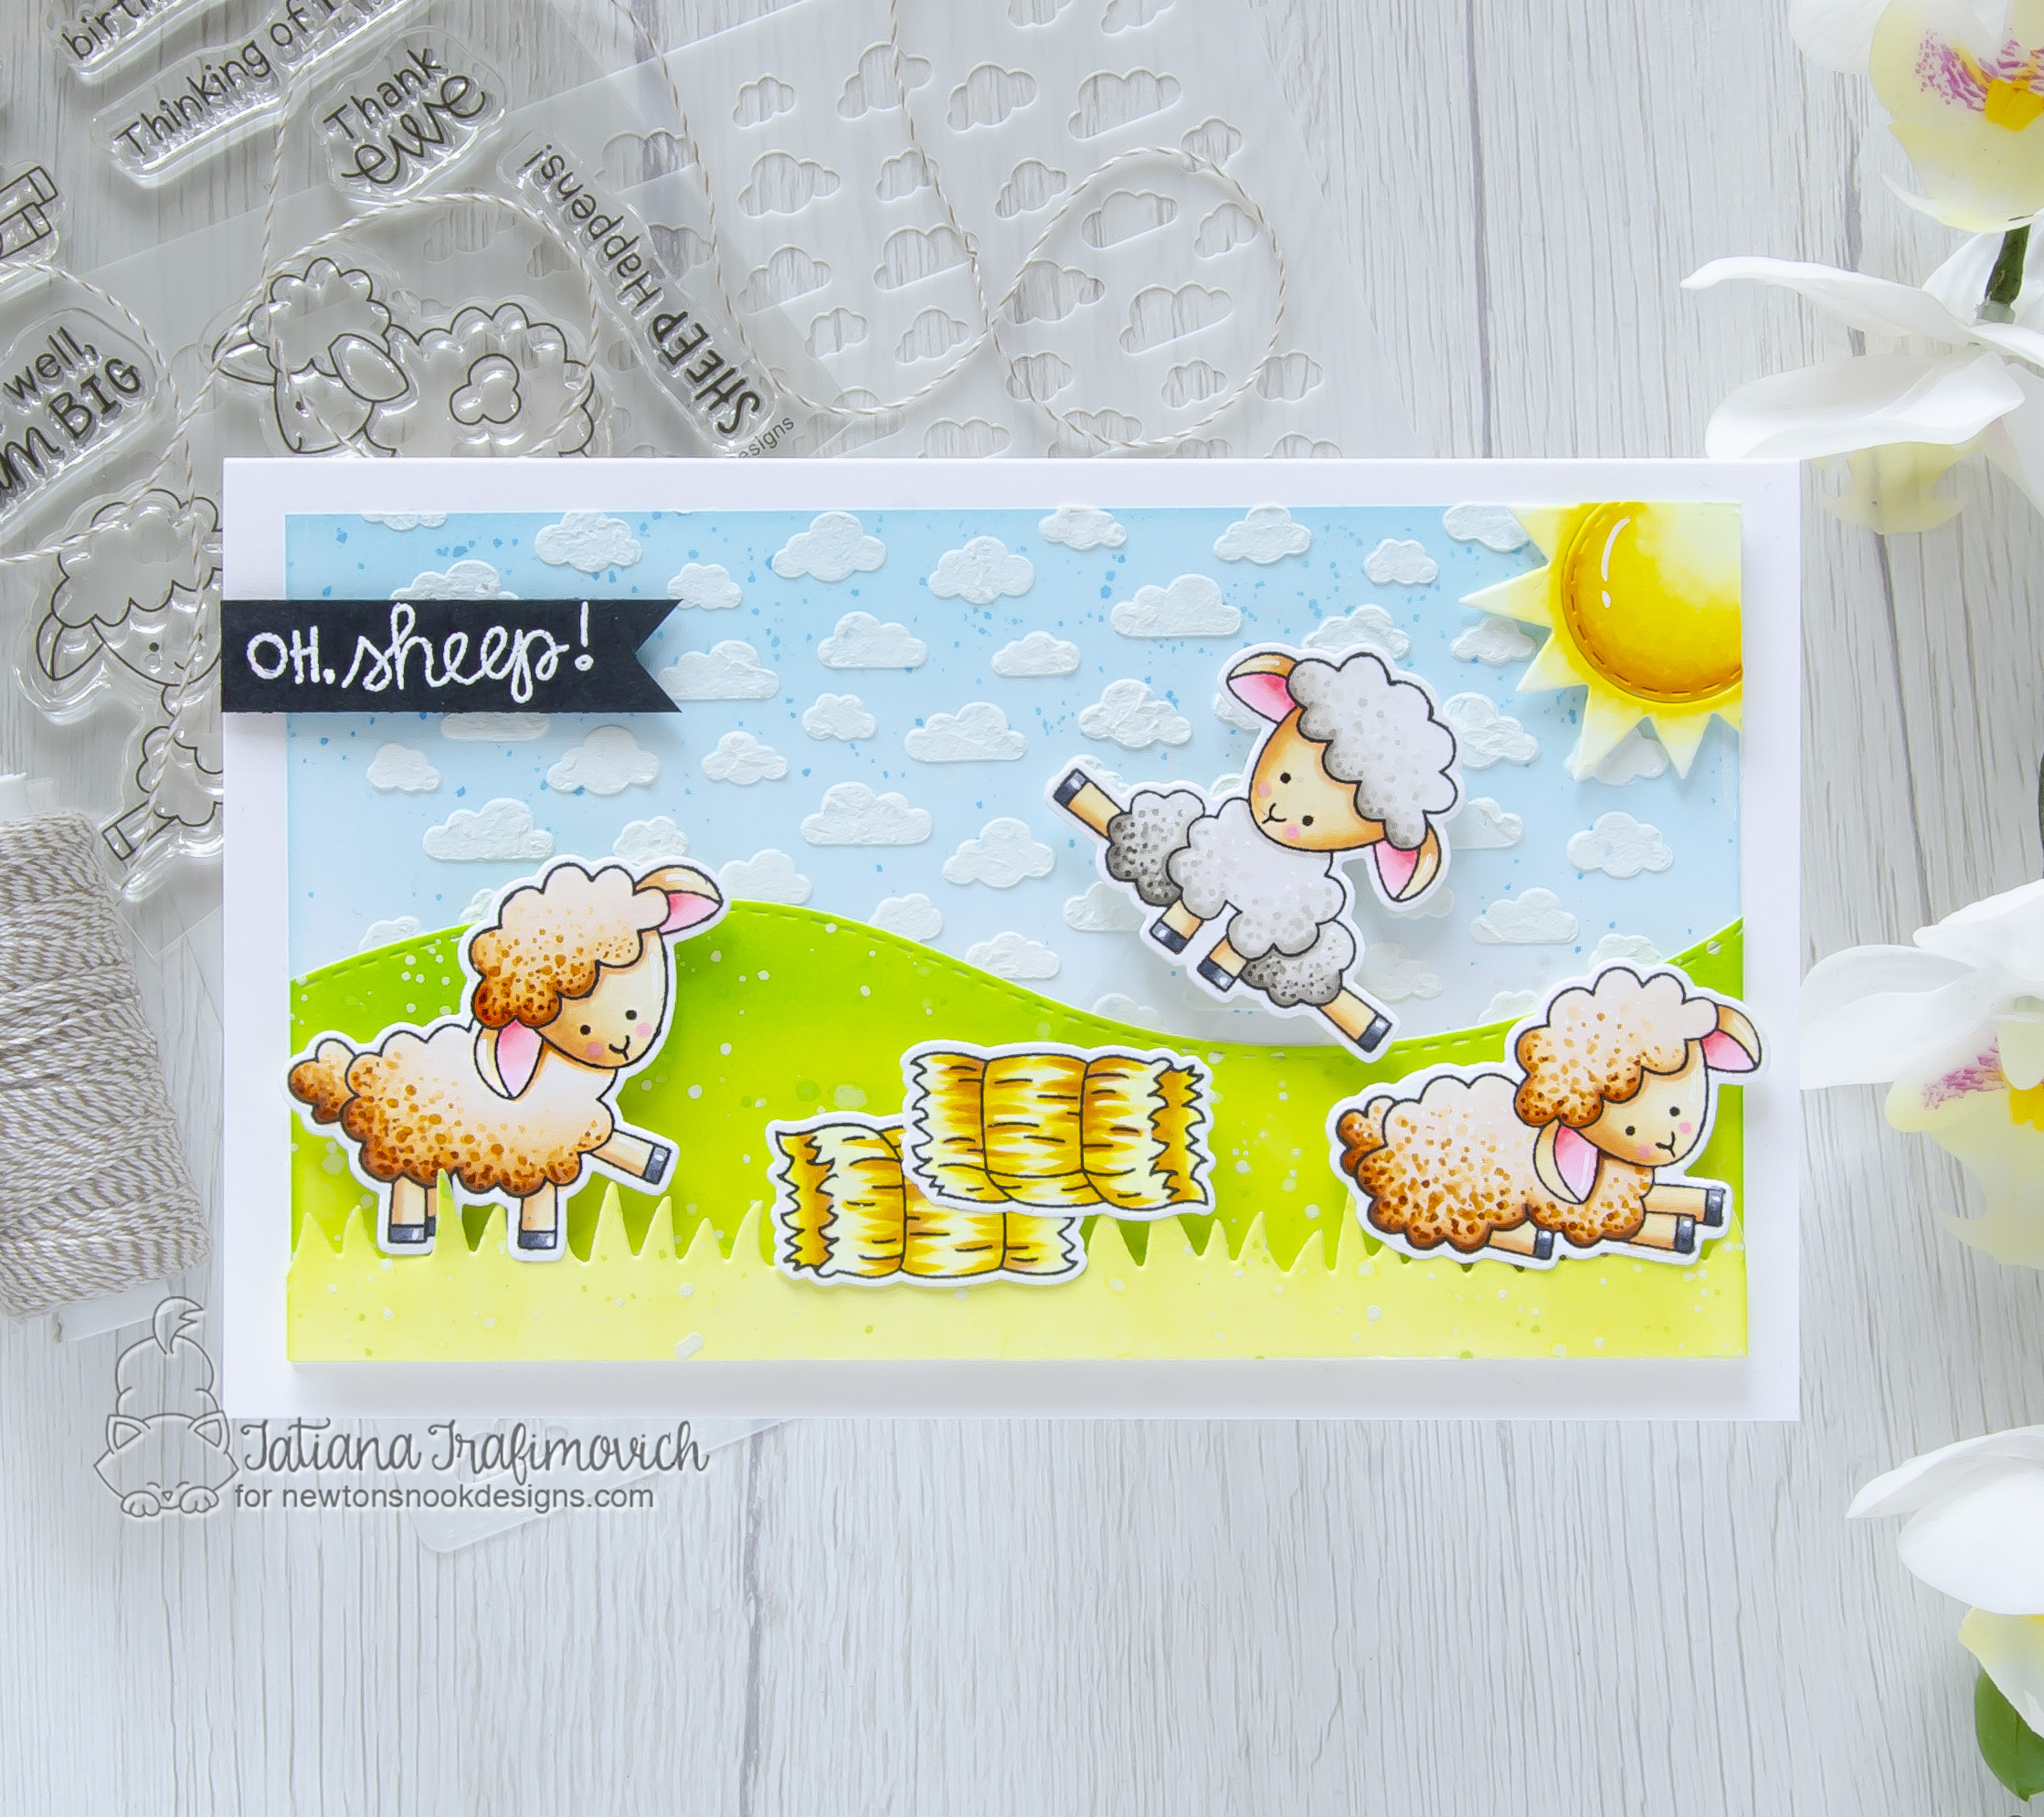
Key Ingredients:
Step By Step Instructions:
- Die cut from Neenah Solar White paper all the elements you need for your card, using the coordinating Baa Die Set. I used on this project Sizzix Big Short Die Cutting machine. Save the negative parts of the dies.
- Stamp the outline illustrations from Baa Stamp Set with Memento Tuxedo Black ink. Use the negative parts of the dies as a guide for a perfect alignment inside the stamping positioning tool.
- Color the stamps with COPIC MARKERS. I used on this card:
- sheep skin E0000-E50-E51-E53-E55-E57
- sheep fur #1 YR20-YR30-E21
- sheep fur #2 W00-W0-W2-W7
- ears RV00-RV13
- cheeks RV10-RV11
- hoof C4-C7
- hay and sun Y00-Y11-Y13-Y15-V12
- Trim and score a slightly larger that a small slimline card base (6 1/2″ x 4″) from Neenah Solar White paper.
- Trim another rectangle that measures 6″ x 3 1/2″, ink it with Tumbled Glass Distress Oxide and apply through the stencil all across Petite Clouds pattern, using a white embossing paste. Use a removable tape to hold the stencil in place.
- Die cut from Neenah Solar White paper the hill and grass layers, using Land Borders Die Set.
- Ink both layers with Twisted Citron Distress and Simon Hurley Overzealous dye inks.
- Die cut from Neenah Solar White paper the Sun, using Sky Scene Builder Die Set, and color it with copic markers.
- Heat emboss in white onto black the first part of the sentiment from Baa Stamp Set.
- Stamp the second part of the sentiment “BAA-lated birthday wishes!” inside the card base with Memento Tuxedo Black ink.
- Glue in place the sky and hill portions directly on the card base with Distress Collage Medium Matte.
- Cut out 2 1/2″ x 1/2″ rectangle from a clear acetate, punch or die cut the hole towards the bottom part. I used Fiskars One Fourth Inch Circle Punch.
- Adhere spin and slider disk with Glossy Accents on the hill layer. I used a disk from My Favorite Things brand, but you can replace it with a 3D circle foam dot.
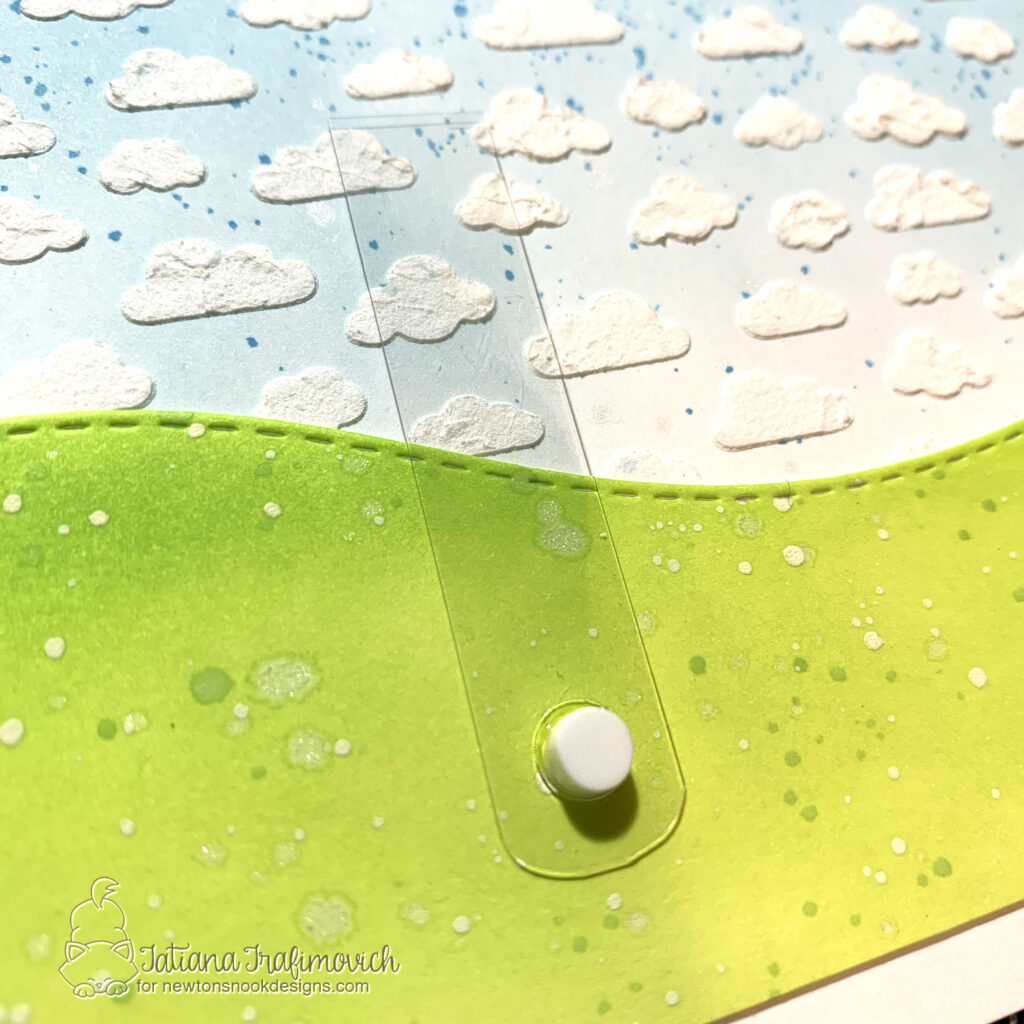
- Insert the clear acetate through the hole and block it, by adhering with Glossy Accents a die cut paper circle slightly larger than your spin and slider disk.
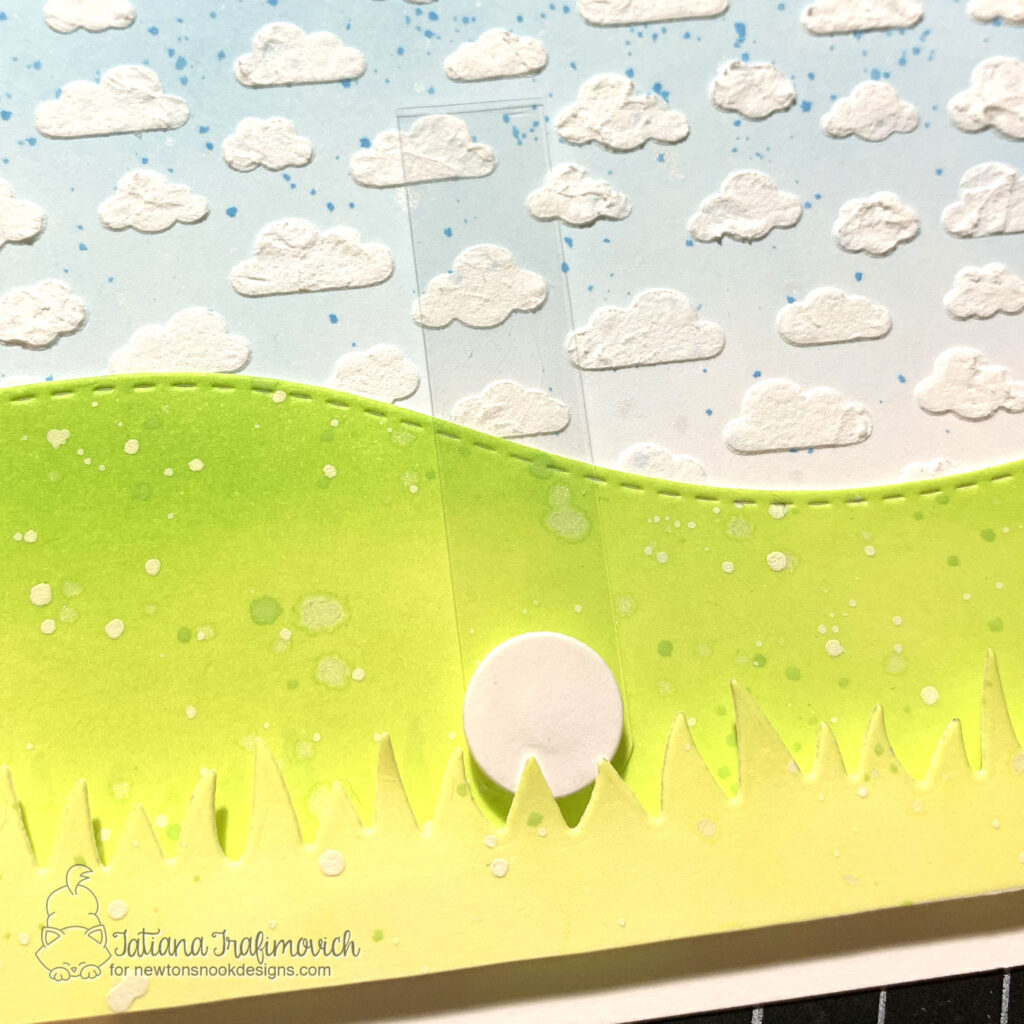
- Arrange and pop on a foam tape all other elements including the interactive sheep to complete the scene.
- Add a few accents with white gel pen.
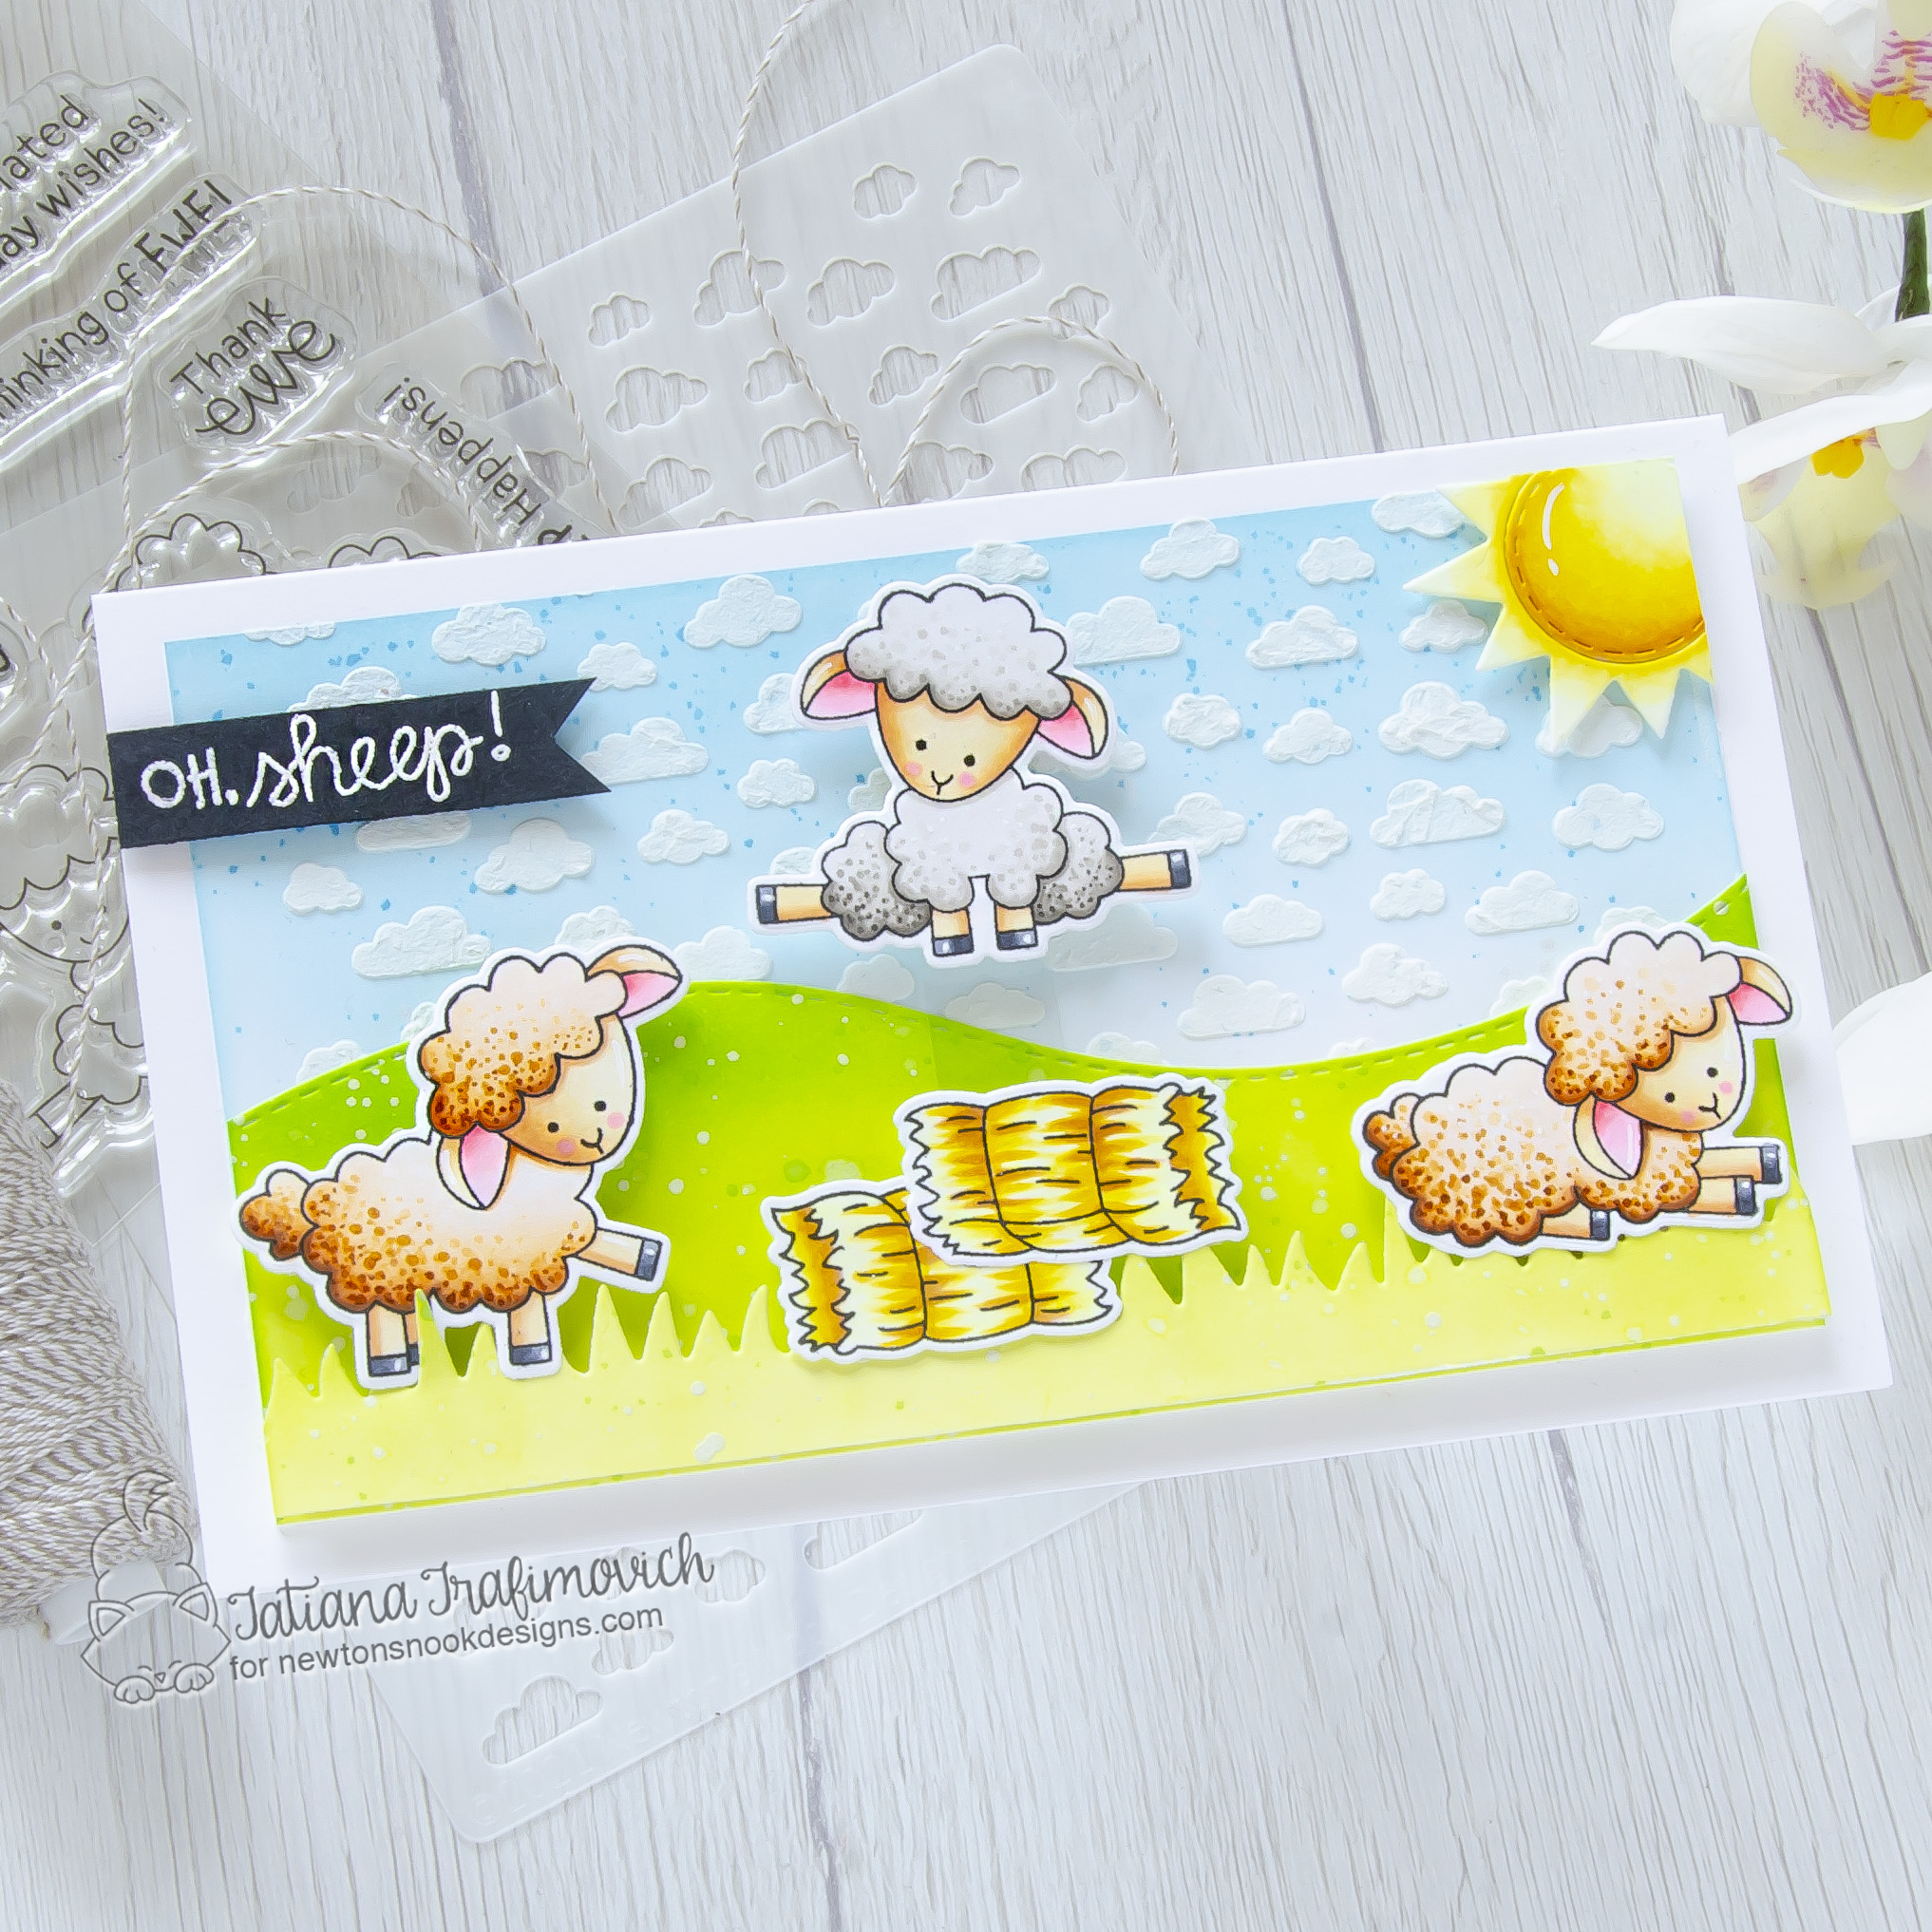
That’s all for today! Hope you like this cute and fun interactive card! Thanks so much for stopping by and have a fabulous day!
Hugs,
Tatiana
