Hello and welcome to Day 3 of the Newton’s Nook May release! Thanks so much for joining me today! I cannot wait to share with you all the stunning new products that the NND Design Team and I will be sharing throughout this week!
Please note that all the new May products will be available for purchase on Friday, May 19th at Newton’s Nook Designs online store and other craft retailers!
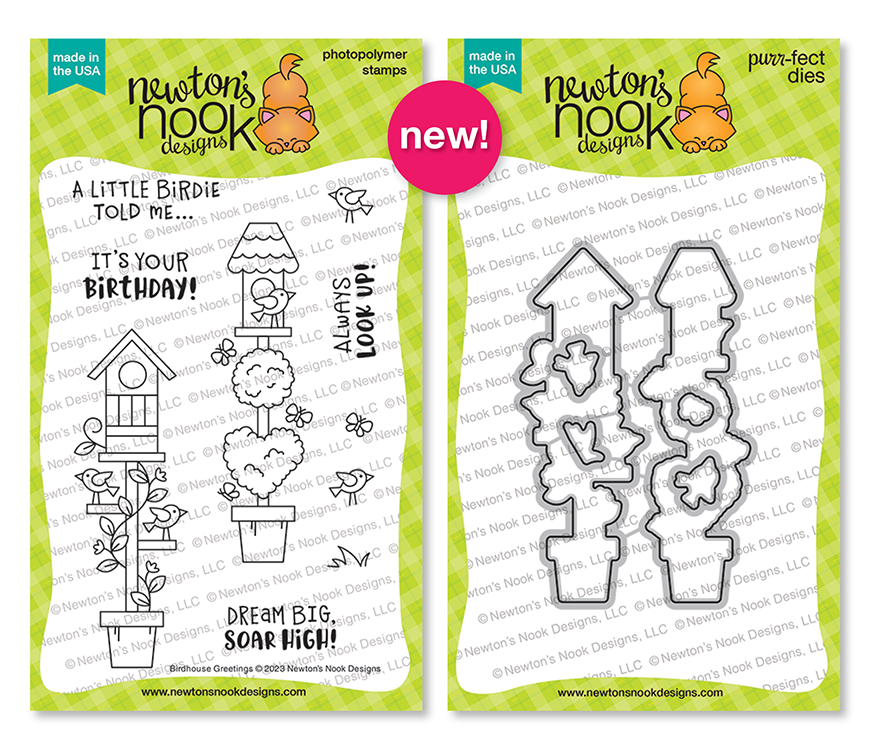
Well, the third day of the May reveals is filled with the most adorable spring images in new Birdhouse Greetings Stamp Set that comes with the coordinating Birdhouse Greetings Die Set! And more… there’s a fabulous new Birdhouse Line Stencil too!
Giveaway alert!! NND is giving away new Birdhouse Greetings Stamp Set to a lucky winner so make sure you read all the way to the bottom of this post to see how to win!
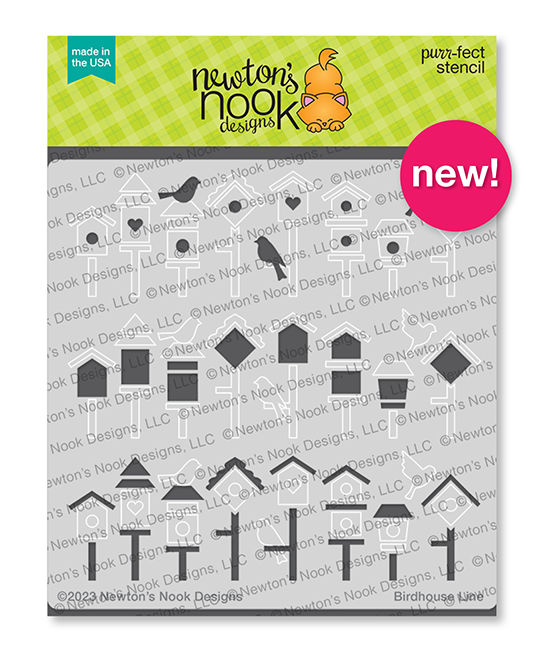
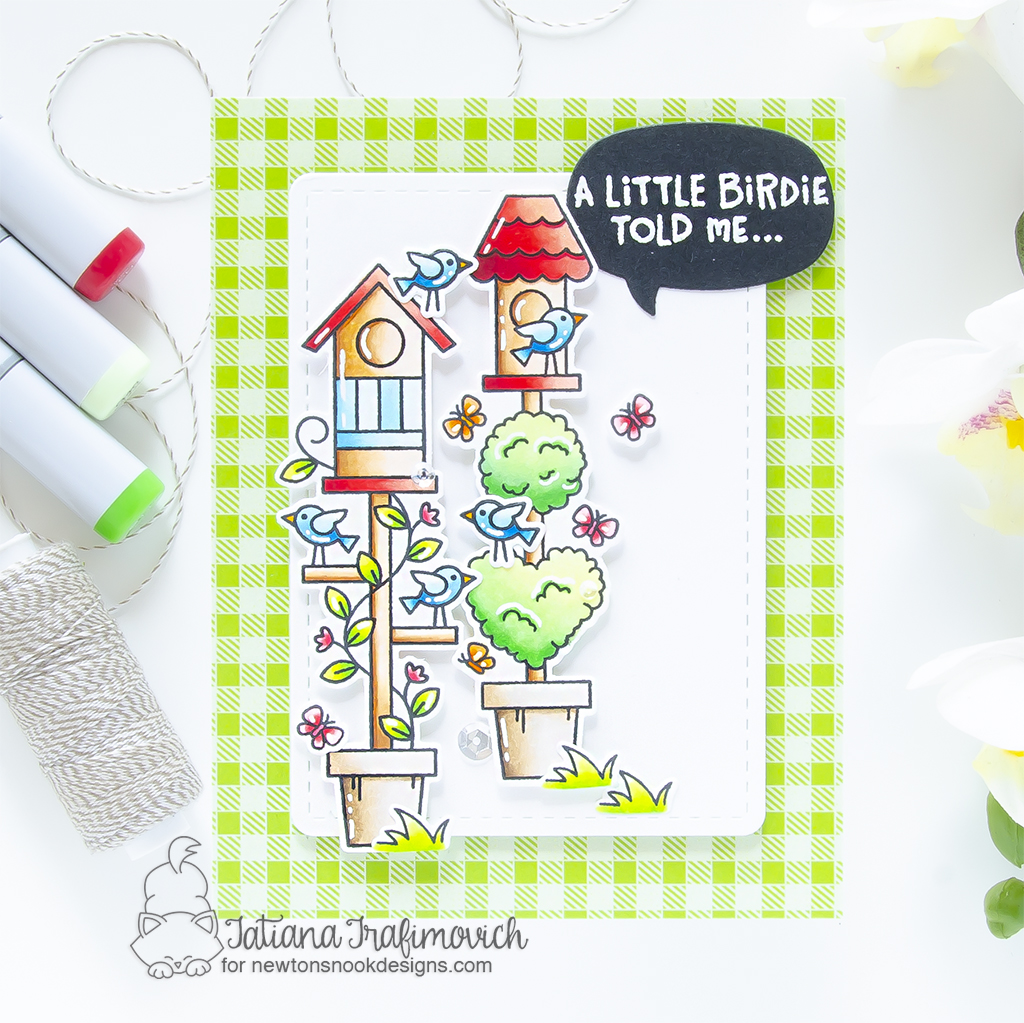
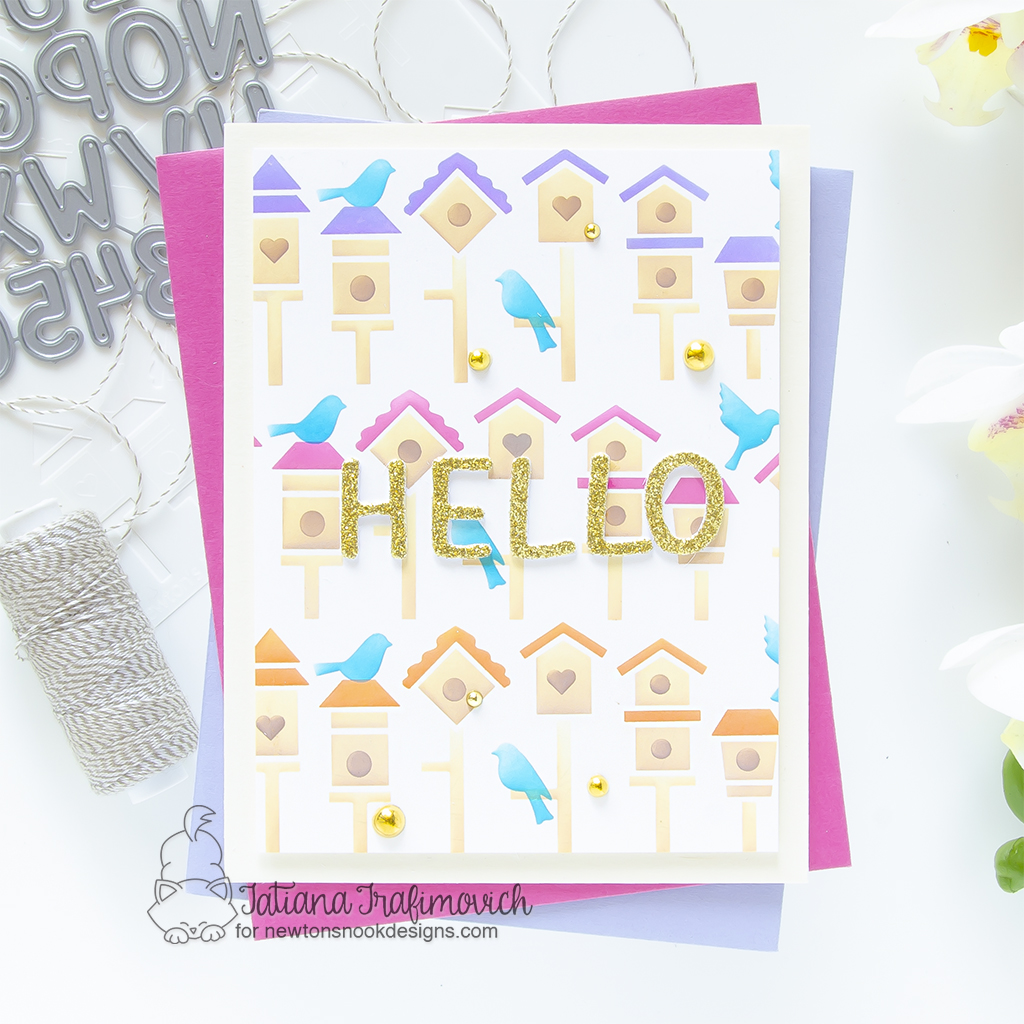
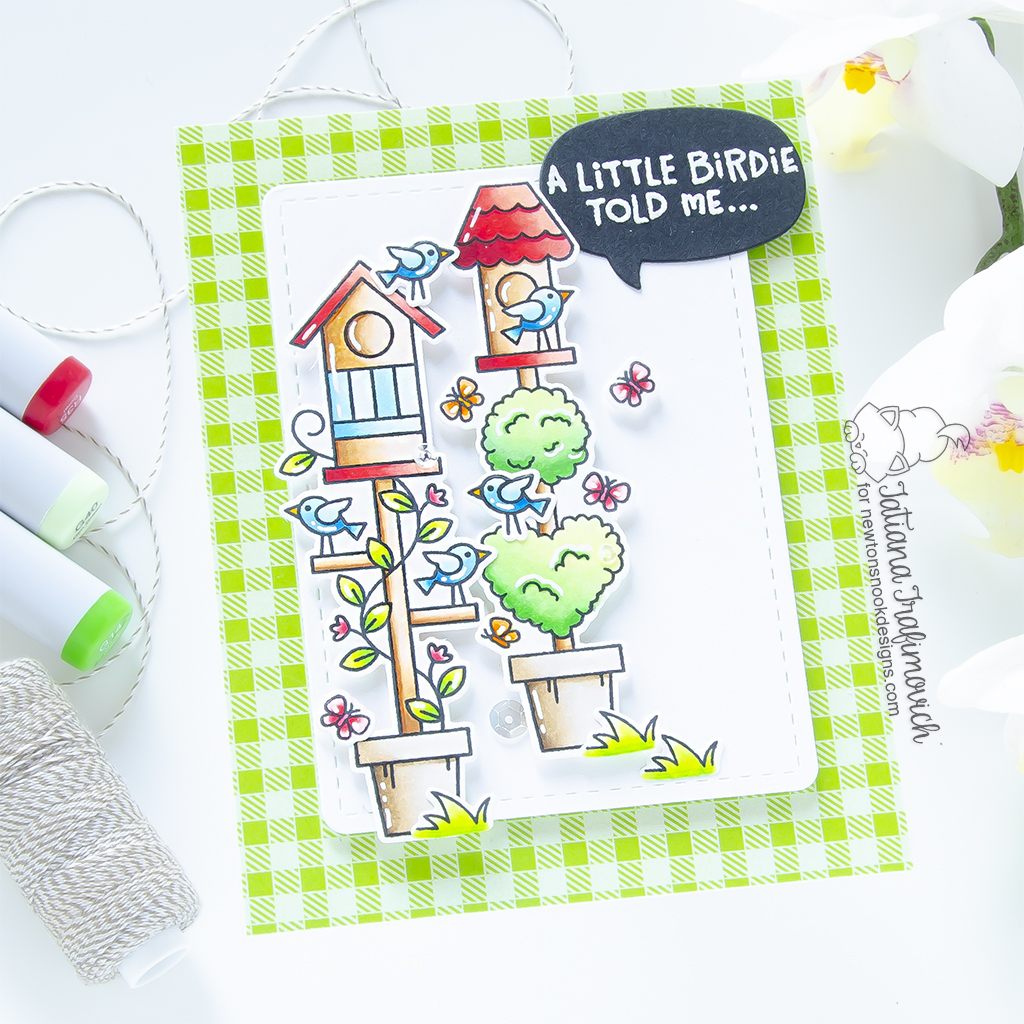
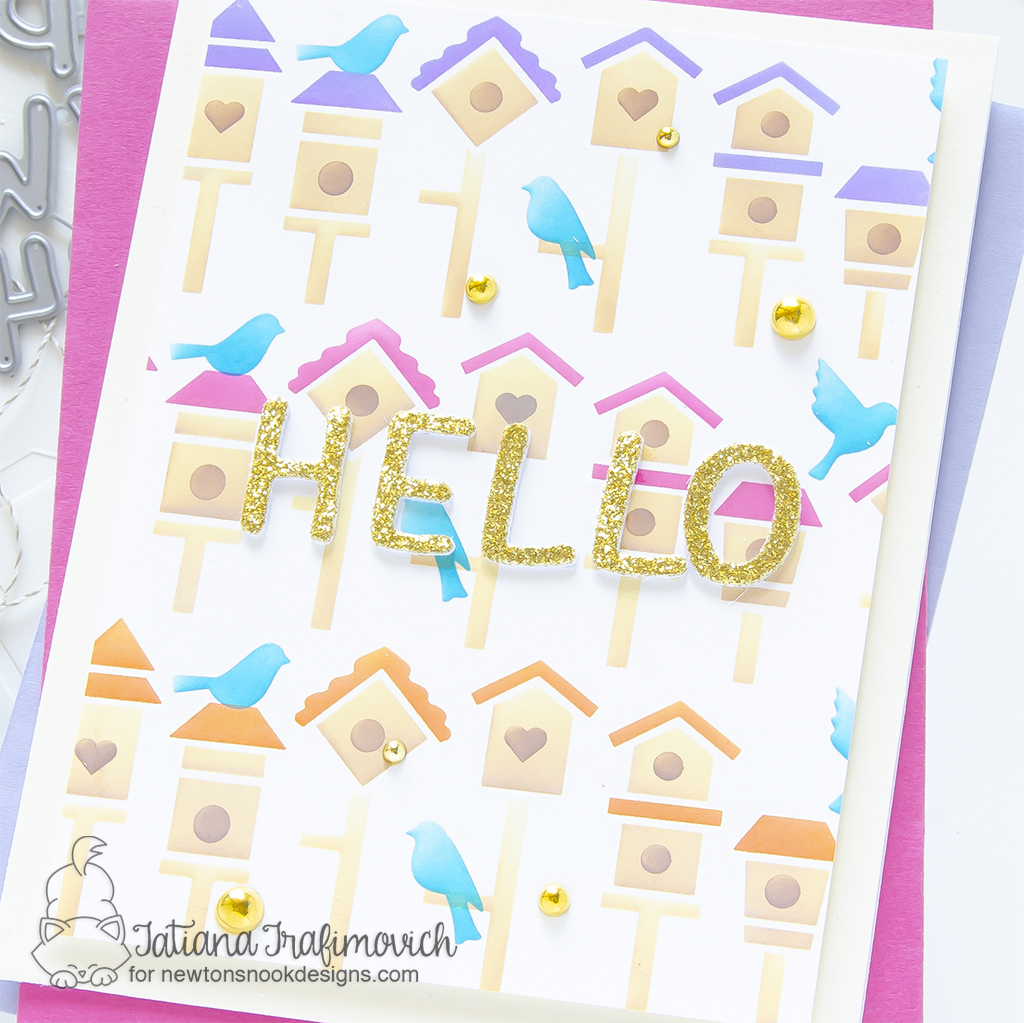
Let me tell you that new Birdhouse Line Stencil stole my heart at first sight and deserved to be a protagonist on a card front and not just a complementary background element! So I created one card that features only the new stencil! While the adorable illustrations from Birdhouse Greetings Stamp Set became a main focus on a simple design with a pop of bright spring green!
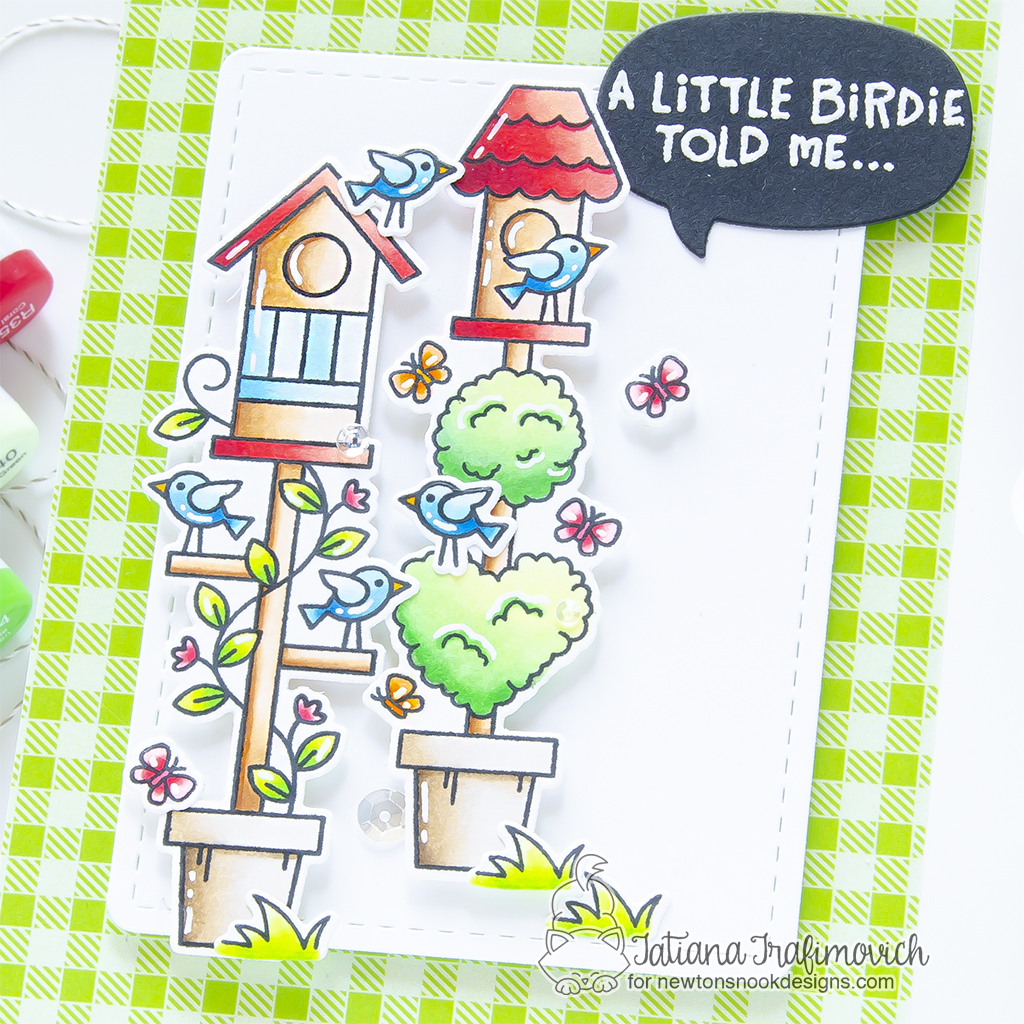
Key Ingredients:
- Birdhouse Greetings Stamp Set
- Birdhouse Greetings Die Set
- Spring Blooms Paper Pad
- Speech Bubbles Die Set
- Flags & Frames Die Set
Step By Step Instructions:
- Die cut from Neenah Solar White paper all the elements you need, using the coordinating Birdhouse Greetings Die Set and Sizzix Big Shot Die Cutting machine. Save the negative parts of the dies.
- Stamp the outline illustrations from Birdhouse Greetings Stamp Set with Memento Tuxedo Black ink, using the negative parts of the dies as a guide for a perfect alignment inside the stamping positioning tool.
- Color the stamps with COPIC MARKERS. I used on this card:
- orange YR02-Y17-YR04
- red R30-R32-R35-R39-R46
- pink RV00-RV13-RV14
- green #1 YG00-IY01-YG06
- green #2 YG0000-YG11-G20-G12-G14
- blue B000-B00-B02-B04-B06
- brown E0000-E30-E31-E34
- pots E40-E41-E42-E43-E44
- Trim and score an extended A2 size card base (5 1/2″ x 4 1/4″) from Neenah Solar White paper. I used Tim Holtz Maxi Guillotine Trimmer and Mini Score Board.
- Trim a 5 1/2″ x 4 1/4″ green panel from Spring Blooms Paper Pad.
- Die cut a faux stitched rectangle from Neenah Solar White paper, using Flags & Frames Die Set.
- Die cut a speech bubble from a black cardstock, using Speech Bubbles Die Set.
- Heat emboss in white onto black the first part of the sentiment from Birdhouse Greetings Stamp Set. Don’t forget to prep the paper with a Powder Tool Applicator to prevent the embossing powder to stick where you don’t want it!
- Arrange and glue in place all the elements on the card front by popping some of them on a foam tape for a bit of dimension.
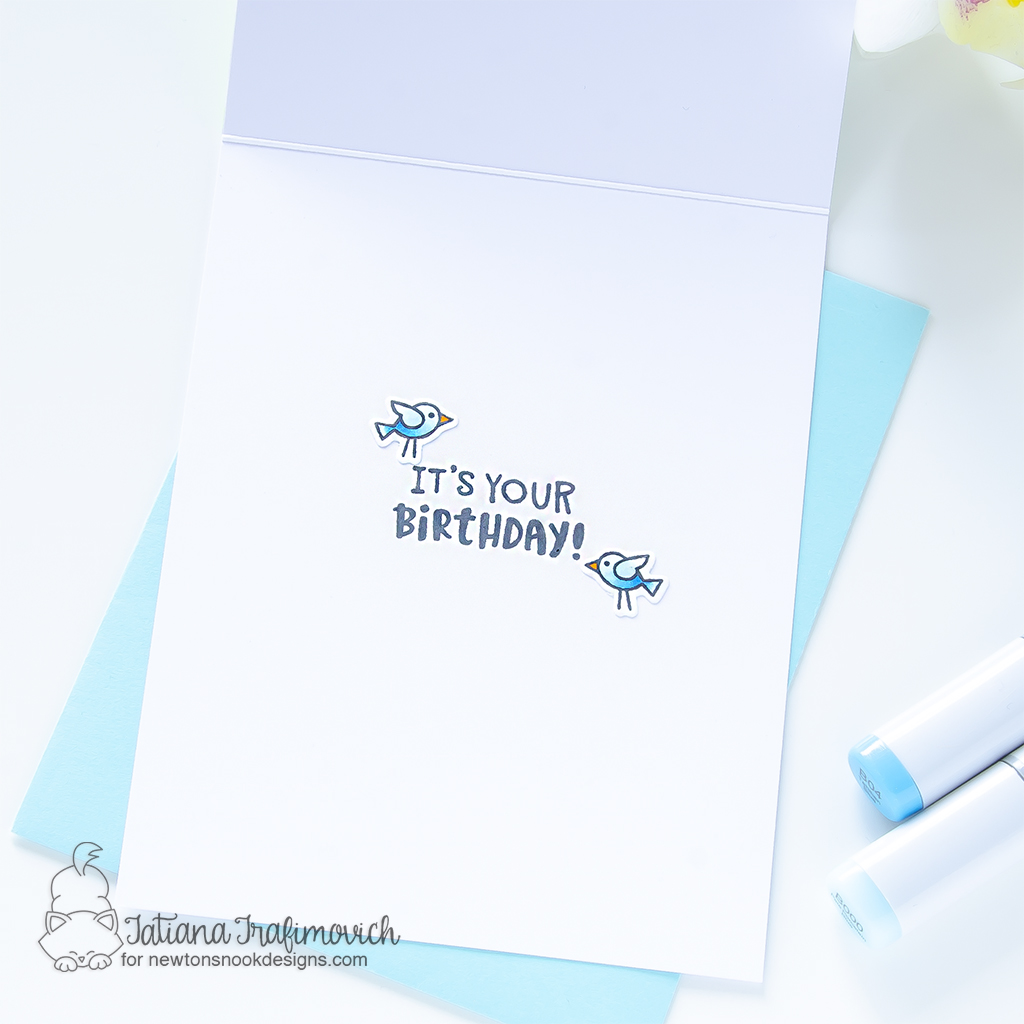
- Add the second part of the sentiment inside the card, by simply stamping it with Memento Tuxedo Black ink, along with two birds.
- Finish with a few highlights added with a white gel pen, a generous coat of a clear glitter pen and a couple of clear sparkling sequins.
Key Ingredients:
Step By Step Instructions:
- Trim and score an extended A2 size card base (5 1/2″ x 4 1/4″) from Neenah Solar White paper. I used Tim Holtz Maxi Guillotine Trimmer and Mini Score Board.
- Trim a 5 1/2″ x 4 1/4″ panel from Vanilla Malt cardstock and glue it on the card front.
- Alternately, prepare the card base directly from Vanilla Malt cardstock.
- Trim a slightly smaller rectangle from Neenah Solar White paper.
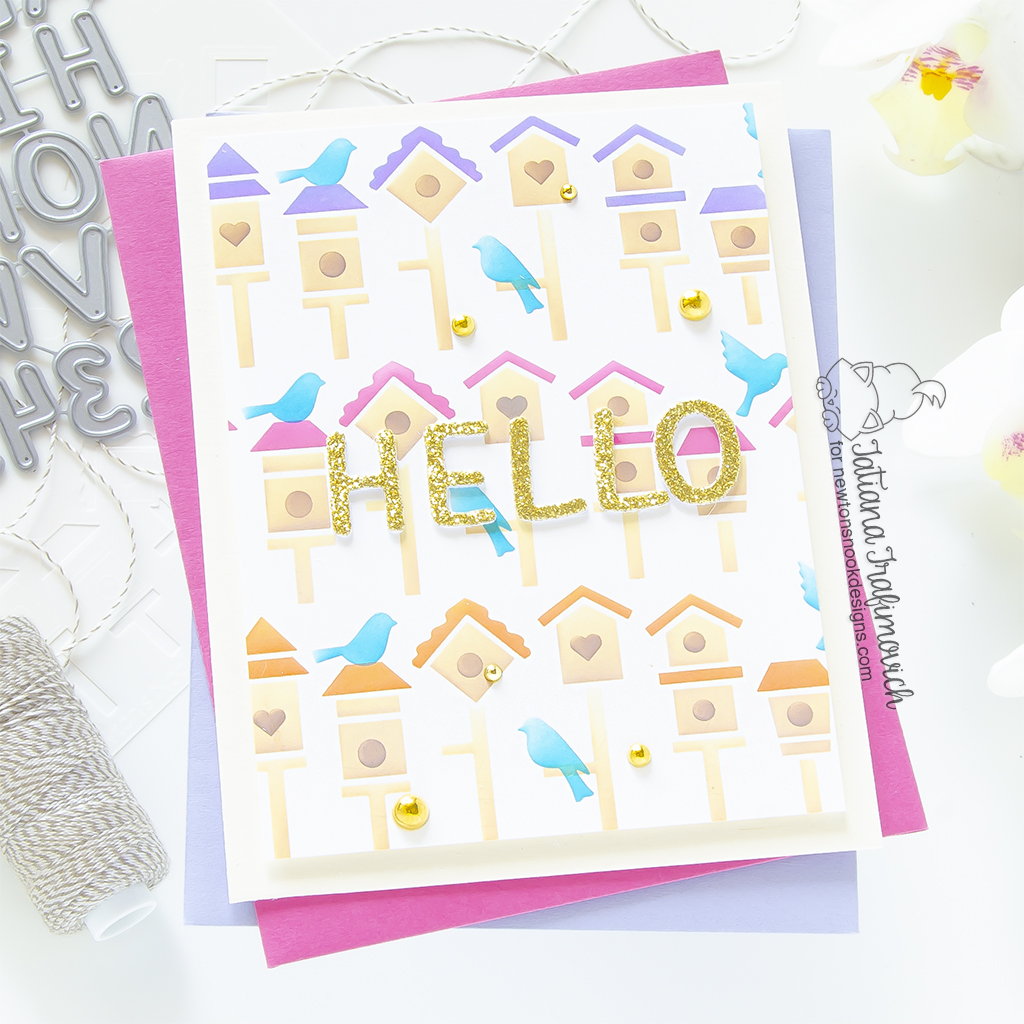
- Apply Birdhouse Line Stencil on the white panel and ink different parts of the stencil with different ink shades. I like to secure the stencil to the paper to prevent any movement and to mask the nearby areas to prevent the cross contamination of colors with a Memo Tape. On my card I used Distress inks and the blending brushes and tried to make an ombré effect just to add a bit of something little extra:
- Antique Linen Distress Oxide Ink & Vintage Photo Distress Oxide ink;
- Dried Marigold Distress Oxide ink & Carved Pumpkin Distress ink;
- Mermaid Lagoon Distress Oxide ink;
- Shaded Lilac Distress Oxide ink & Wilted Violet Distress Oxide ink;
- Kitsch Flamingo Distress Oxide ink & Picked Raspberry Distress ink.
- Die cut the letters “HELLO” for the sentiment from a gold glitter paper, using Essential Alphabet Die Set and Sizzix Big Shot Die Cutting machine.
- As an extra step, you can die cut a few more letters from any scrap carstock and glue them together to achieve a faux chipboard elements. This little trick adds beautiful dimension to your project.
- Arrange and glue in place all the elements on the card front by popping some of them on a foam tape for a bit of dimension.
- Finish with a couple of the matching gold half pearls adhered with Distress Collage Medium Matte.
Would you like to win the “Birdhouse Greetings” Stamp Set? This stamp set will be given away to ONE lucky winner!
Comment on the NND blog and Design Team blogs (see list below)! The winner will be chosen at random from the collective reveal posts. Make sure to check out each of their blogs and comment for your chance to win. You will not know which blog has been chosen so the more you comment on the better your chances are of winning! You have until Thursday May 18th at 9pm ET to comment — winners will be announced on the blog post on Friday, May 19th.
Check out all the awesome Design Team Blogs below to enter:
Newton’s Nook Designs
Donna Idlet
Ellen Haxelmans
Tina Herbeck
Larissa Heskett
Samantha Mann
Zsofia Molnar
Maria Russell
Tatiana Trafimovich <– you’re here
Amanda Wilcox
That’s all for today! Hope you like these cute cards! Thanks so much for stopping by and have a fabulous day!
Hugs,
Tatiana

12 comments
Wonderful and great detail dterp by step.
Melissa
“Sunshine HoneyBee”
Beautiful cards. I love the plaid and your stenciled birdhouses!!!
Very pretty! I love your coloring!
Such pretty cards! I love the way you colored the images for your first card, and the color combo you used on the stenciled design too!
So cute. I like the colors, gingham and sparkle.
Beautiful cards!
Absolutely stunning cards! Love how colorful the first card is. And that stencil is so fun!
Gorgeous cards!
Beautiful cards! Also, I appreciate your detailed blog posts.
Cute cards!
Your cards are so well done! Love them!
So Sweet–cute colors!