Hello and welcome!
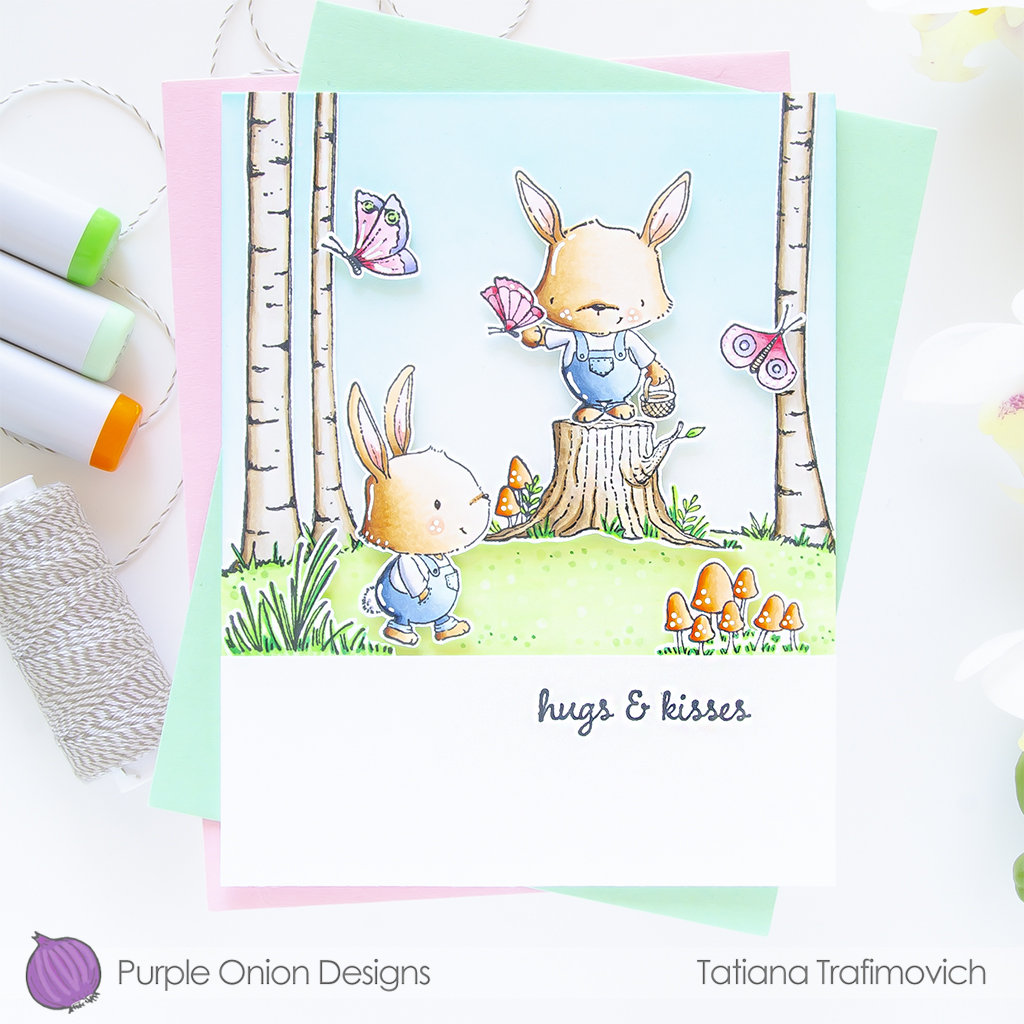
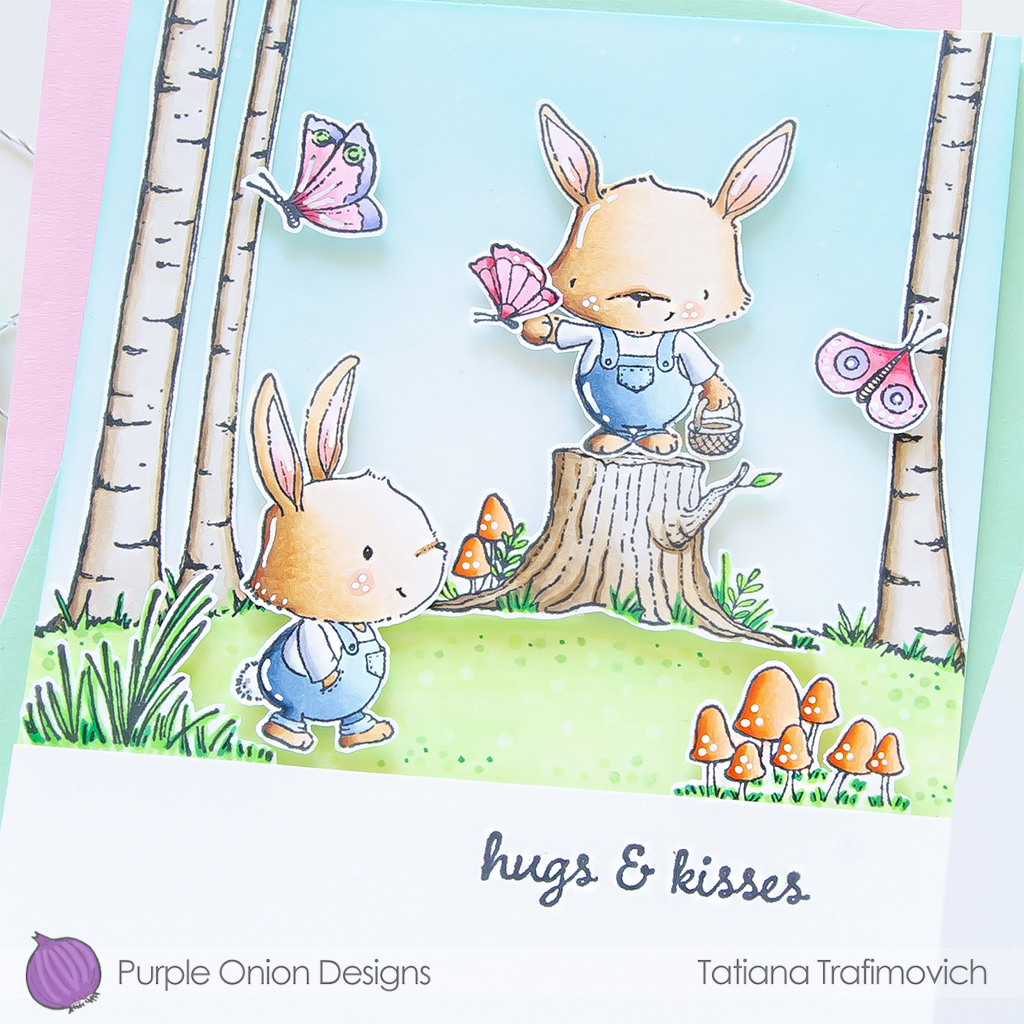
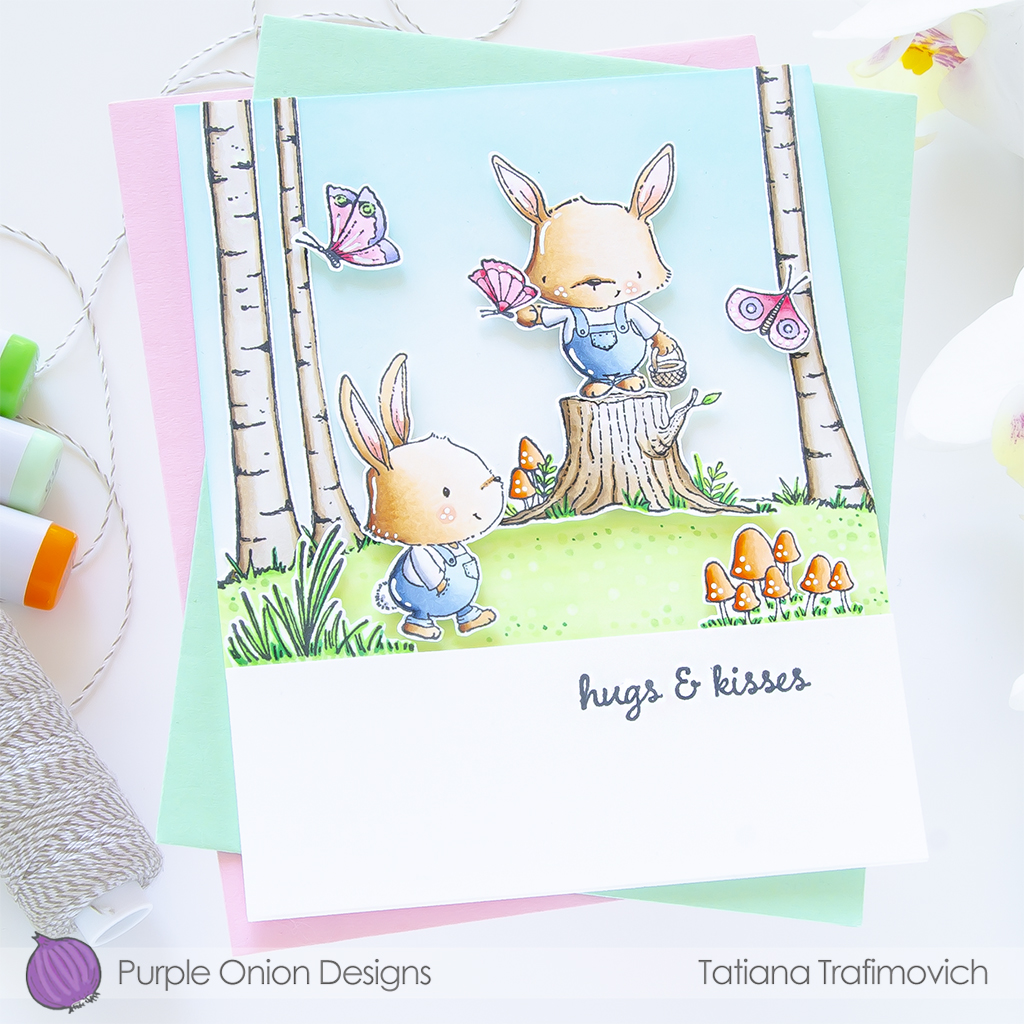
Today I’ve popped in with a sweet spring scene that features some amazing rubber stamps from Purple Onion Designs!

I decided to go with a light spring and fresh palette, coloring the adorable illustrations with copic markers!

Key Ingredients:
- PURPLE ONION DESIGNS STAMPS:
- Winston (Garden Rabbit Walking)
- Riley (Rabbit with Basket)
- Birch Tree BACKGROUND
- Flora & Fauna Set (Flowers & Butterflies)
- Woodland Floor Set (tree stumps & mushrooms)
- Beach Grass #2 (large)
- Sweet Occasions Sentiment Set
- OTHER CRAFT SUPPLIES:
- Salvaged Patina Distress Oxide ink
- Memento Tuxedo Black ink
- Tim Holtz Maxi Guillotine Trimmer
- Mini Score Board
- Cutter Bee – Scissors
- Waffle Flower Crafts – blending brushes
Step By Step Instructions:
- Stamp on Neenah Solar White paper Winston (Garden Rabbit Walking), Riley (Rabbit with Basket), Birch Tree BACKGROUND, Flora & Fauna Set (Flowers & Butterflies), Woodland Floor Set (tree stumps & mushrooms), Beach Grass #2 (large) stamps with Memento Tuxedo Black ink.
Designer’s Tip:
Since rubber stamps from Purple Onion Designs come unmounted, you will need a temporary mounting solution to work with. A Clear Mounting Stamp is one of the options. You can apply this clear stamp on an acrylic block or acrylic stamping platform to hold your unmounted stamps in place while stamping. Remove and store it when finished until next time. The clear stamp can be cleaned with water and a little liquid soap.
- Fussy cut the stamps with the sharp small scissors, leaving a little white edge around.
- Color all the elements with COPIC MARKERS. I used:
- bunny E0000-E30-E31-E34-E39
- ears & cheeks RV0000-R11
- birch trees & stumps E40-E41-E42-E43-E44
- orange YR000-YR61-YR65-YR68
- pink RV000-RV10-RV11-RV14
- green YG0000-YG11-YG13-YG05-YG09-G09
- blue B0000-B91-B93-B95-B99
- purple BV000-BV02
- gray C00-C2-C4
- Trim and score an extended A2 size card base (5 1/2″ x 4 1/4″) from Neenah Solar White paper. I used Tim Holtz Maxi Guillotine Trimmer and Mini Score Board.
- Trim another 4 1/4″ width piece from Neenah Solar White paper for the bottom of the card and stamp the sentiment from Sweet Occasions Sentiment Set.
- Ink the sky background directly on the card front, using Salvaged Patina Distress Oxide ink and the blending brush for a soft and smooth result.
- Splatter the inked background with some tiny dots of water or pearlescent solution to add a bit of interest.
- Arrange and glue in place all the elements on the card front, by popping some of them on a foam tape for a fun dimensional look.
- Finish with a few highlights added with a white gel pen.

That’s all for today! Hope you like this cute and sweet card! Thanks so much for stopping by and have a fabulous day!
Hugs,
Tatiana
