Hello and welcome!
I’m SO glad you stopped by to see what crafty inspiration I have today! I’m up on the Heffy Doodle Blog with “Stretch Your Supplies” card series!!! It means that I’m focusing on how to get more from your craft supplies and think out of boxes, giving new life to your crafty stash! So let start!
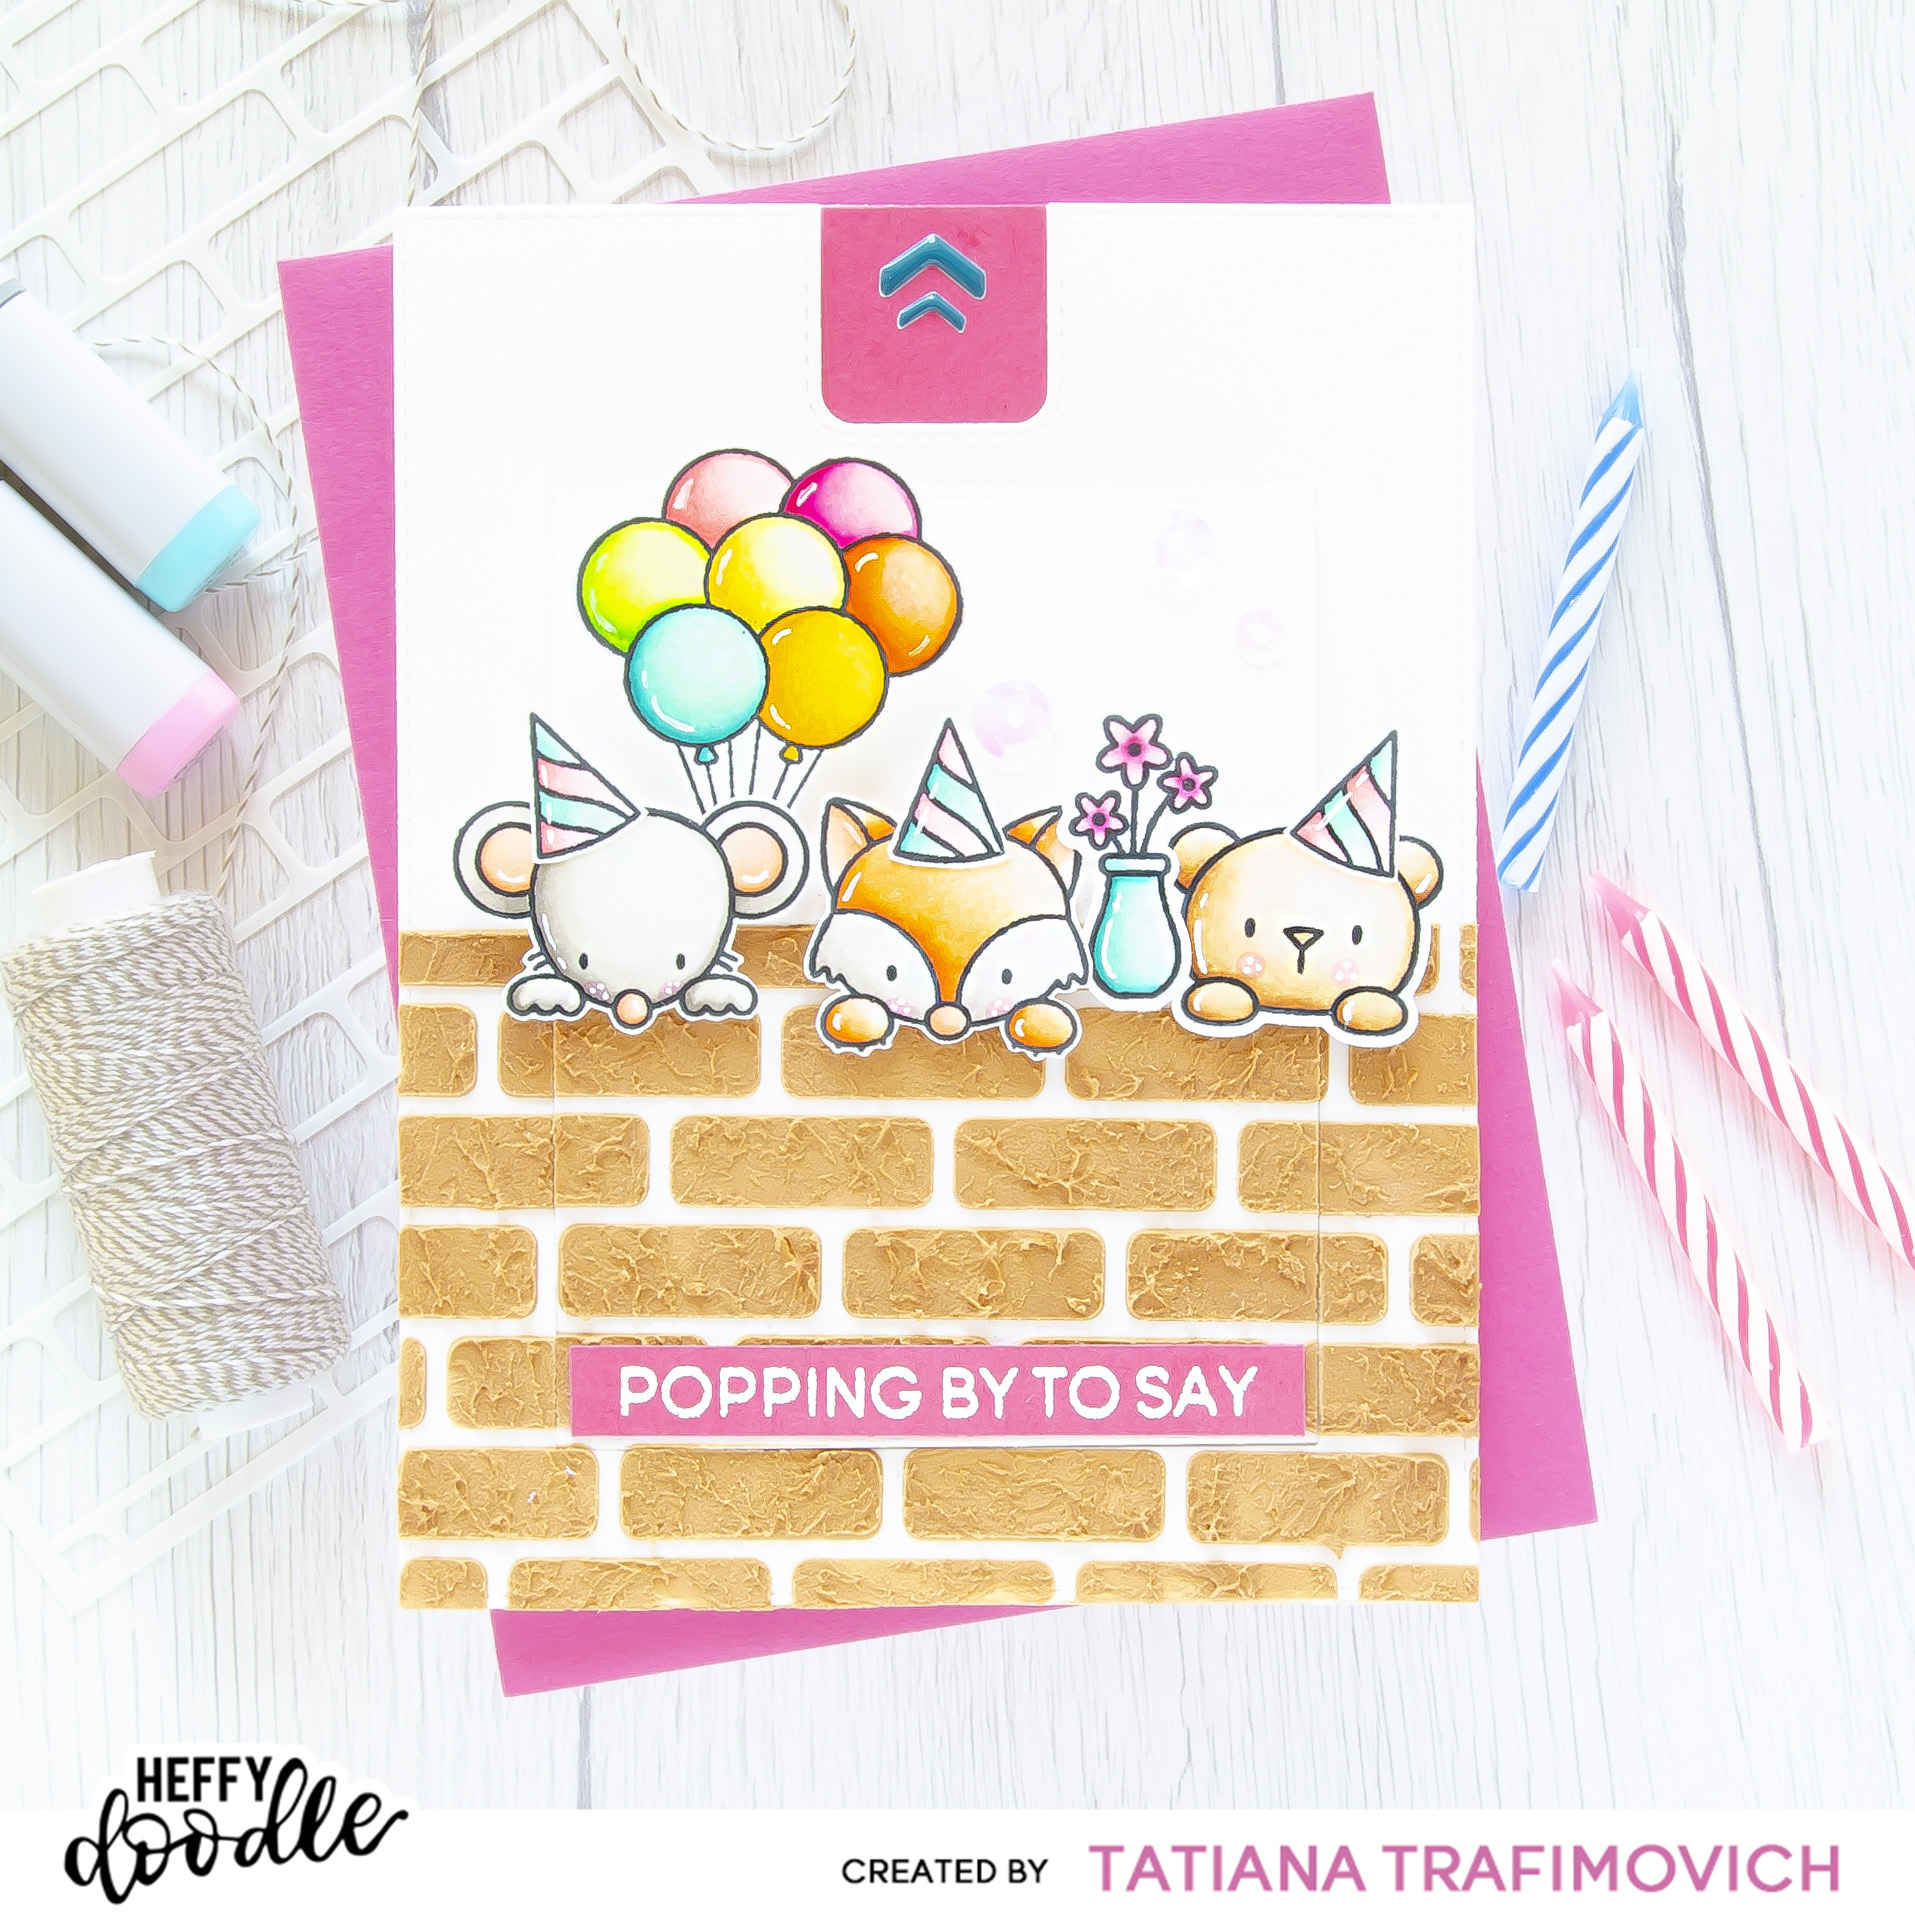
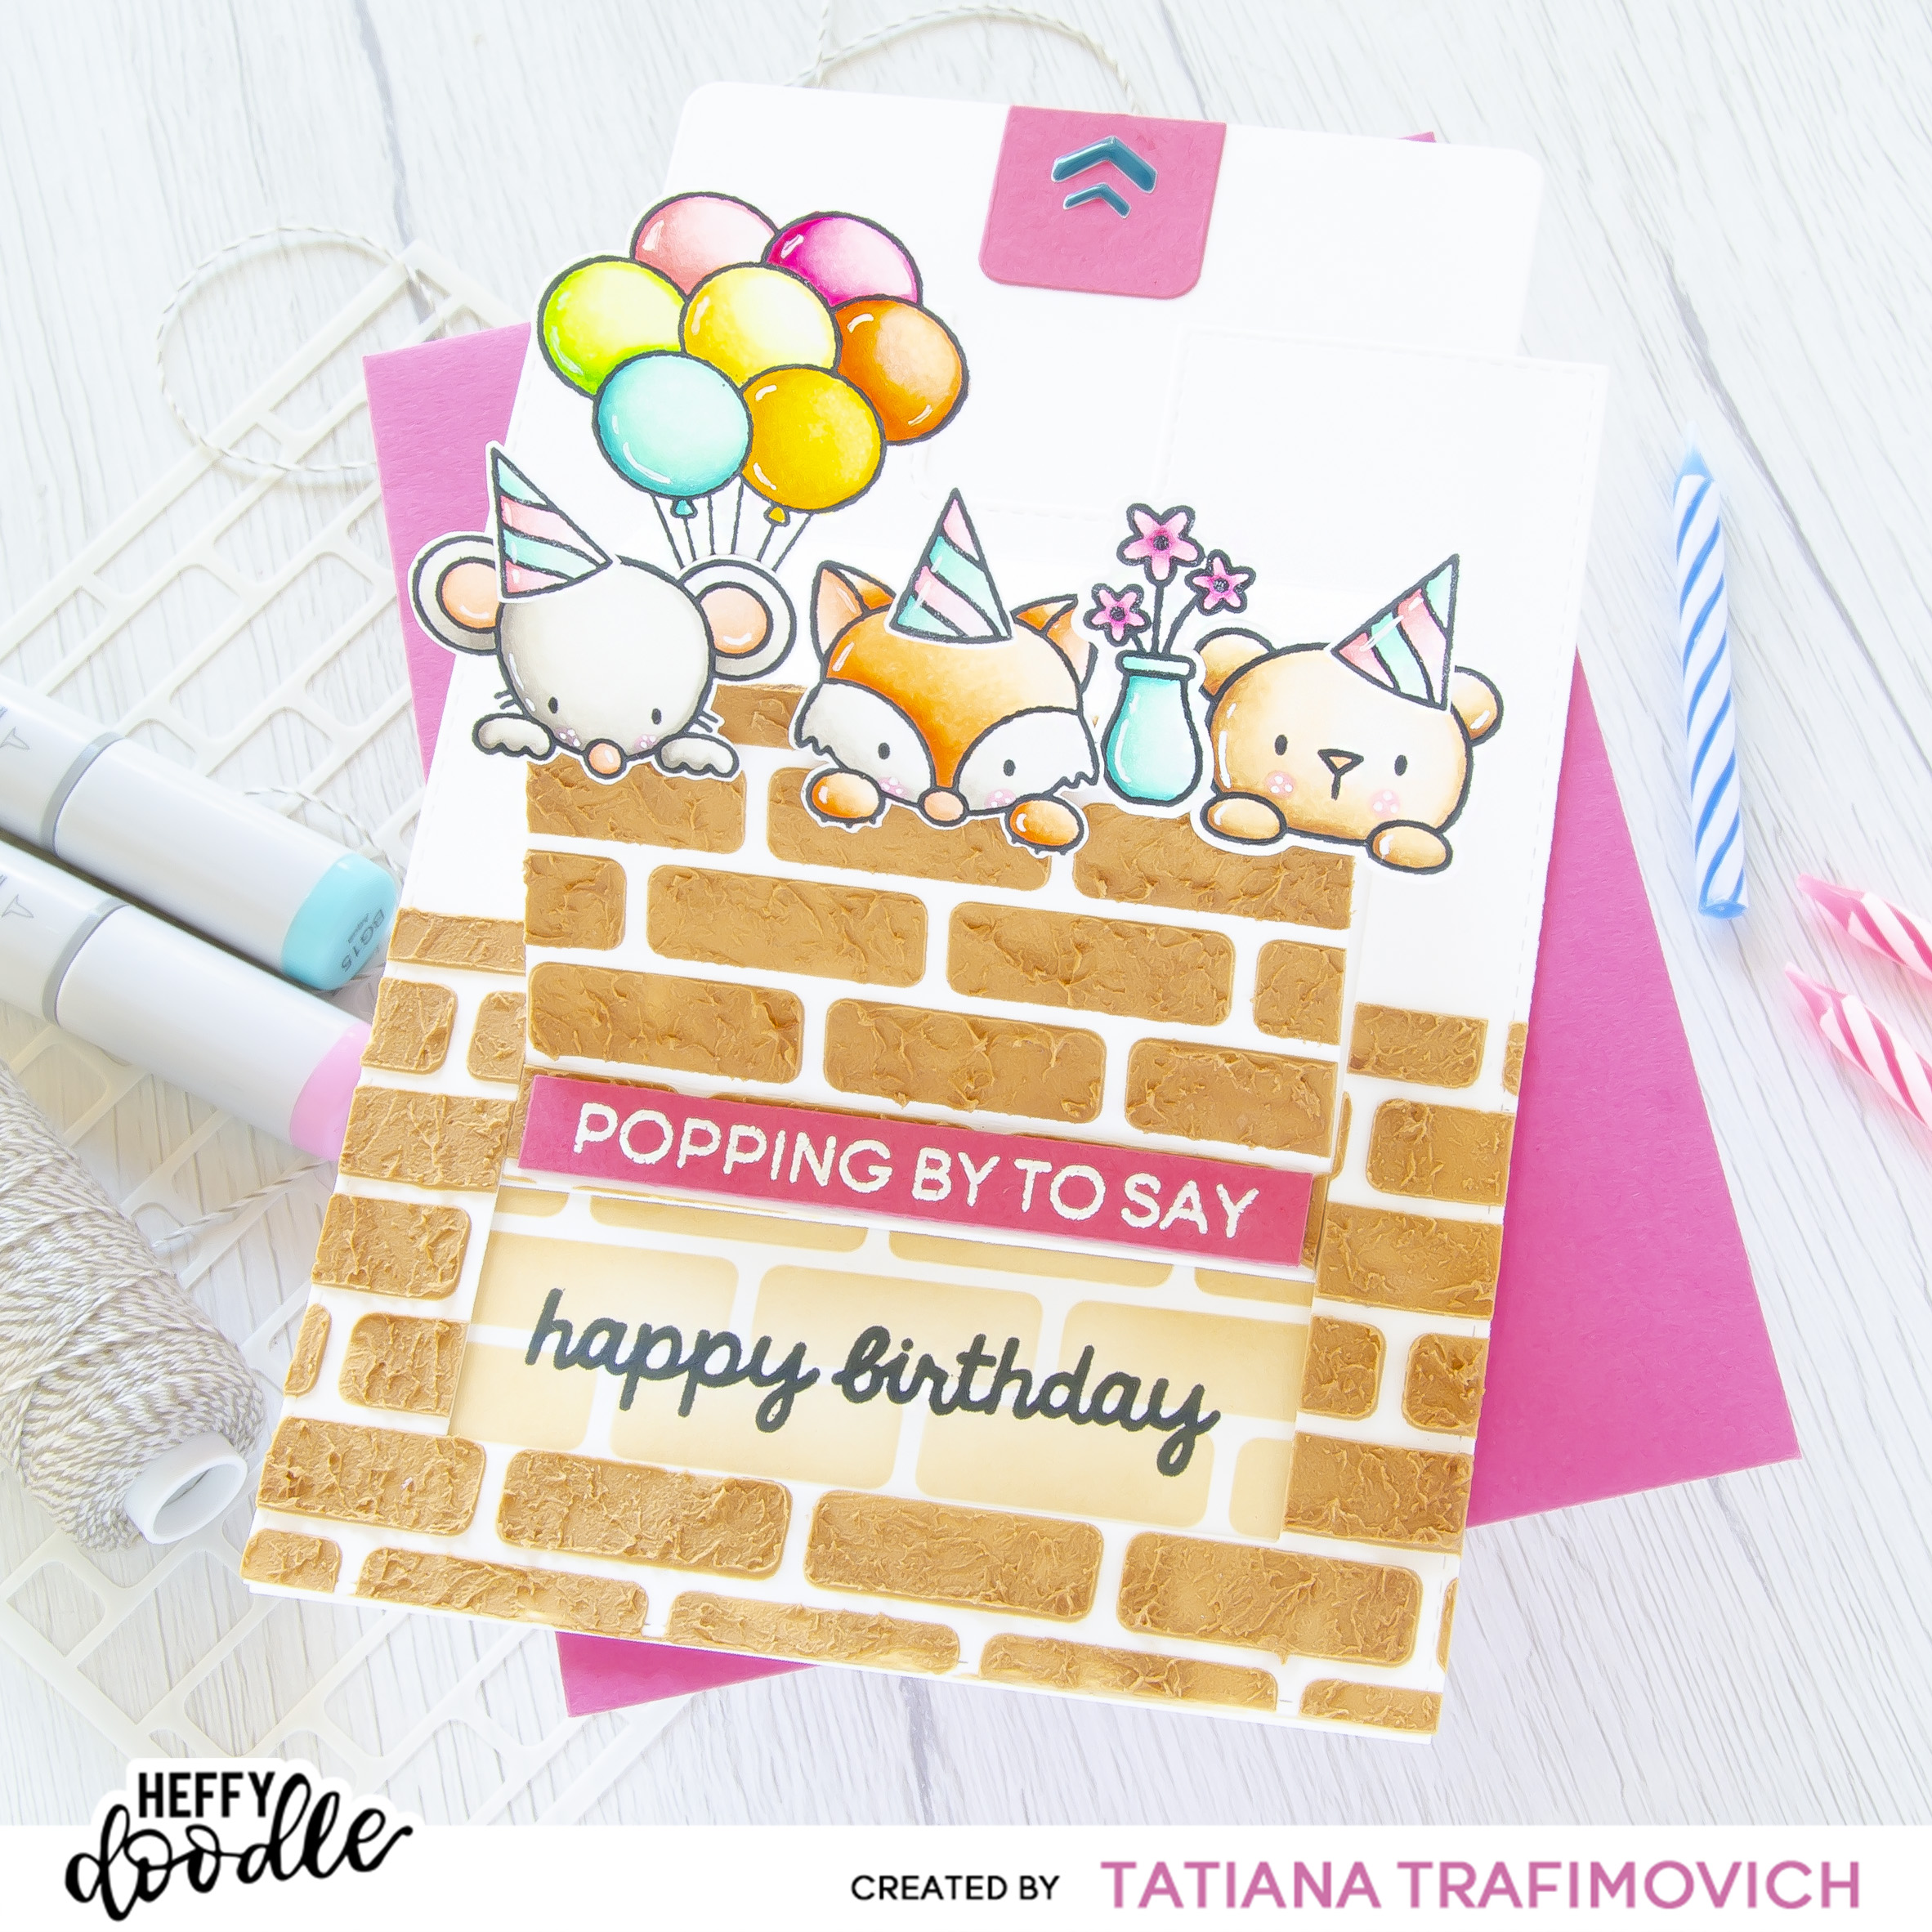

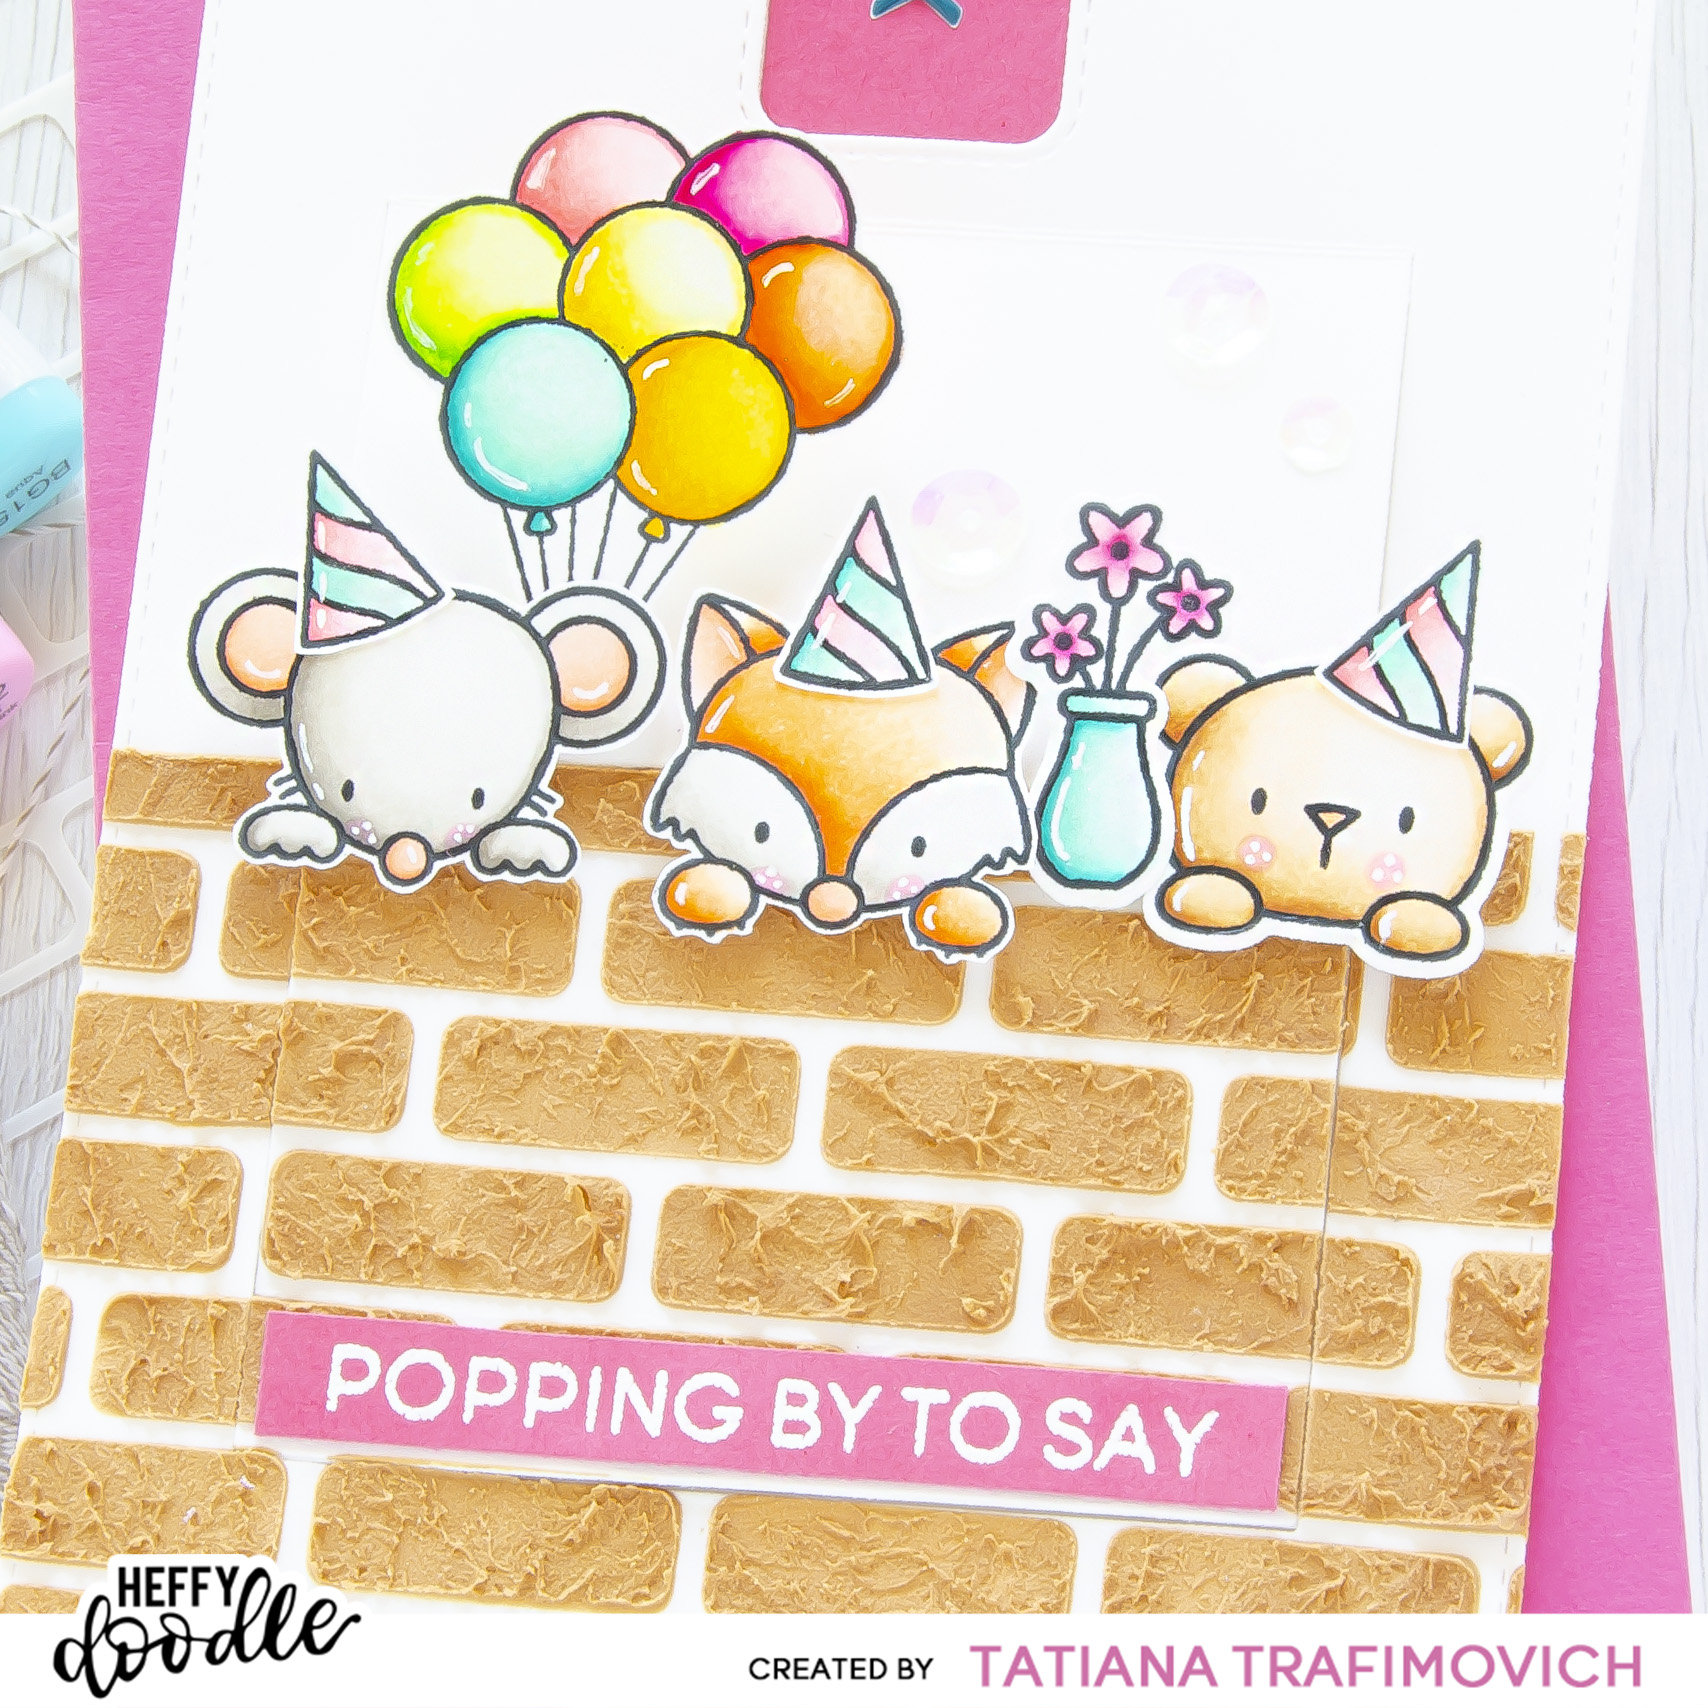
Today I came up with a fun interactive pop up birthday card! It’s super easy to make and assemble by using Slider Pop Up Dies. Not sure how to assemble the interactive mechanism? Please, check the product page by clicking HERE! You’ll find the video instructions towards the bottom part of the page! However, in this post I would like to focus on how you can mix and match different stamp sets since all Heffy Doodle designs have the same style! On my birthday card I added a cute bear and the flowers from totally unbirthday Bed Heads Stamp Set to create a fun trio popping from a brick wall with birthday wishes and some amazing accessories! I complete the fun interactive element with a simple copic coloring and a bit of fun dimension and texture! Easy peasy! Right?!
DISCLOSURE. I’m currently on various Design Teams. I only join a team because I love their products and genuinely use them. All opinions are my own. I do not accept offers of direct payment for dedicated blog posts to promote products. I am part of various affiliate programs and link some supplies with compensated affiliate links when used where possible at no cost to you. When you click on an affiliate link and then go on to make a purchase, I receive a small commission. I use the money raised towards the cost of running this blog. I hope if you like the content of my blog you will support me by clicking through these links to make your purchases. Thank you!
Key Ingredients:
- STAMPS AND DIES:
- Popping By Stamp Set (available at Heffy Doodle, Scrapbook.com, Crafty Meraki)
- Popping By Dies (available at Heffy Doodle and Scrapbook.com)
- Bed Heads Stamp Set (available at Heffy Doodle and Scapbook.com)
- Bed Heads Dies (available at Heffy Doodle and Scapbook.com)
- Brick By Brick Stencil (available at Heffy Doodle and Scapbook.com)
- Slider Pop Up Dies (available at Heffy Doodle and Scapbook.com)
- OTHER CRAFT SUPPLES
- Heffy Doodle Coloured Cardstock – Mix 1 (available at Heffy Doodle and Scapbook.com)
- Heffy Doodle Mini Die Cutting Machine (optional) and Sizzix Big Shot Die Cutting machine
- Heffy Memo Tape (available at Heffy Doodle and Scapbook.com)
- Heffy Doodle Glubert – Craft Glue (available at Heffy Doodle and Scapbook.com)
Step By Step Instructions:
- Die cut from Neenah Solar White paper all the elements you need, using the coordinating Popping By Dies, Bed Heads Dies and Heffy Doodle Mini Die Cutting Machine or Sizzix Big Shot Die Cutting machine. Save the negative parts of the dies.
- Stamp the outline illustration from Popping By Stamp Set and Bed Heads Stamp Set with Memento Tuxedo Black ink. Use the negative parts of the dies as a guide for a perfect alignment inside the stamping positioning tool.
- Color the stamps with COPIC MARKERS. I used on this card:
- grey W00-W0-W1-W3
- brown E0000-E30-E31-E33
- yellow Y0000-Y00-Y11-Y13-Y15-Y17-Y21
- orange YR0000-YR000-YR00-YR02-YR04 & E99
- red R000-R01-R02
- pink RV0000-RV00-RV02-RV04-RV09-RV21-RV23
- green YG0000-YG00-YG01-YG05
- teal BG0000-BG10-BG11-BG15
- Die cut from Neenah Solar White paper Slider Pop Up Dies. Don’t bend the crease lines made by the die for a moment!
- Smooth Vintage Photo Distress Oxide ink on a sleek surface like Ranger Craft Sheet and mix it with a white embossing paste to create a customized brown embossing paste.
- Mask the top part of the pop up panel with Heffy Memo Tape, tape well Brick By Brick Stencil with the same Heffy Memo Tape and spread the embossing paste all across. Once applied, do not level the embossing paste, but leave it rough to achieve a fun texture. Lift up the stencil and let the embossing paste air dry.
- Once dried, split the bricks along the die cut lines with a craft knife to restore the pop up slider. Score the crease lines with a bone folder.
- Heat emboss in white the first part of the sentiment from Popping By Stamp Set with VersaMark Clear Embossing Ink onto Razzleberry cardstock . Don’t forget to prep the paper with a Powder Tool Applicator to prevent the embossing powder to stick where you don’t want it!
- While you have the colored cardstock on hand, die cut a pull tab flap from the same Razzleberry cardstock.
- Trim and score an extended A2 size card base (5 1/2″ x 4 1/4″) from Neenah Solar White paper.
- Ink Brick By Brick pattern on the card front with Vintage Photo Distress ink, keeping your hand very light. Don’t forget to tape well Brick By Brick Stencil with Heffy Memo Tape to prevent it from moving.
- Stamp the second part of the sentiment directly on the card front with Memento Tuxedo Black. If you use a stamping positioning tool, ink and impress the stamp a couple of times to achieve perfect black lines.
- Arrange and glue in place all the elements, using a double sided tape for a pop up element, and a foam tape plus Glubert – Craft Glue for the stamps.
- Finish with a generous coat of a clear glitter pen, a couple of highlights added with a white gel pen and a few clear sparkling sequins adhered with Glubert – Craft Glue.
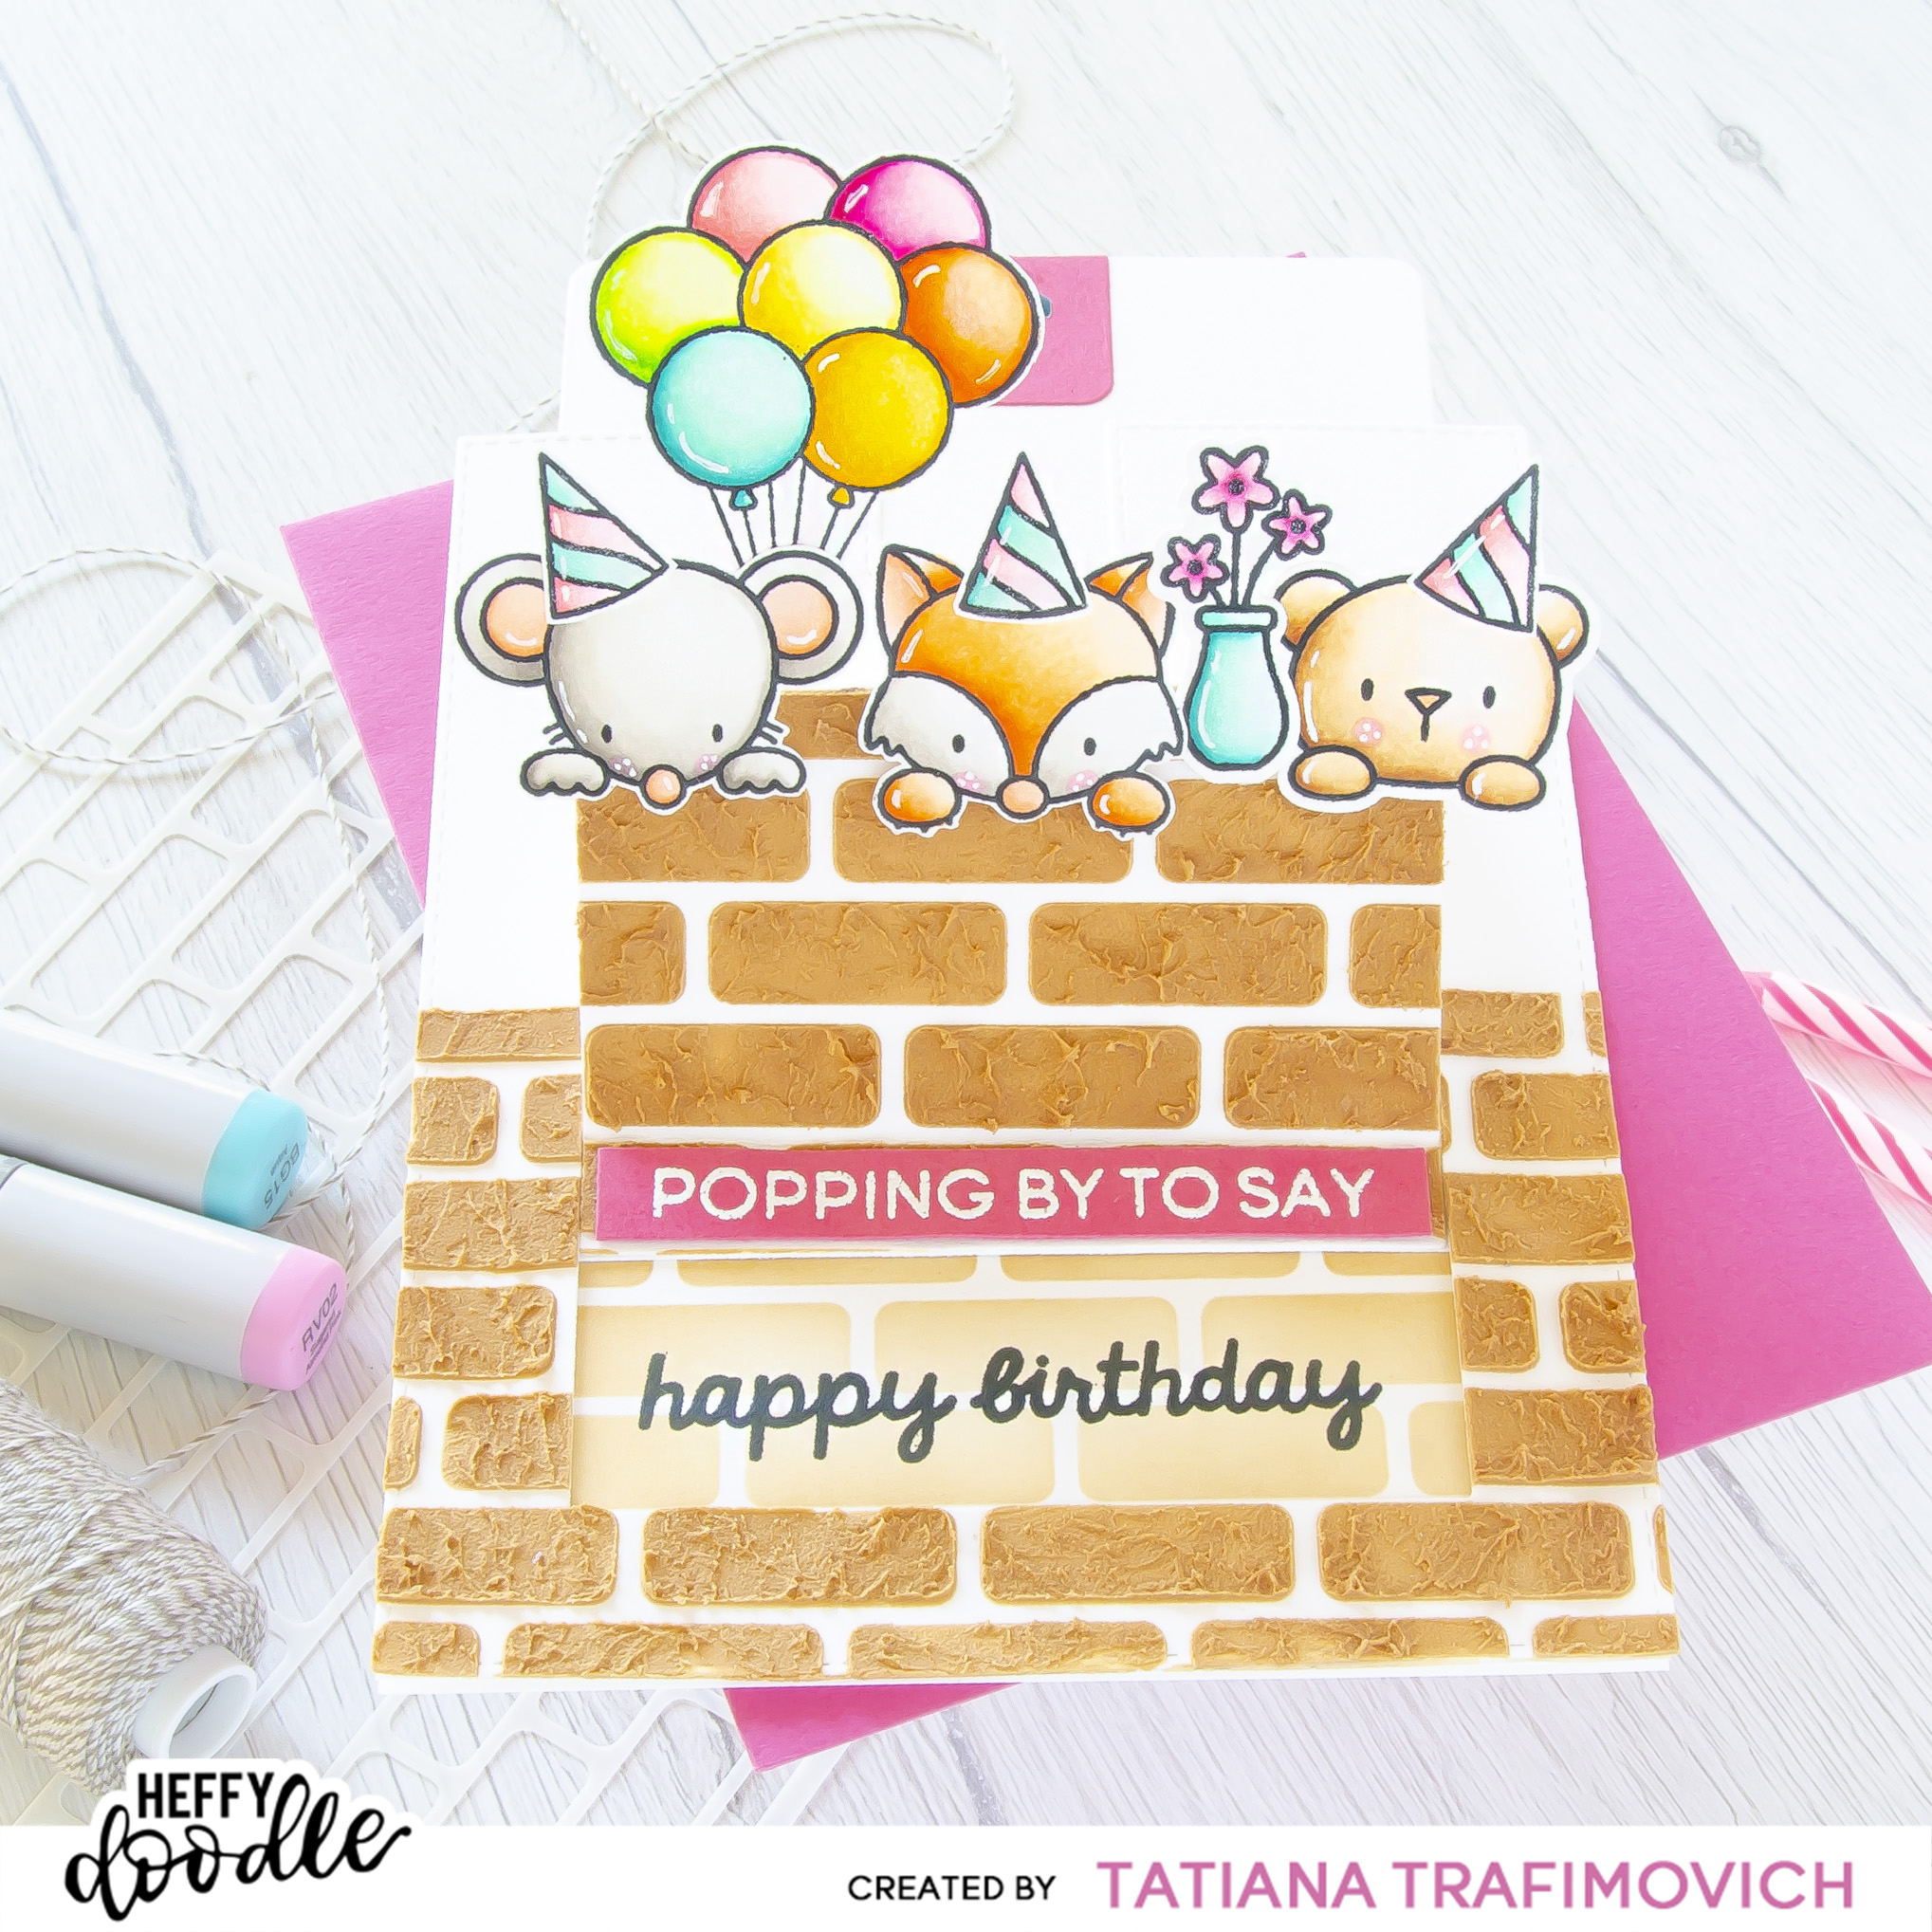
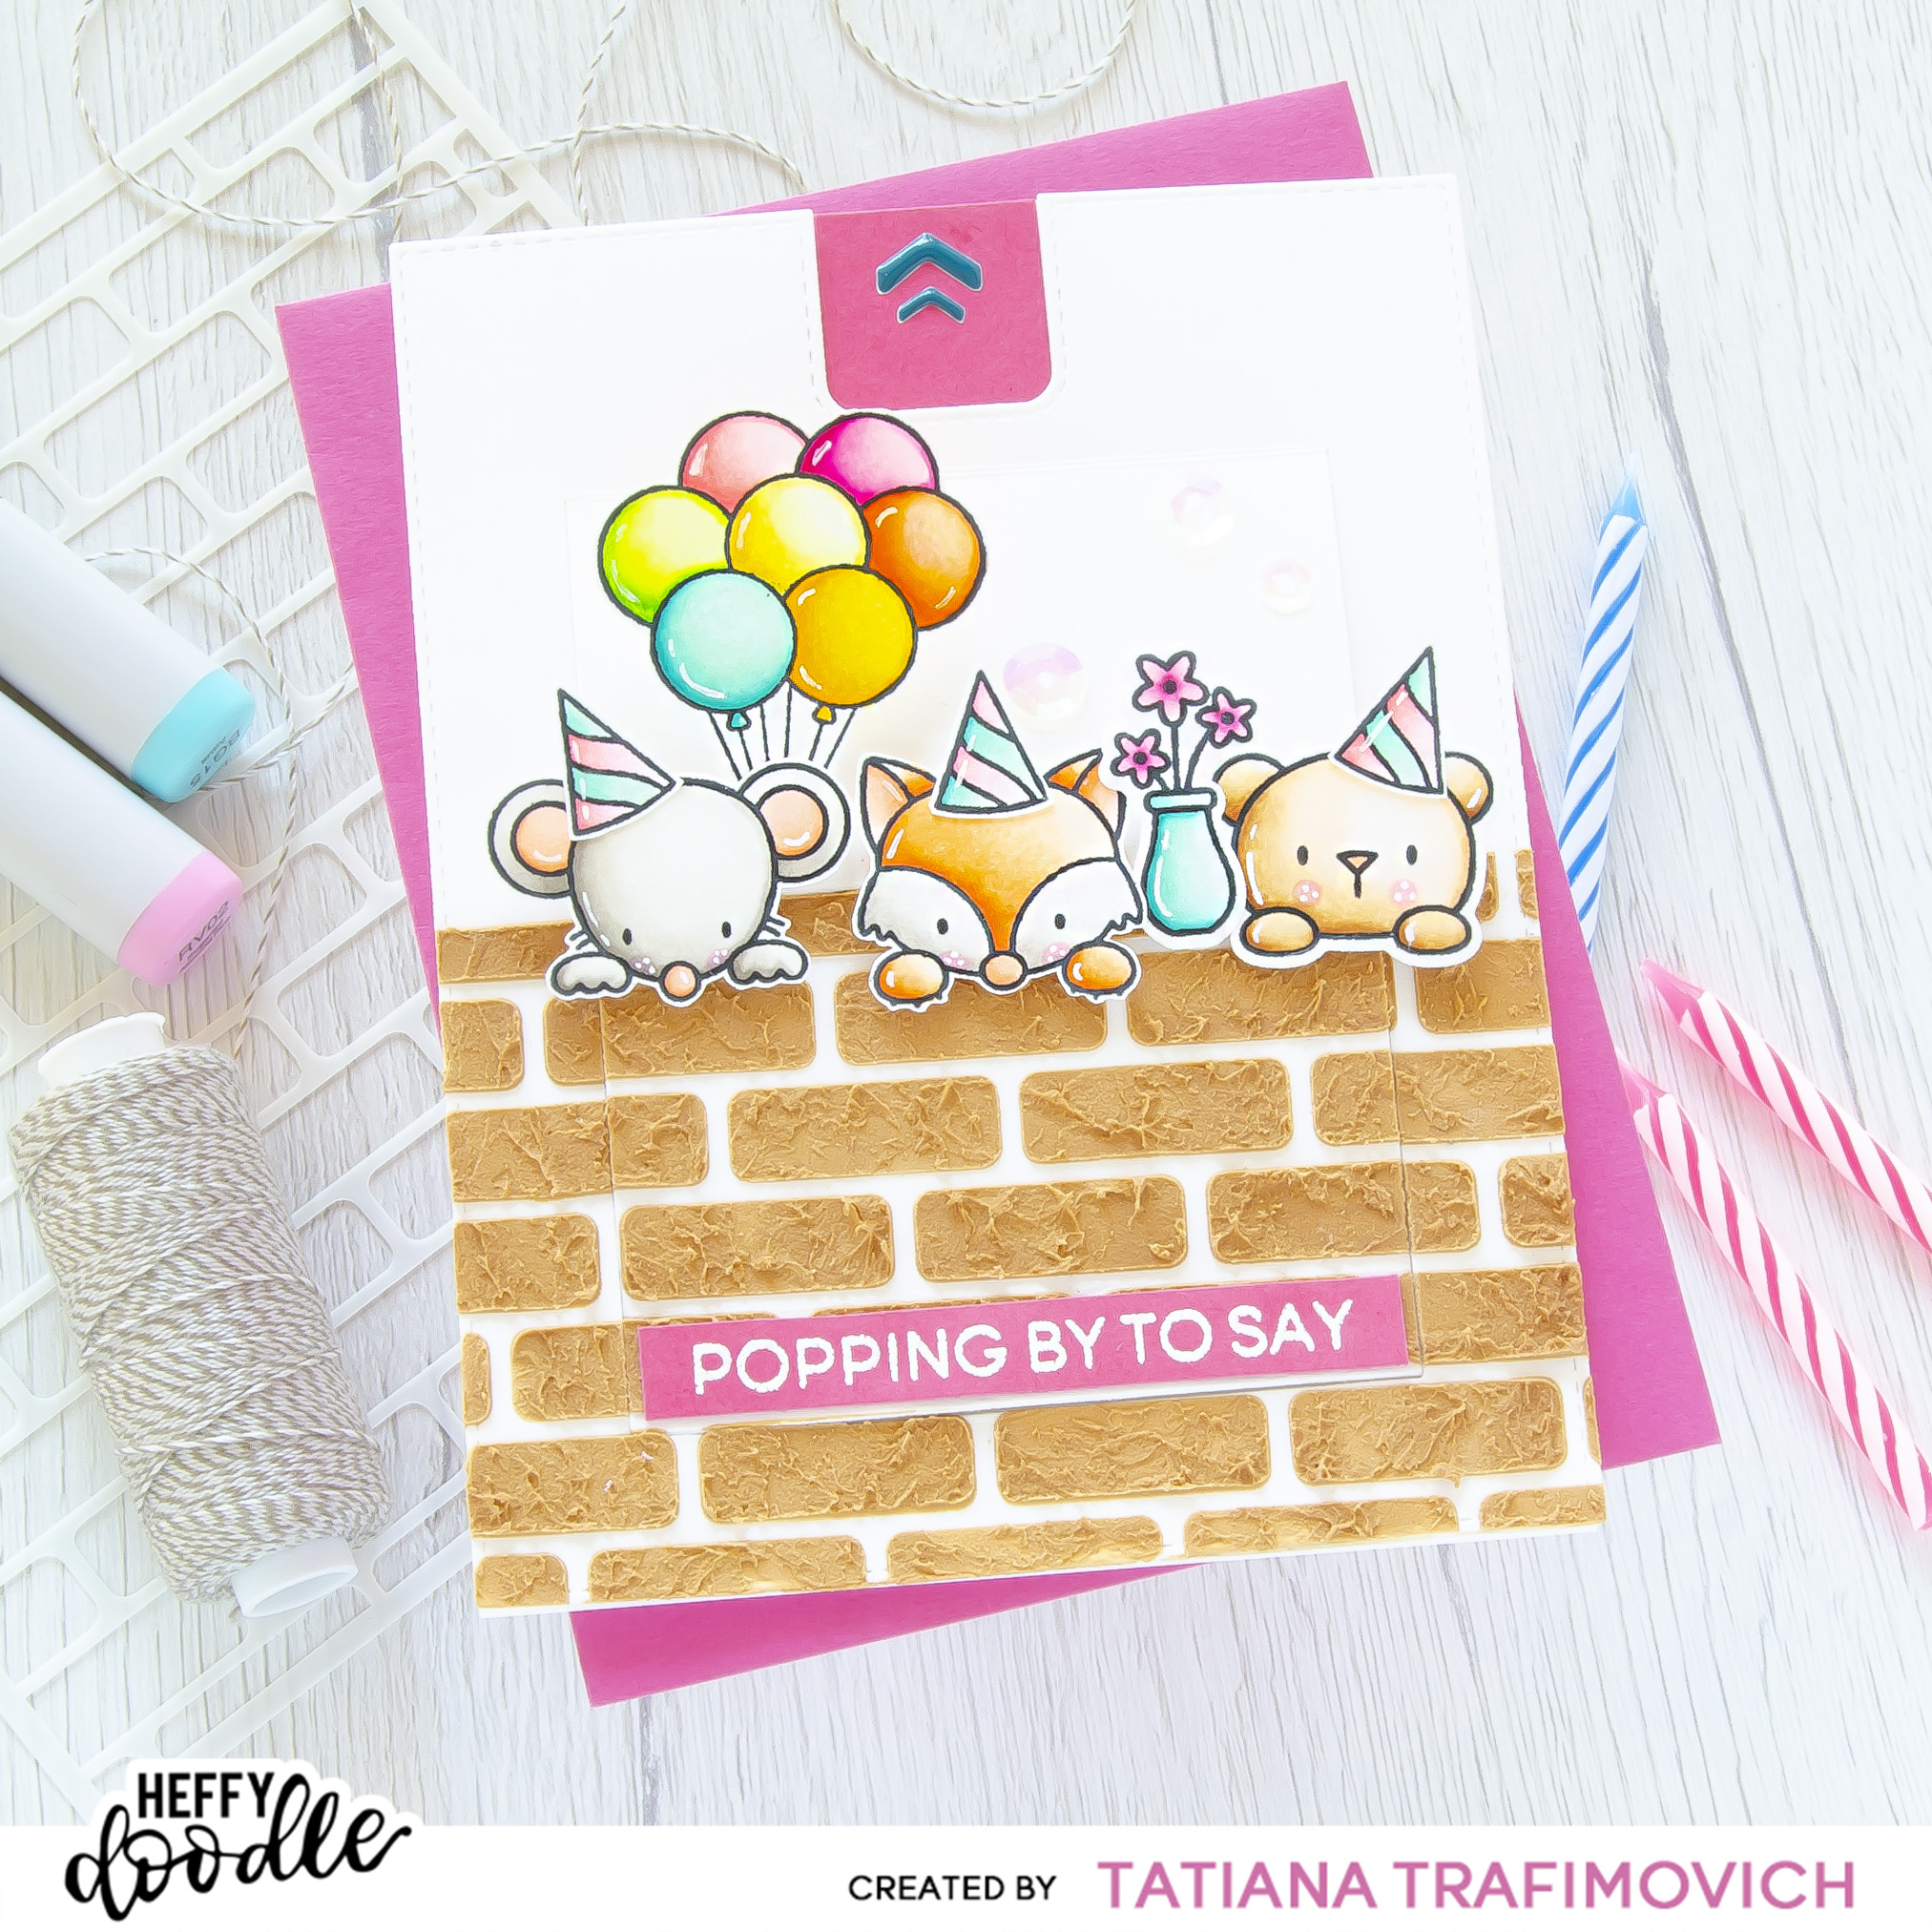
That’s all for today! Hope you like this fun interactive birthday card! Thanks so much for stopping by and have a fabulous day!
Hugs,
Tatiana
