Hello and welcome!
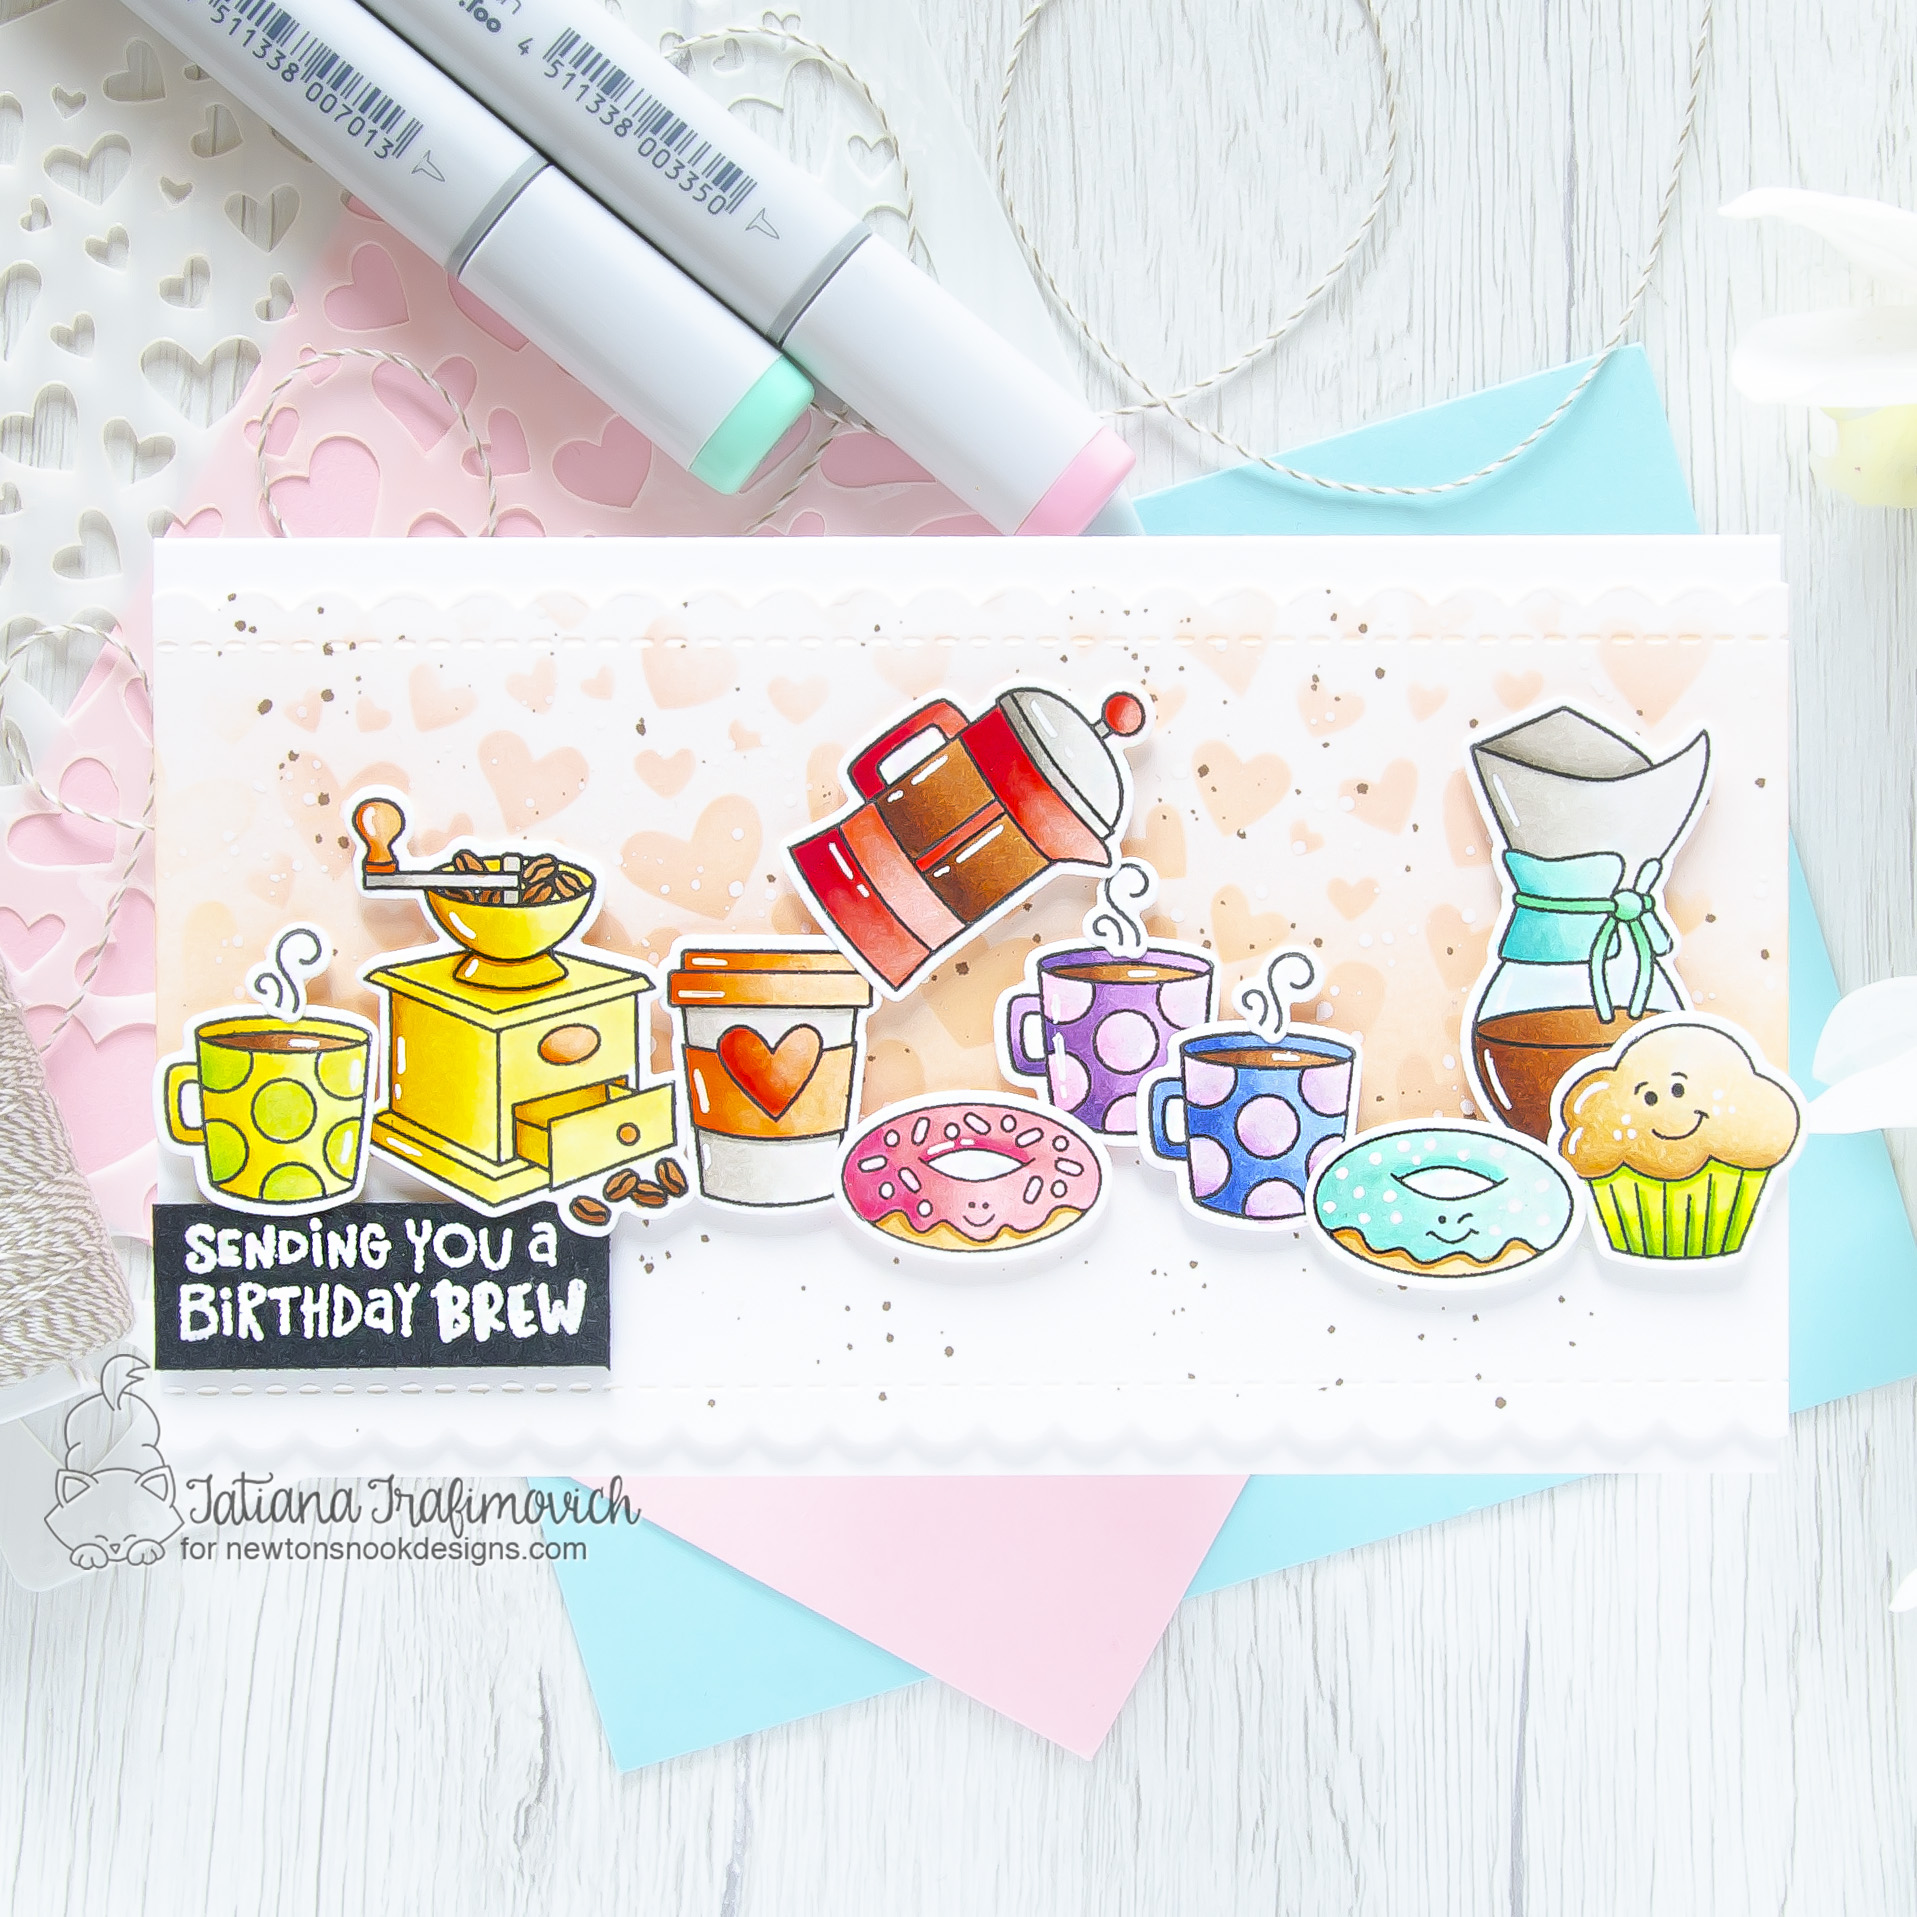
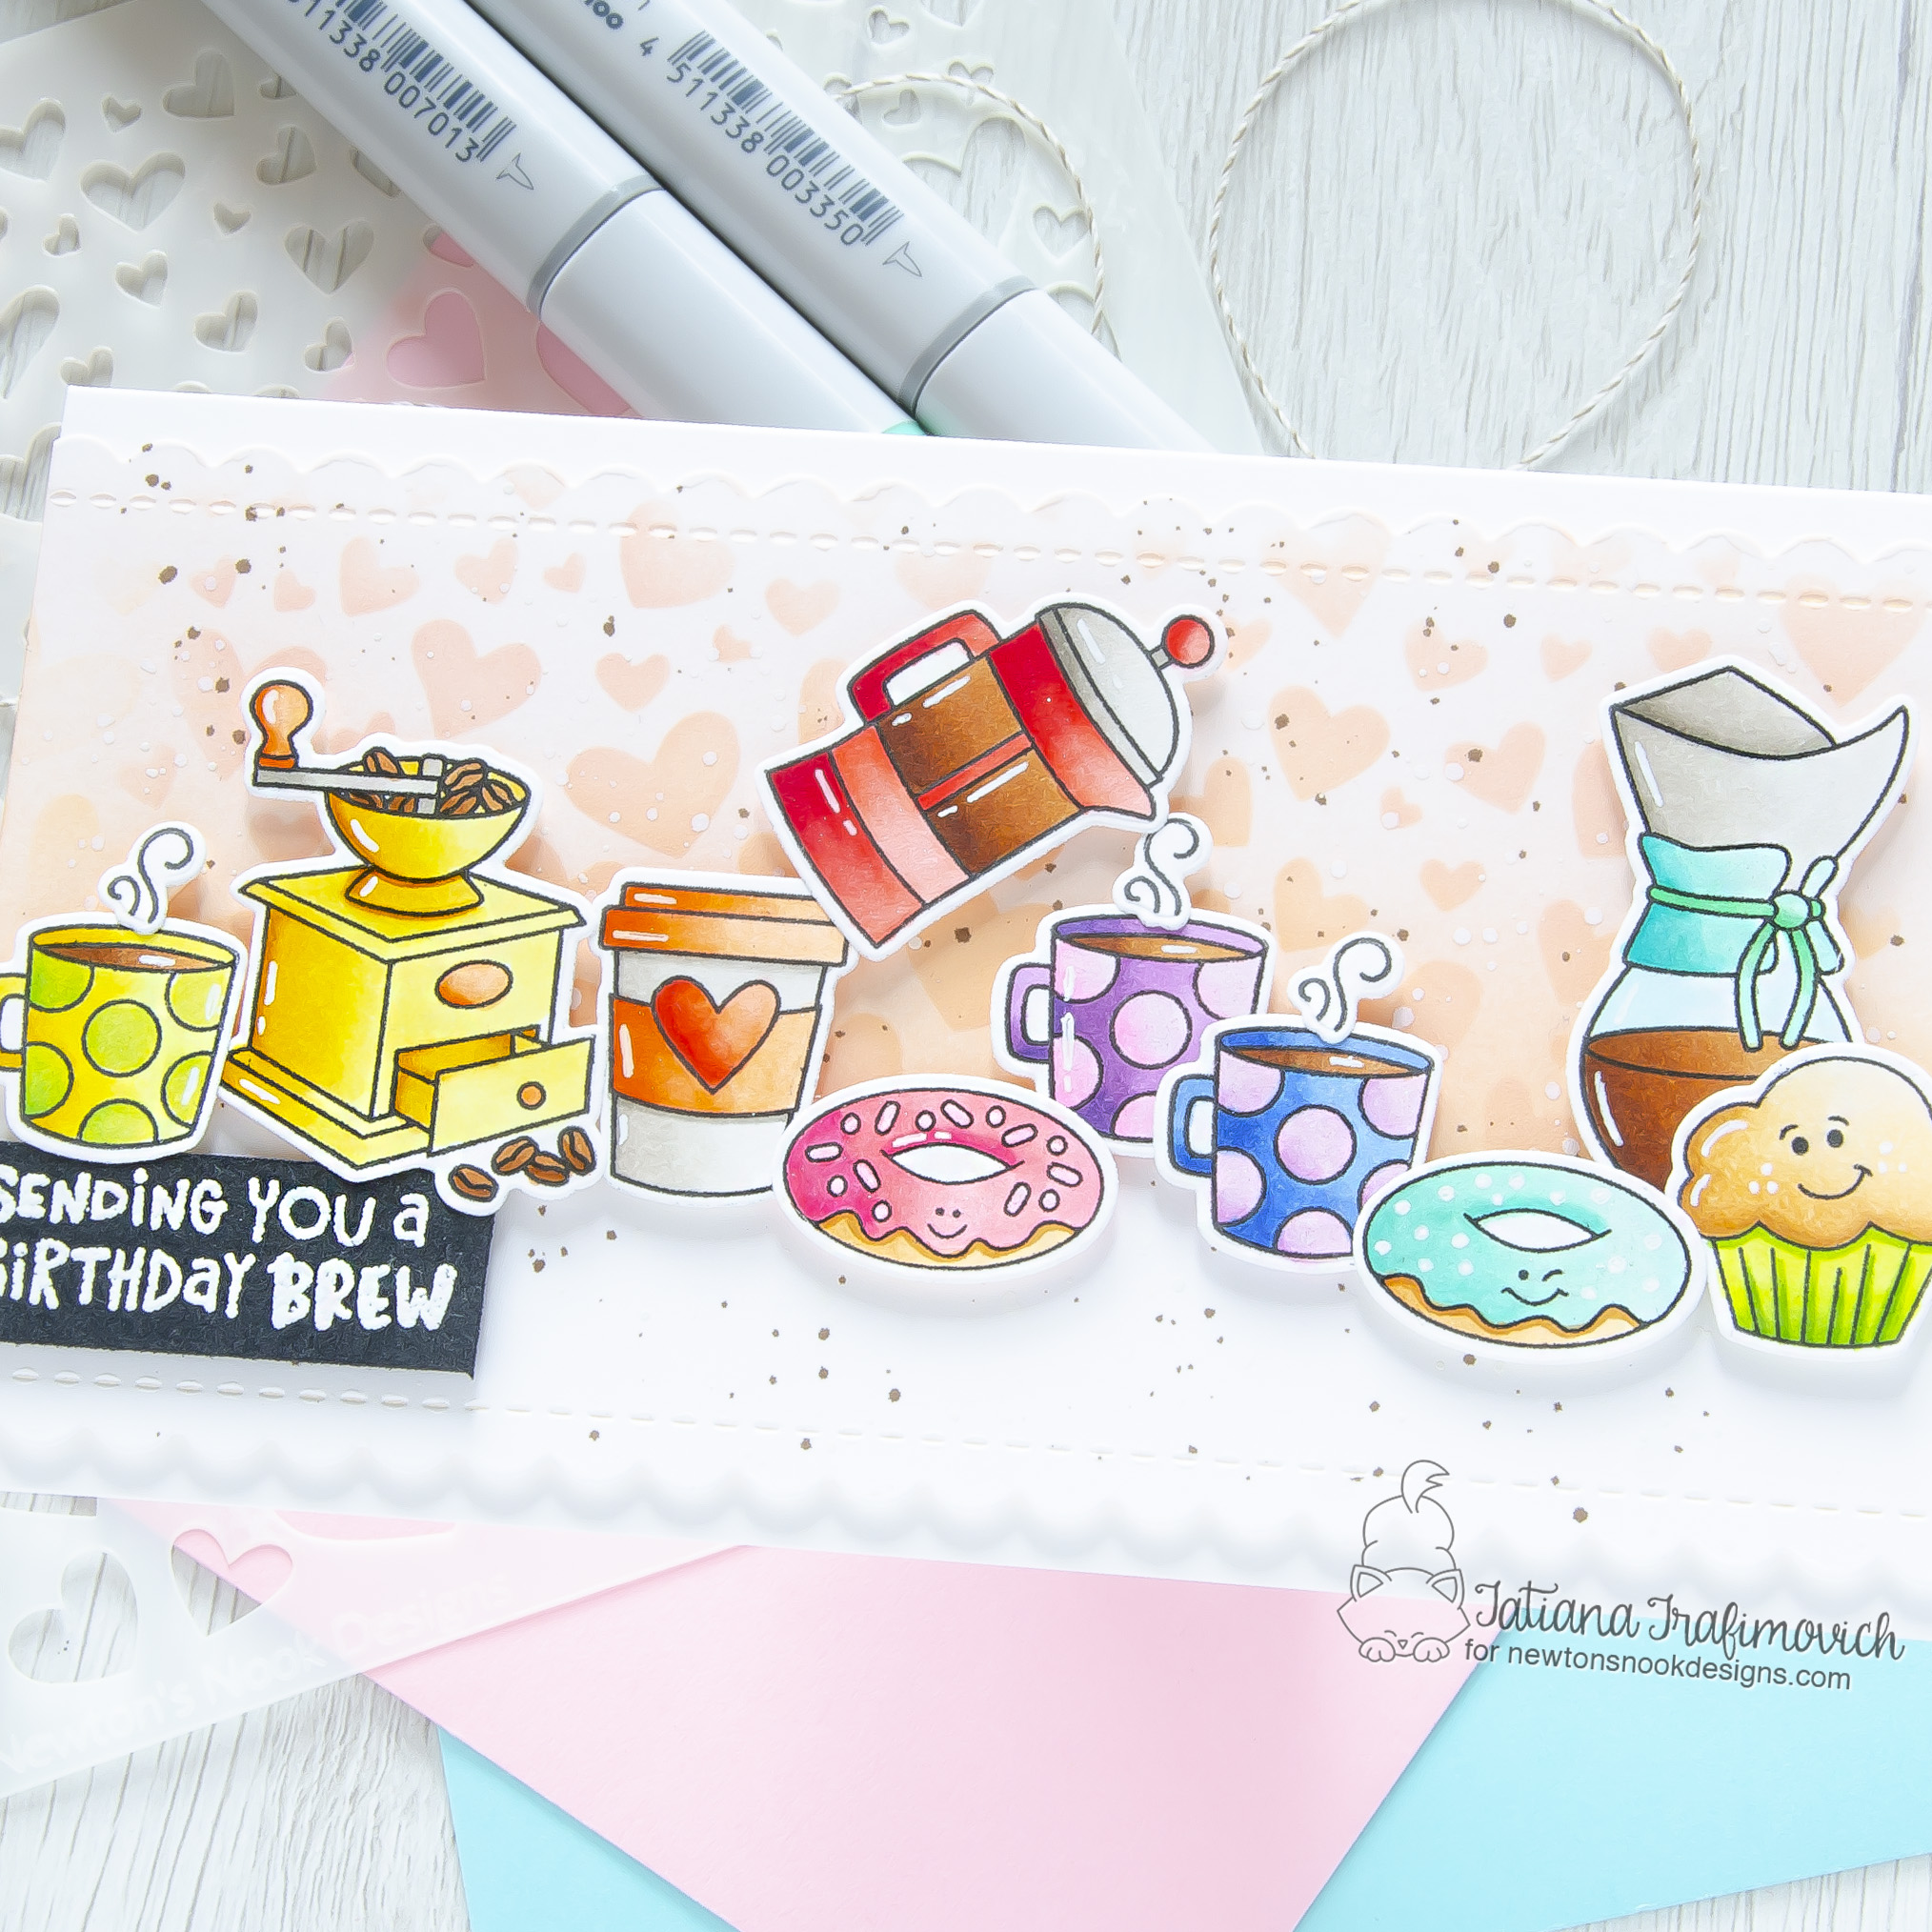
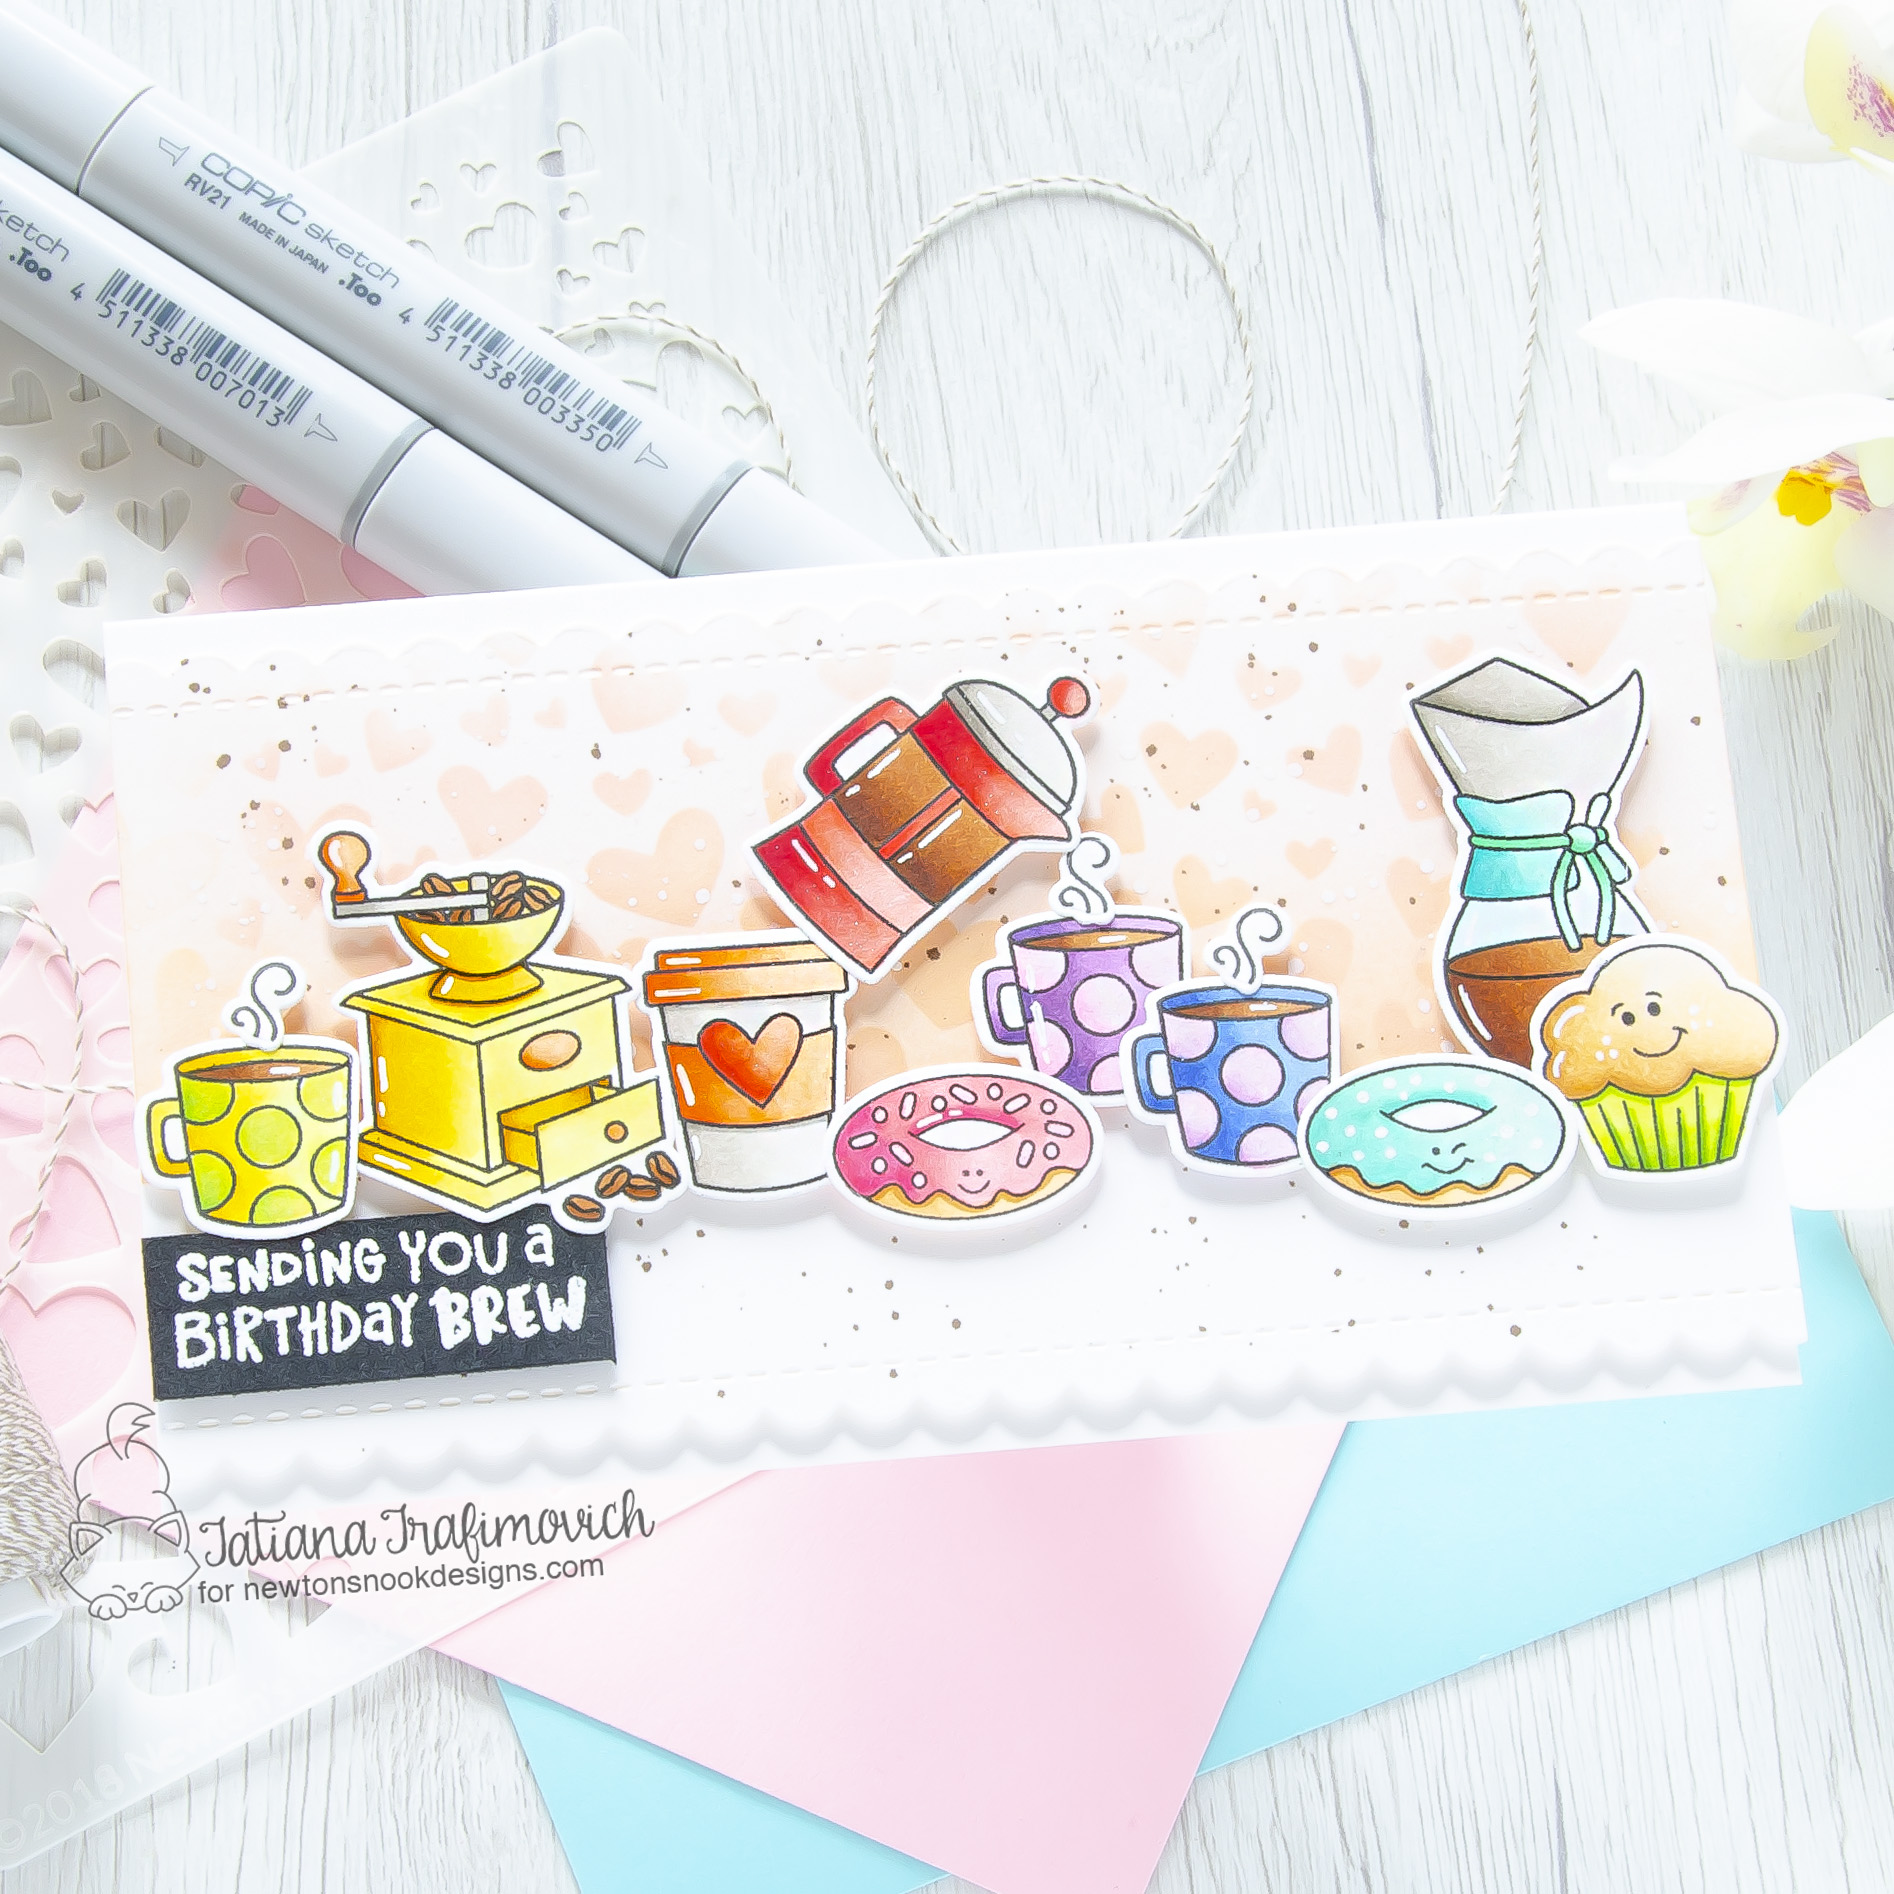
I’m so glad you’ve joined me today and even more excited to be on the Newton’s Nook Designs blog, sharing a colorful and bright birthday card made for all coffee lovers! I colored the stamps in a rainbow order and then arranged them on a light pink stenciled background of a small slimline card base since this sinner but longer format fits well the stamp sizes.

Key Ingredients:
- Time For Coffee Stamp Set
- Time For Coffee Die Set
- Love Bites Stamp Set
- Love Bites Die Set
- Tumbling Hearts Stencil
- Slimline Frames & Portholes Die Set

Step By Step Instructions:
- Die cut from Neenah Solar White paper all the elements you need, using the coordinating Time For Coffee Die Set and Love Bites Die Set. I used on this project Sizzix Big Shot Die Cutting machine. Save the negative parts of the dies.
- Stamp the outline illustrations from Time For Coffee Stamp Set and Love Bites Stamp Set with Memento Tuxedo Black ink. Use the negative parts of the dies as a guide for a perfect alignment inside the stamping positioning tool.
- Color the stamps with COPIC MARKERS. I used on this card:
- coffee E33-E35-E37
- muffin & donuts E50-E51-E53-E55
- yellow Y00-Y11-Y13-Y15-Y18-Y21-YR24
- orange YR000-YR00-YR02-YR68
- pink RV10-RV02-RV21-RV23-RV25
- red R02-R05-R08 & R21-RR22-R24-R29
- green YG00-YG01-YG03-YG17 & YG21-YG23 & G00-G02
- violet V000-V01-V12-V15-V17
- blue B0000-B21-B24-B26
- teal BG000-BG10-BG11-BG13-BG15-BG32
- gray W0-W1-W4
- Trim and score a small slimline card base (6″ x 3 1/2″) from Neenah Solar White paper.
- Die cut from Neenah Solar White paper a scalloped rectangle 6″ long , using Slimline Frames & Portholes Die Set.
- Mask the bottom part of the scalloped rectangle with a low tack tape and ink the top part with Tattered Rose Distress and
- Dried Marigold Distress inks. Use the blending brushes to achieve a smooth and soft result.
- Without lifting the masking tape, apply Tumbling Hearts Stencil on top of the inked portion and add the heart pattern, using the same Tattered Rose Distress and Dried Marigold Distress inks with a heavier hand.
- Lift up the stencil and splatter the inked background with some tiny droplets of a white gouache and Ground Espresso Distress ink to add some interest.
- Heat emboss in white onto black the sentiment with VersaMark Clear Embossing Ink. Don’t forget to prep the cardstock with a Powder Tool Applicator to prevent the embossing powder to stick where you don’t want it!
- Arrange and glue in place all the elements on the card front, by popping them on a foam tape for a fun dimensional look.
- Finish with a coat of a clear glitter pen and some highlight added with a white gel pen.

That’s all for today! Hope you like this colorful birthday card! Thanks so much for stopping by and have a fabulous day!
Hugs,
Tatiana
