Hello and welcome!
I’m so glad you’ve joined me today and even more excited to be on the Newton’s Nook Designs blog, sharing a cute Eater card that features “old”, but so deer to my heart Bunny Hop Stamp Set!
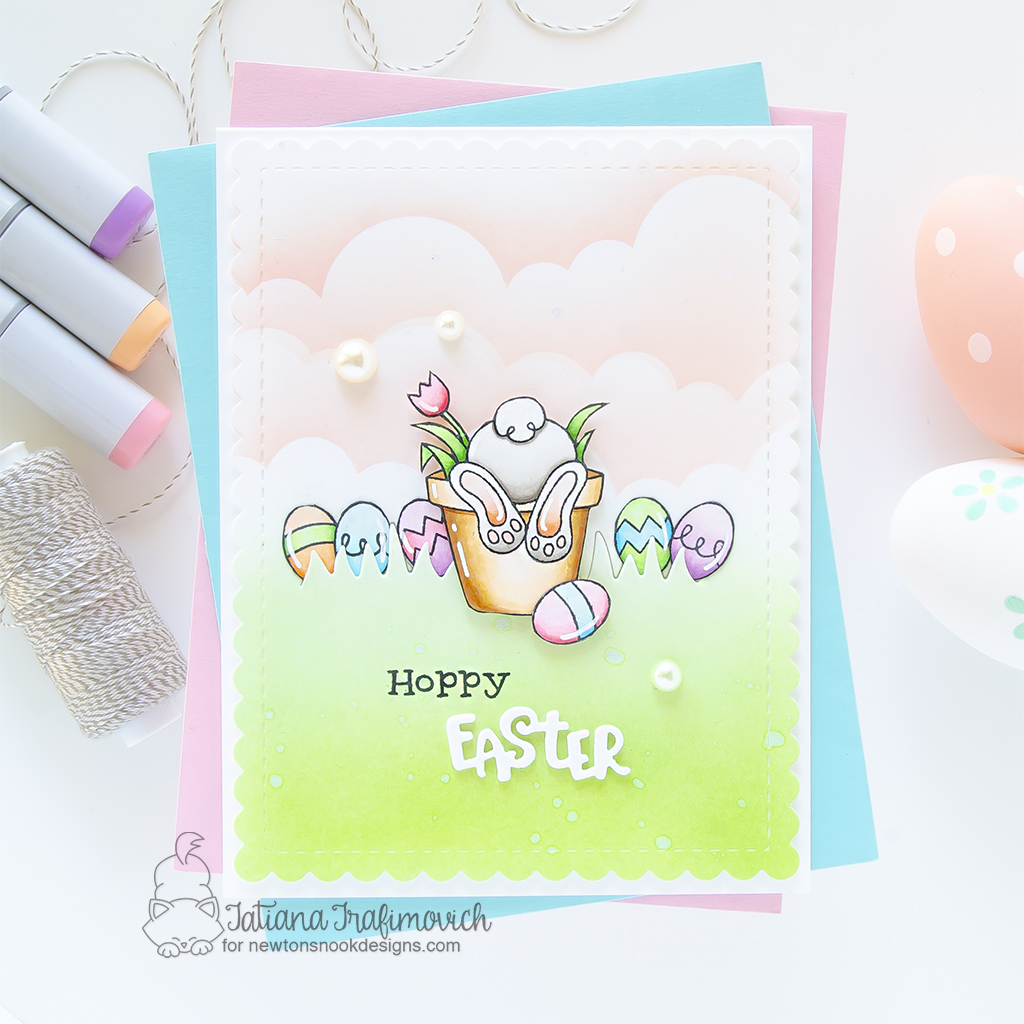
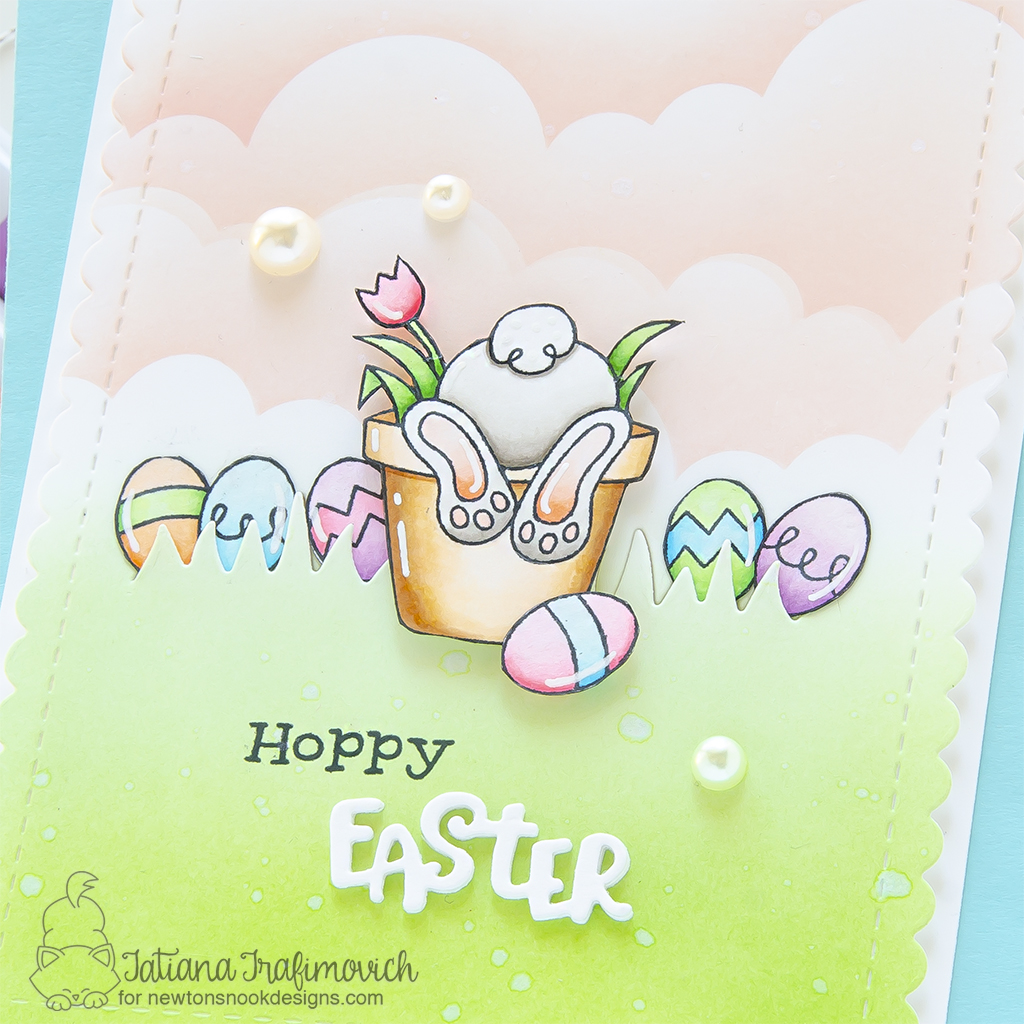
I thought it was time to start with Easter cards! So I flipped through my stash and came across the most adorable Bunny Hop Stamp Set! That little bunny butt is so darn cute and makes me smile every time I look at it! Pastel colors seemed to be a natural choice for a spring card! I arranged all the elements on an inked background with a peachy pink sky that coordinates perfectly with a light green grass portion since these two colors are complimentary!
Key Ingredients:
- Bunny Hop Stamp Set
- Spring Pile Up Die Set
- Frames & Flags Die Set
- Land Borders Die Set
- Clouds Stencil
Step By Step Instructions:
- Stamp on Neenah Solar White paper all the elements you need from Bunny Hop Stamp Set with Memento Tuxedo Black ink. If you use a stamping positioning tool, ink and impress the illustrations a couple of times to get black and crisp outlines.
- Color the stamp with COPIC MARKERS. I used on this card:
- bunny W00-W0-W1-W3 & R000-R01-R12
- pink RV00-RV10-RV13-RV14
- orange YR0000-YR000-YR00-YR02
- green YG11-YG13-YG17
- blue B0000-B00-B02
- violet V0000-V000-V01-V12
- brown E0000-E30-E31-E34
- Fussy cut the stamps with the sharp small scissors right against the stamp lines.
- Paint the stamp edges with a black brush tip marker to hide any imperfection due to the fussy cutting.
- Trim and score an extended A2 size card base (5 1/2″ x 4 1/4″) from Neenah Solar White paper.
- Die cut from the same Neenah Solar White paper a scalloped frame, using Frames & Flags Die Set and Sizzix Big Shot Die Cutting machine.
- Ink the bottom part of the background with Twisted Citron Distress and Mowed Lawn Distress inks, using the blending brush to achieve a soft and smooth blending.
- Ink the top part of the background with Tattered Rose Distress Oxide and Saltwater Taffy Distress inks, using Clouds Stencil and the blending brush.
- Splatter the inked background with some tiny dots of water or pearlescent solution to add a bit of interest.
- Partially die cut the grass line with the grass die from Land Borders Die Set.
- Carefully split up in two “Hoppy Easter” stamp from Bunny Hop Stamp Set, using the sharp small scissors.
- Stamp the “Hoppy” word with Memento Tuxedo Black ink, aligning the stamp inside the stamping positioning tool.
- Die cut three times the word “Easter” from Spring Pile Up Die Set, using Neenah Solar White paper and Sizzix Big Shot Die Cutting machine.
- Stack all three layers together with Distress Collage Medium Matte.
- Arrange and glue in place all the elements on the card front by popping some of them on a foam tape for a bit of dimension.
- Finish with a few highlights added with a white gel pen and some half pearls from Trinity Stamps Vintage Lace Embellishment Mix.
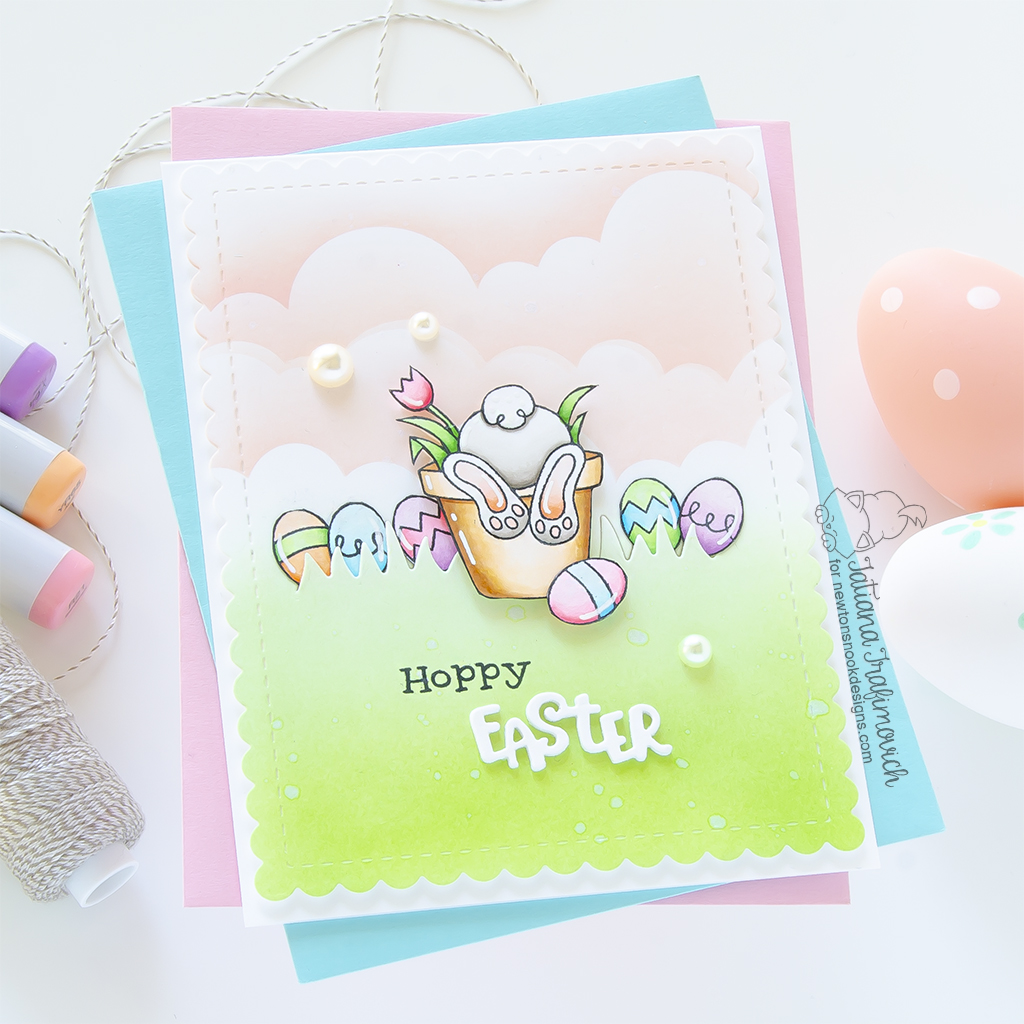
That’s all for today! Hope you like this cute Easter card ! Thanks so much for stopping by and have a fabulous day!
Hugs,
Tatiana