Hello and welcome!
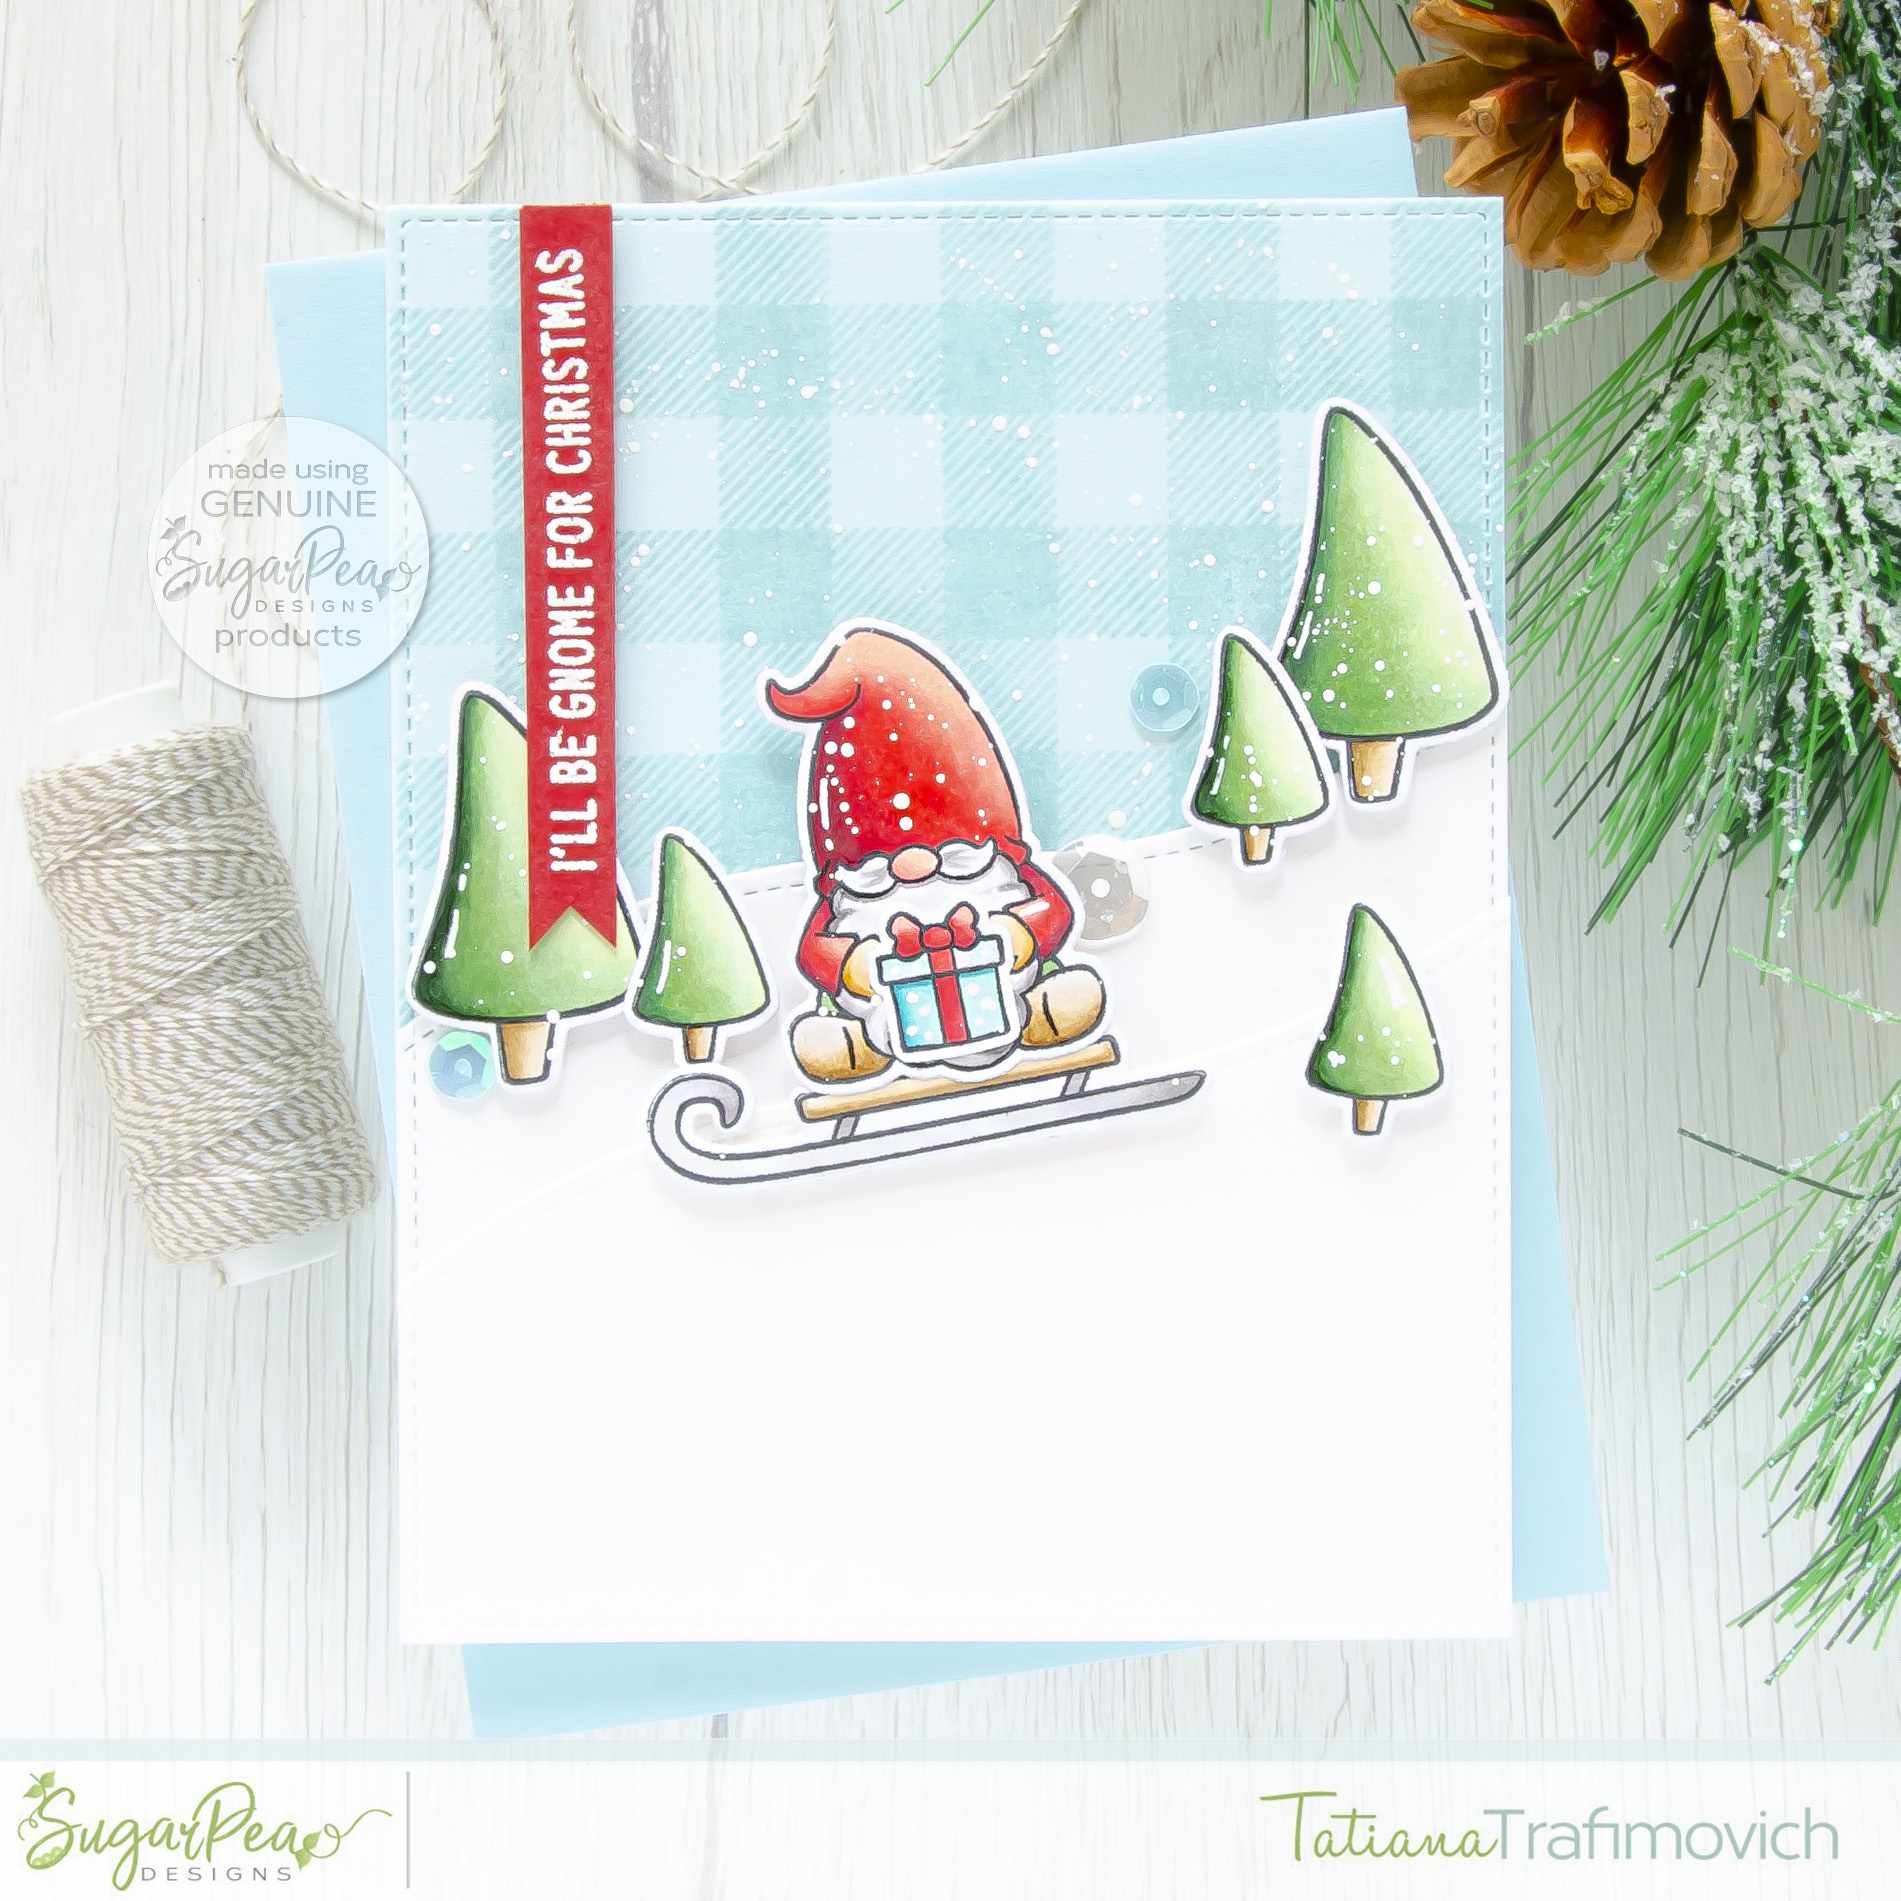
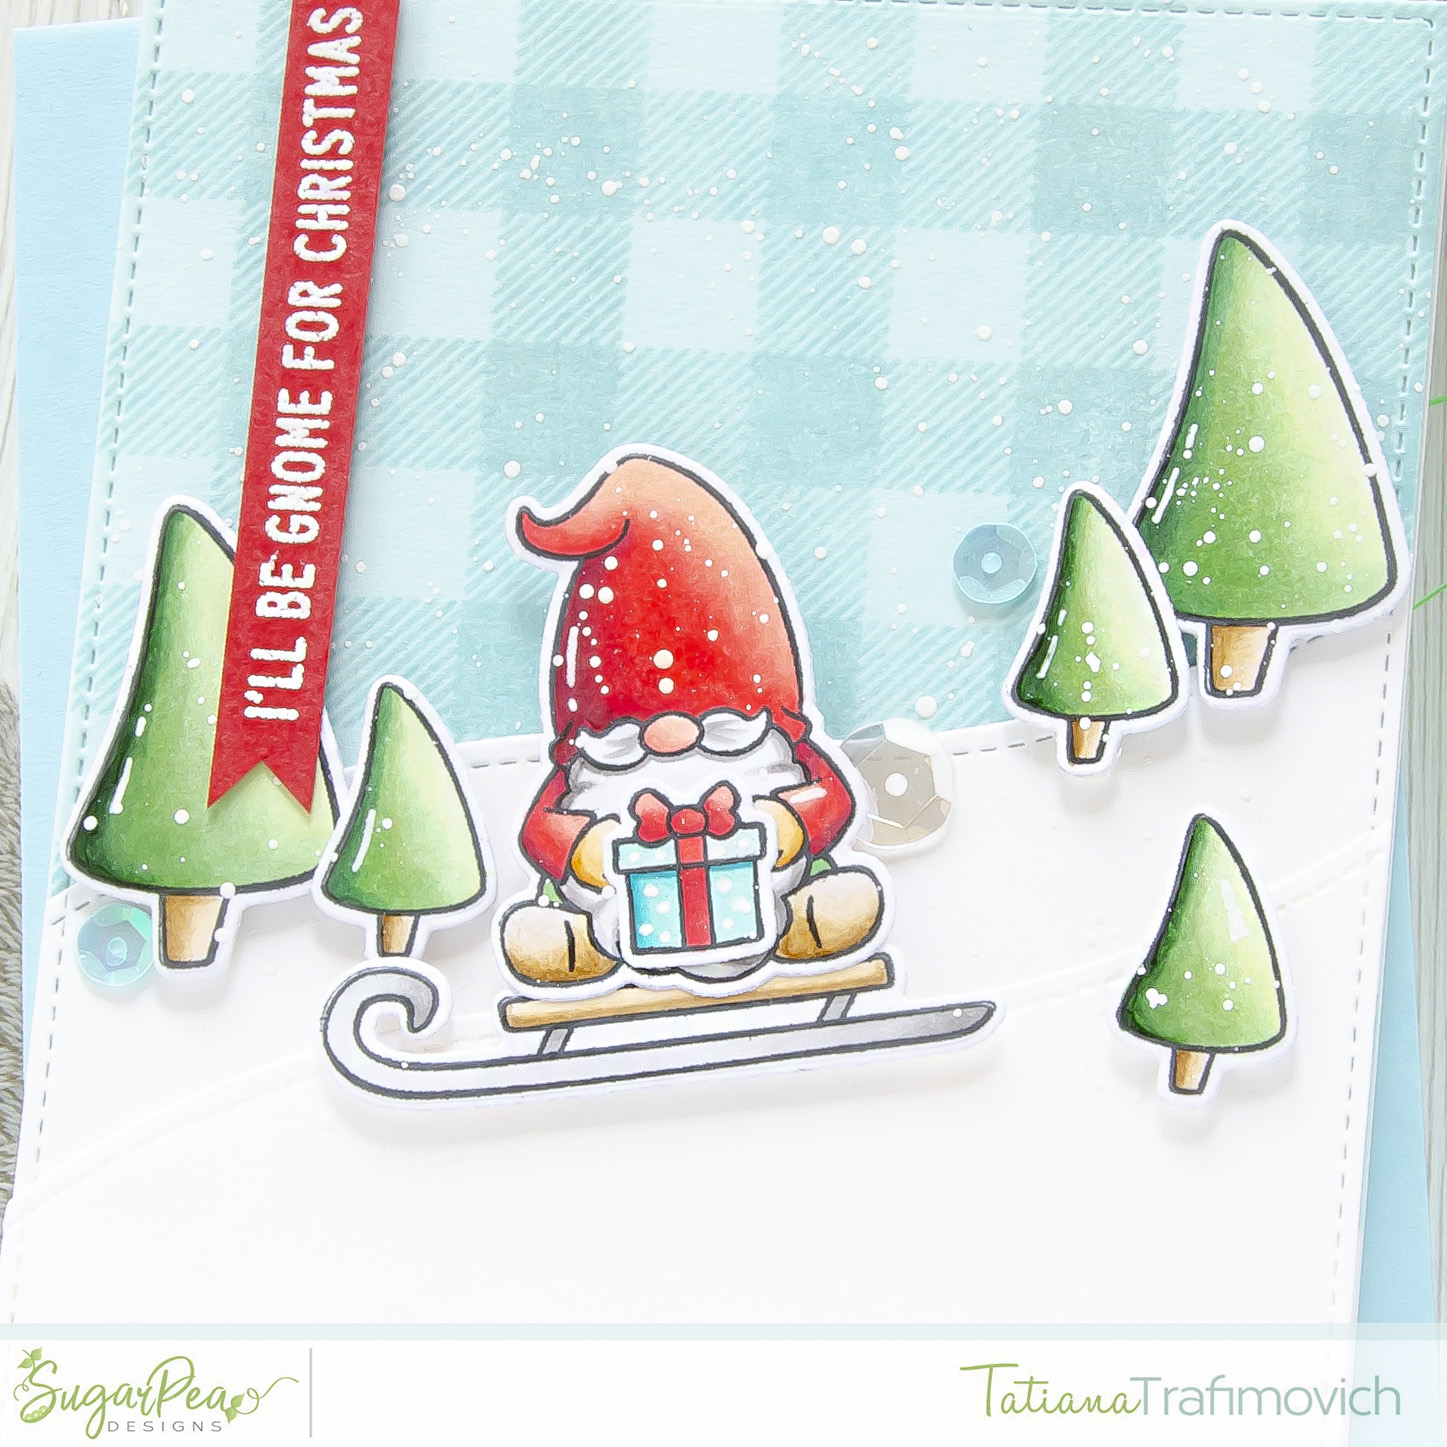
Today is my turn to get you inspired for the SugarPea Designs monthly Mix It Up Challenge! I came up with a simple and cute winter scene that features super adorable Gnome For Christmas Stamp Set! Love so much the matching holiday pun!
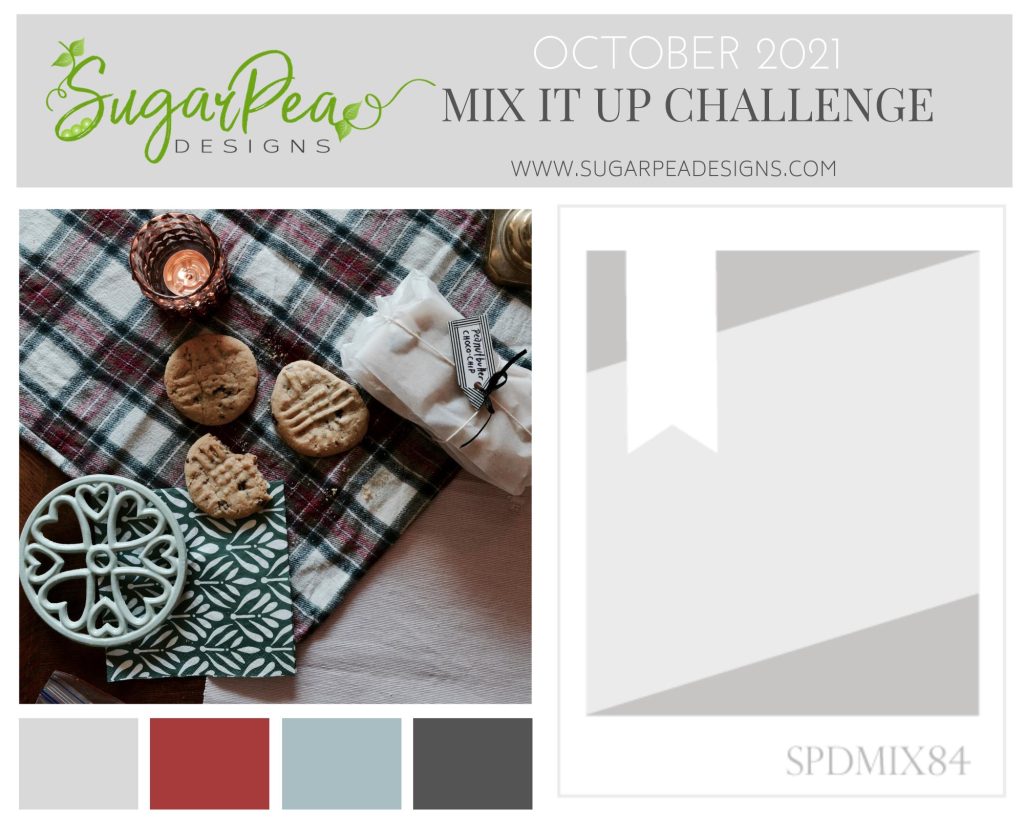
In case you want to play along, as well, here’s how you can do that: you have all month to play along and make a project using just the inspiration, just the sketch or Mix it Up and use both! It is totally up to you! You can find all the rules at SugarPea blog right here!!!
Key Ingredients:
- Gnome For Christmas Stamp Set
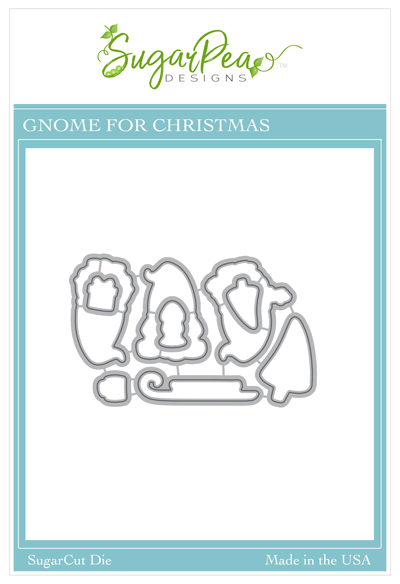
- Gnome For Christmas SugarCut
- Buffalo Check Background Stamp
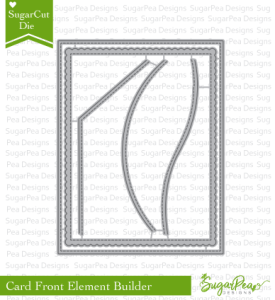
- Card Front Element Builder
Step By Step Instructions:
- Die cut from Transotype Perfect Colouring paper all the elements you need, using the coordinating Gnome For Christmas SugarCut. I used on this project Sizzix Big Shot Die Cutting machine. Save the negative parts of the dies.
- Stamp the outline illustrations from Gnome For Christmas Stamp Set with Memento Tuxedo Black ink. Use the negative parts of the dies as a guide for a perfect alignment inside the stamping positioning tool.
- Color the stamps with COPIC MARKERS. I used on this card:
- skin E50-E51-E55
- red R30-R32-R35-R37-R39
- green G20-G21-G24-G28
- teal BG10-BG11-BG15-BG09
- brown E40-E41-E42-E43
- grey T0-T1-T3
- Trim and score an extended A2 size card base (5 1/2″ x 4 1/4″) from Neenah Solar White paper.
- Die cut from the same Neenah Solar White paper a stitched rectangle, using Card Front Element Builder.
- Split it in half, using a curvy die from Card Front Element Builder to form two snow hills.
- Die cut another rectangle from a light blue cardstock for a sky piece, using the same Card Front Element Builder. I used Simon Says Samp Sea Glass cardstock.
- Stamp a tone on tone Buffalo Check Background on the sky piece with a matching dye ink. I used Simon Says Stamp Surf Blue dye ink.
- Heat emboss in white onto red the sentiment from Gnome For Christmas Stamp Set with VersaMark Clear Embossing Ink. Don’t forget to prep the cardstock with a Powder Tool Applicator to prevent the embossing powder to stick where you don’t want it!
- Shape the sentiment into a fish-tail banner with the sharp small scissors.
- Arrange and glue in place all the elements. Pop some of them on a foam tape for a fun dimensional look.
- Finish with a couple of matching sequins adhered with Distress Collage Medium Matte, a coat of Wink of Stella clear glitter pen and some highlights added with white gel pen.
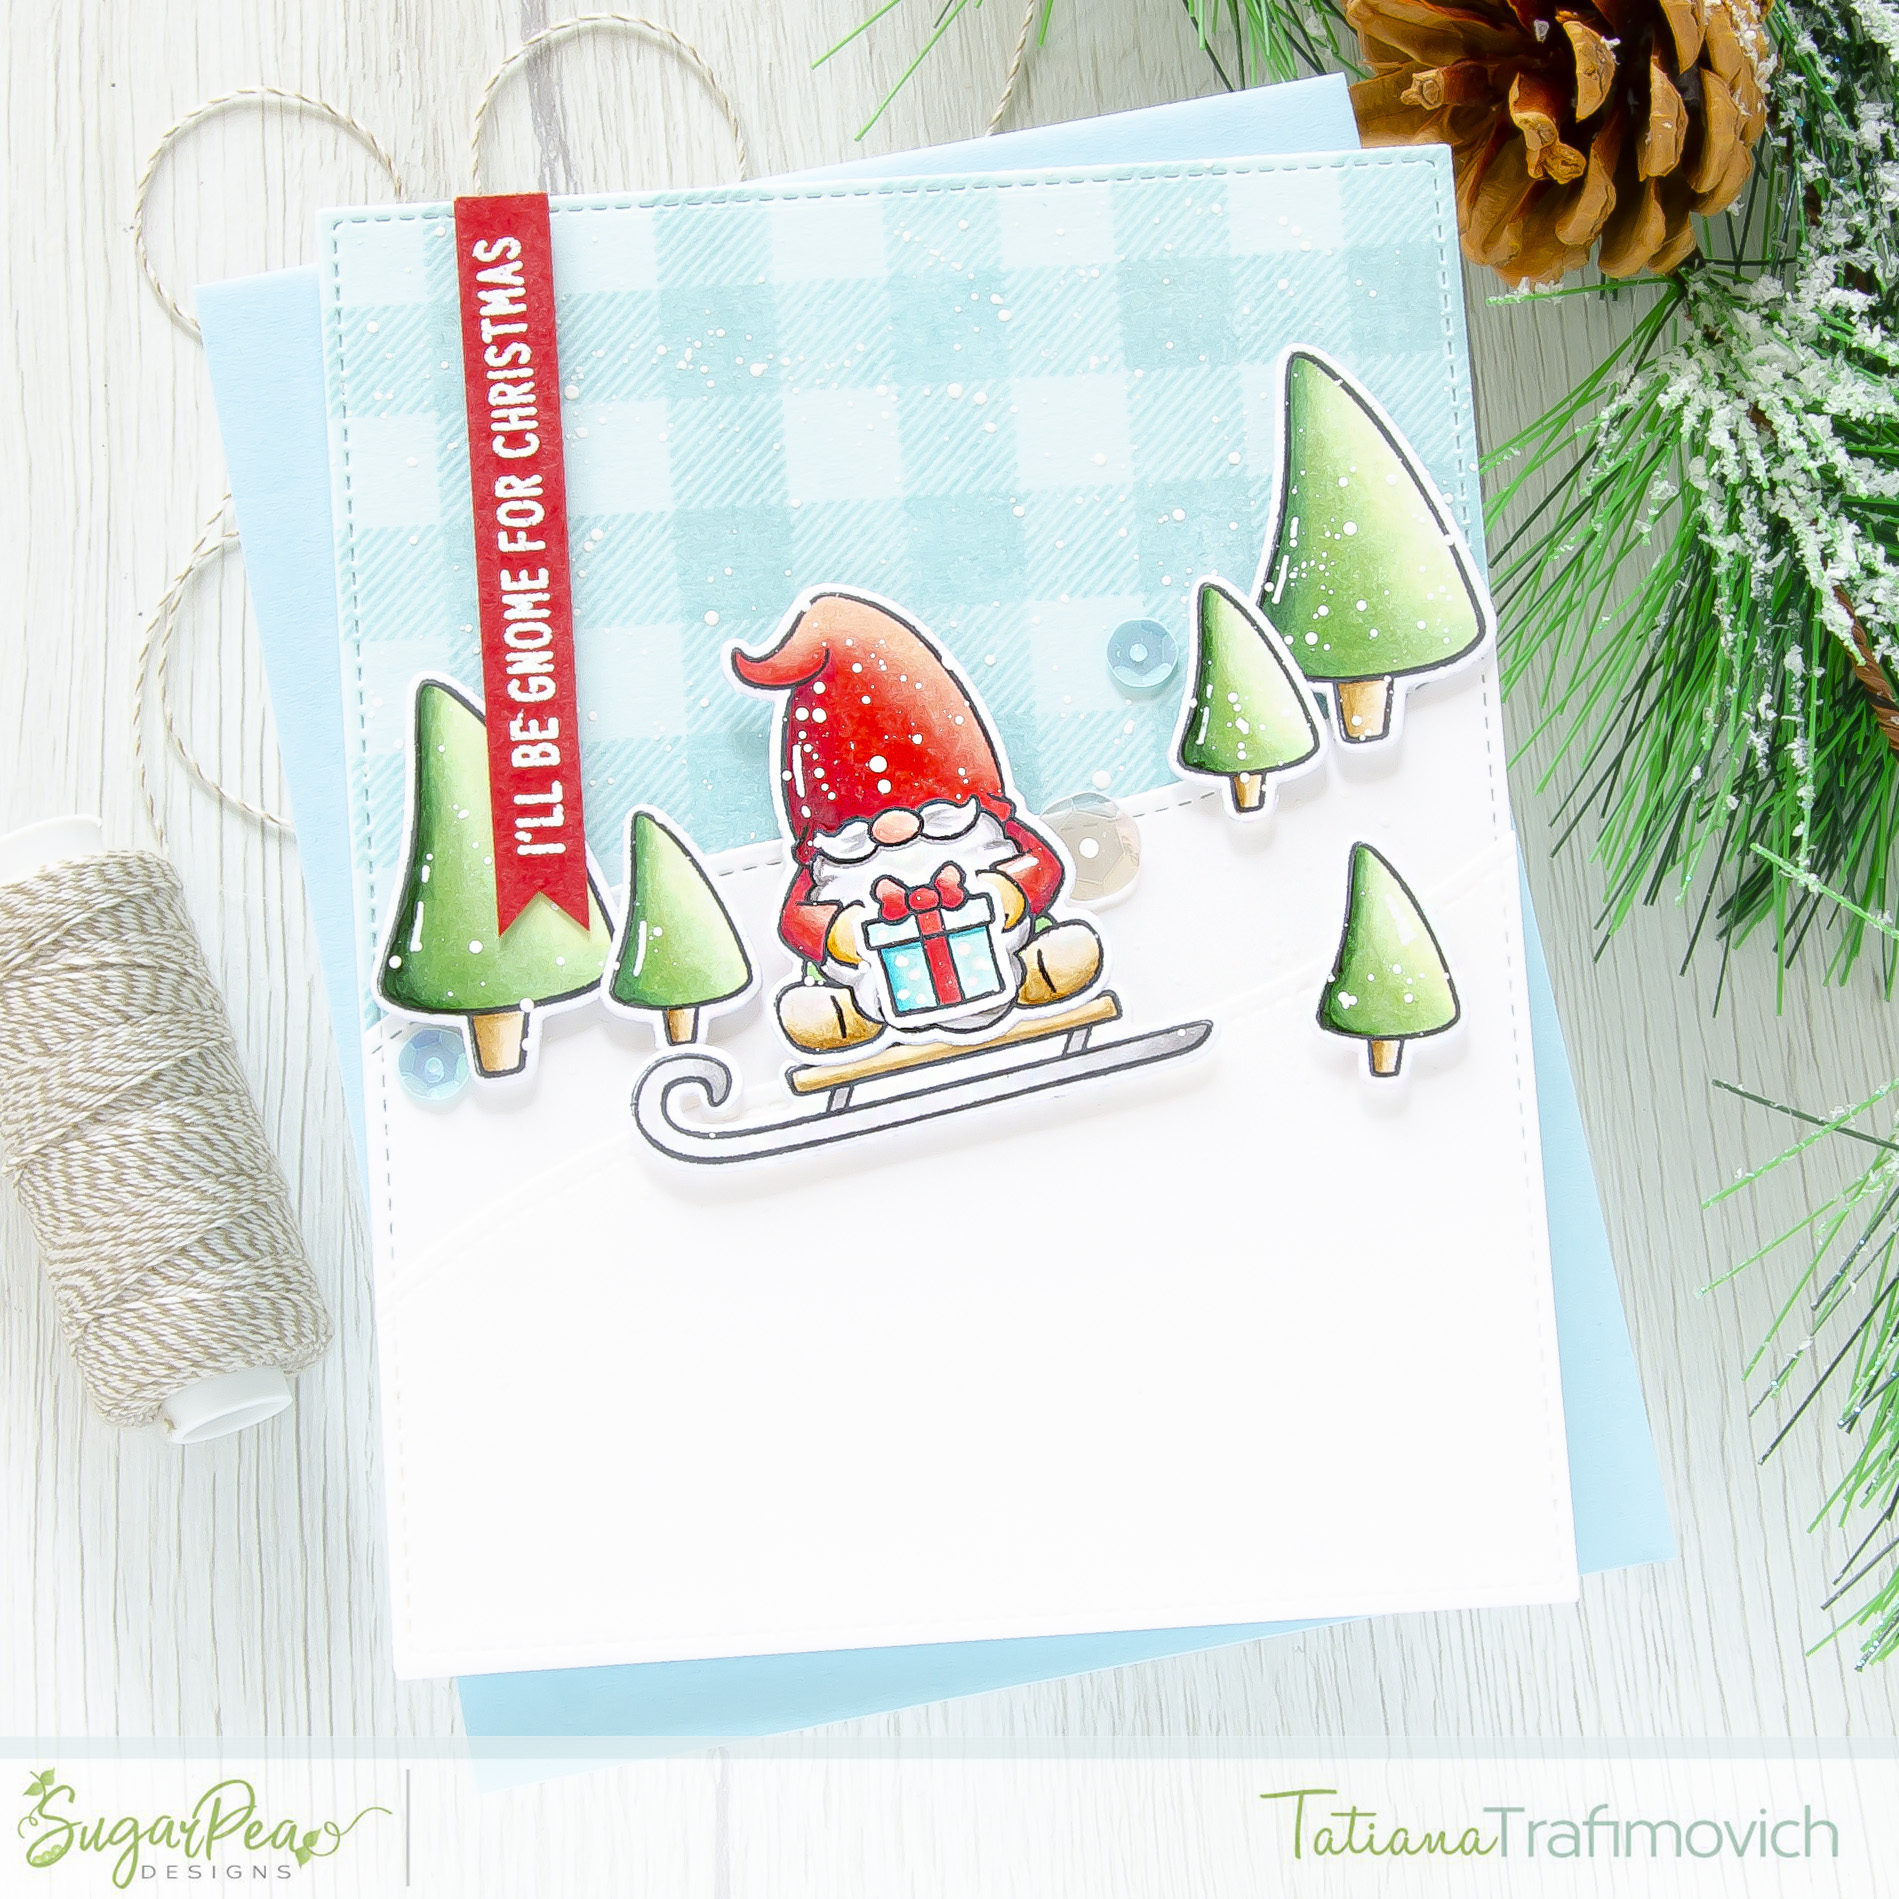
Hope you like this cute holiday card! Now it’s your turn to link up your creations for a chance to win a $50 Gift Certificate from SugarPea Designs! Can’t wait to see what you create!!!
Thanks so much for stopping by and have a wonderful day!!!
Hugs,
Tatiana
SPD Products Used:
Buffalo Check Background Stamp


